If you want to learn how to make an ombre manicure yourself, then read the article. Here you will find out, all the subtleties and secrets.
Content
- How to make ombre on nails at home: Technique
- How to make ombre on the nails gel varnish or shellac step by step?
- Types of ombre on nails
- Ombre apparatus on nails
- Ombre coating on nails
- Red ombre on nails, photo
- Pink ombre on nails, photo
- Black ombre on nails, photo
- French ombre on nails, photo
- Beige ombre on nails, photo
- Tender ombre on nails, photo
- White ombre on nails, photo
- Ombre for short nails
- Ombre for long nails
- Ombre pigments on nails
- Vertical ombre on nails
- Ombre with sparkles on the nails
- Video: manicure gradient
The word - many have already heard ombre more than once. The first thought that begs for the mind when pronouncing it is to dye hair in different colors. But then we will not talk about hair, but about nails. You will learn how to make a stylish gradient (as it is also called differently) design on the nails of nails on your own at home.
How to make ombre on nails at home: Technique
The gradient looks perfect, both on long and short nails. Such a manicure is permitted to both young beauties and ladies aged. Transitions from one shade of varnish to another can be created with sharp or smooth boundaries.

You need to have an ombre on your own:
- Two varnishes of different tonality (at least)
- Normal set of tools for manicure
- The foundation
- Palette to mix varnishes
- Toothpick
- Fixing coating
- Sponge

How to make a gradient on the nails?
- First, do preparatory procedures. Remove the cuticles, polish, degrease your nails
- Cover each nail with the base
- Drip on the palette a little of one, second varnish
- Contact the edges with a toothpick
- Then dip the sponge
- Make prints on nail plates
- Remove all superfluous to the nails with a cotton swab moistened in a liquid dissolving varnish
- When the nails dry out, apply the latch

IMPORTANT: You can not mix the tones in the palette, many masters with a brush apply strips of varnish on the foam, then transfer them to their nails.

How to make ombre on the nails gel varnish or shellac step by step?
The original design of the nails will turn out if the shellac or gel varnish is used for ombre technology. In addition, this manicure, thanks to the quality of these varnishes, will be good to stay on the plates of your nails.
But you will need special equipment, without which a manicure will be impossible. More precisely - varnishes do not dry without an ultraviolet lamp.

Tools and materials for manicure ombre gel varnishes, shellac:
- Manicure care
- Cotton thin sticks, liquid for removing varnish influxes
- Varnishes of various tonality, varnish-base, fixing coating
- Uf lamp for Coating on the coating on nails
- Nail degeneration liquid
- Colorless base for varnish
- Toothpick, dense sponge

Step-by-step instruction:
- Pull the nail plates with the buff, treat the cutters, align the nails with a file so that they become one length
- Degrease your nails, apply the base, let it dry well
- Polemnate in UV lamp for twenty seconds
- At the base, apply a light tone of varnish
- Then paint the second half with a dark gel varnish
- Burn the boundaries with a brush, only neatly
- Dry the nails in an ultraviolet lamp (approximate drying time-2.5-3 minutes)
- Fasten the varnish with a special protective coating. And dry the nail plates in the lamp

IMPORTANT: Ombre on the nails with shellac should be done in the same sequence as gel varnish. Still, do not apply too thick layers of shellac on the nails, otherwise the whole manicure will deteriorate when the UV lamp is drying. At the end, the sticky upper layer of shellac should be eliminated with a special solution.
Types of ombre on nails
Now there are many gradient techniques on the nails. Thanks to the imagination of stylists, you can choose such a manicure as in an evening dress and under jeans or a summer dress. Consider the most common types of gradient manicure.

Types of ombre on nails:
- Classic ombre - To create it, most often two varnish tonality is used. Moreover, at the base of the nail plate there are light tones varnish, and at the tips - dark
- Ombre Beverly Hilz- For such a manicure, it is necessary to prepare several shades of varnish at once, since the transition from one tone to another will take not on one plate of the nail, but on all. For example, from light pink on a little finger, to cherry on a large
- French ombre manicure - do this gradient is not easy, but after training you will succeed. The essence of this design is that the tips of the nails are covered with light varnish, which then smoothly passes into a dark tone
- Bright monastery- For this manicure, bright varnishes are used and they have them randomly on all nails
- Ombre with painting- This technique is suitable for manicure for an evening dress. It is better to make a painting on nails with a gradient with a golden, silver, black color

Ombre apparatus on nails
Airbrus is often used for ombre-design of nails smoothly from one shade of varnish to another. This device works like a sprayer. Only liquid varnish can be poured into this device, the paint is not suitable for a thick consistency.

IMPORTANT: After use, the airbrush must be thoroughly washed with liquid, which will remove the remaining varnish.
Ombre coating on nails
To get the perfect ombre manicure, you can use various varnishes, including: gel, shellacs, etc. We mentioned this above how to make such a nail design we also considered earlier.
The main thing is that the shades of varnishes are beautifully selected, and the hand does not flinch. Below, see examples of ombre-manicure of different colors.

IMPORTANT: Many masters use Tint to create an ombre. This nail coating is convenient to apply simply with a brush. As a result, excellent manicure of the gradient technique comes out. When applying one layer of varnish on the other, a smooth transition of colors is obtained.
Red ombre on nails, photo
Red color is always relevant. And this season, the gradient on the nail plates will be by the way under any outfit.

The technique looks good-a gradient in a combination of red and cherry gel polish.

Pink ombre on nails, photo
Then you will see a variety of techniques for creating nail design (ombre) with pink shades.


Black ombre on nails, photo
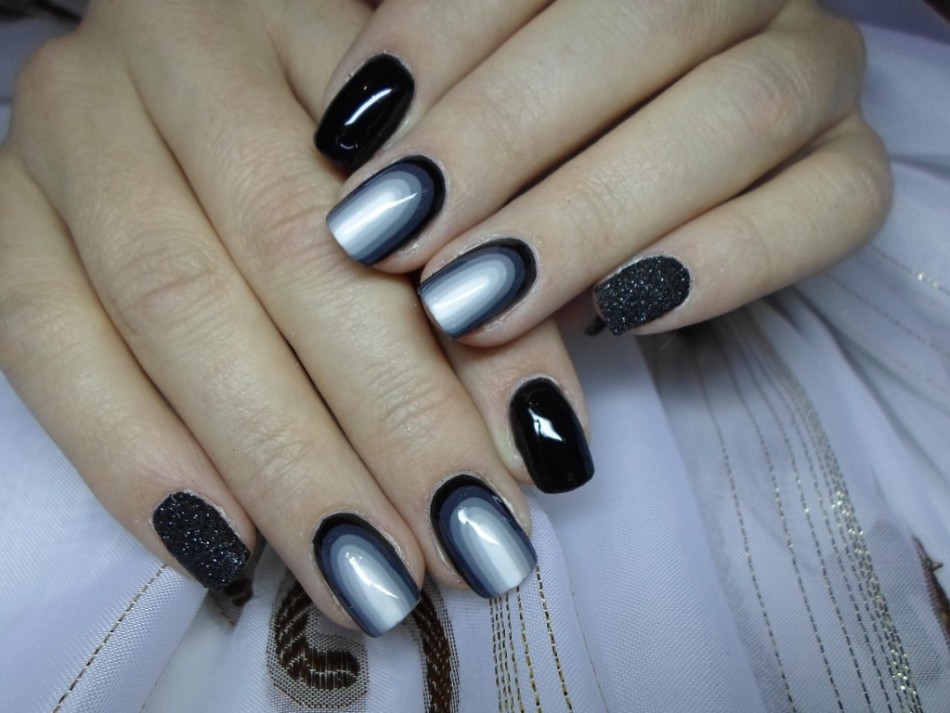
The manicure in black tones will look gloomy, but if the black is diluted with any other color, then the appearance will be amazing.

French ombre on nails, photo
French gradient is a combined technique for creating nail design. Many ladies choose it for manicure, because with such a pattern the nails look well -groomed. They go to the costumes of the business style and other outfits.

Beige ombre on nails, photo
If you use beige shades to create an ombre, then the manicure will turn out to be natural. Such a tone is suitable for any outfits, because it corresponds to the natural color of the nails as much as possible.

Tender ombre on nails, photo
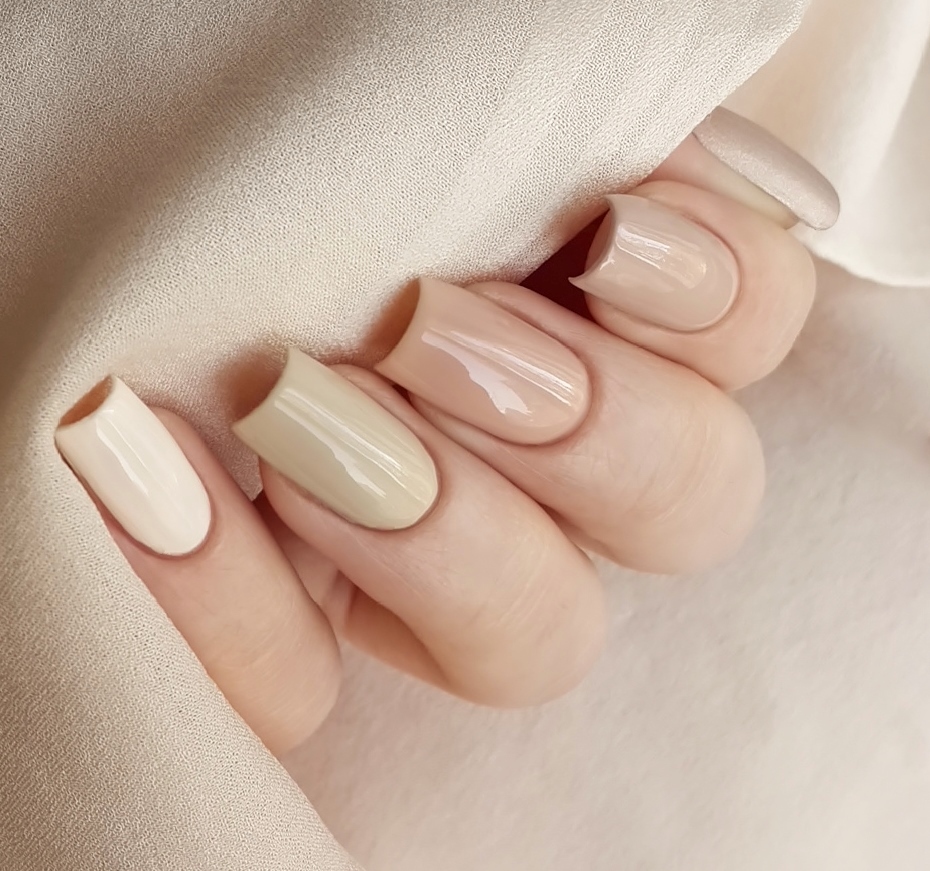
For a delicate gradient, it is necessary to correctly choose the shades of varnishes. Sharp transitions from one color of varnish to another are undesirable.

White ombre on nails, photo
The white gradient is perfect for the wedding celebration. Usually such a manicure combines other nail design techniques.


Ombre for short nails
If the base of the nail plate is painted with light varnish, upward or dark, then the nails will visually look longer.


Ombre for long nails
Ombre looks no less attractive on long nails of various shapes.

Ombre pigments on nails
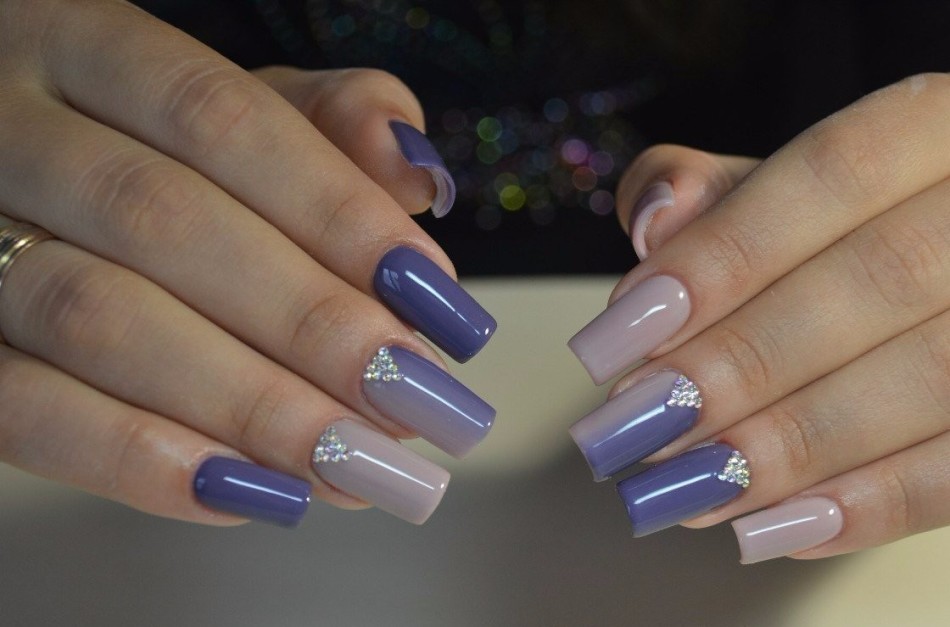
The pigments are widely used when creating a gradient on the nails. It is precisely these colors that it is convenient to make manicure, because when when applying one layer to another, tones are mixed.
Ombre with pigments can be made simply with a brush. The experimental master will only take only 8-9 minutes of time for such nail design.

Stretching with gradient manicure with pigments is done in the following order:
- Apply the base coating for gel varnish
- Color the nails with the selected gel polish tones. Polymerip each layer in UV lamp
- Prepare a thick brush, pick up a pigment on it. Bred it, starting from the cuticle, and ending in the middle of the nail plate
- Then also shade and the second part of the nail with another pigment
- Shake the remaining pigment particles
- Then send for drying in an ultraviolet lamp (35-60 seconds)
- Crush the pigment coating with a transparent top, do not worry - the pigment will no longer stretch behind the brush
- Dry the top in UV lamp
- Remove the remains of the sticky layer from the top. And make your manicure neatly - remove the ombre with the liquid around the nails

Vertical ombre on nails
The vertical gradient divides the nail plate into two or three tones. Thanks to this, your nails will play in various shades. In addition, such a nail design can be done with all the colors of the rainbow.
The coating procedure is the same as that of the horizontal ombre, the only thing that needs to be printed from foam rubber across, and not along the nail plates.

Ombre with sparkles on the nails
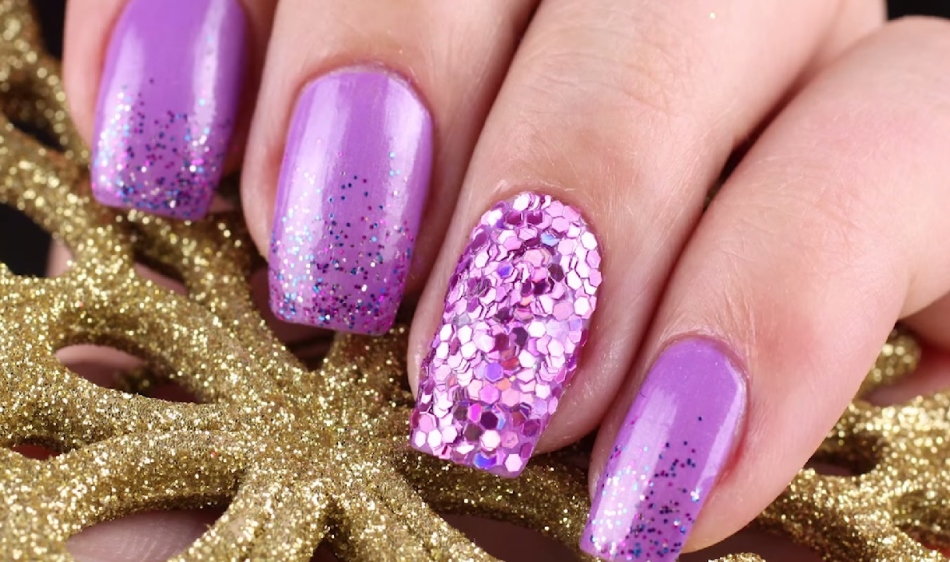
A manicure with sparkles on the nails made by ombre techniques will look very festive. Glass with sparkles can be combined, both with ordinary varnish and with brilliant varnish, but of a different tone.
