To please your loved ones with a congratulation, it is not necessary to spend money on a postcard with a template picture and text. A beautiful product can be obtained from improvised materials using tips and tips listed in this article.
Content
- DIY birthday cards: design ideas, templates
- Happy birthday cards with congratulations
- Happy New Year cards with your own hands: design ideas, templates
- Happy New Year cards: Congratulations texts
- Postcards from February 14 - DIY Valentine's Day: Design Ideas, templates
- Postcards from February 14: Congratulations texts
- Cards from March 8 with your own hands: design ideas, templates
- Postcards from March 8: texts, ideas for creativity
- Video: "5 cards in 5 minutes"
DIY birthday cards: design ideas, templates
A postcard is a pleasant trifle with bright pictures and warm words that we often get on holidays. Modern cards sold in stores are often made, as they say, “without a soul”: they have template pictures of flowers, ribbons and smiling puppies.
Nevertheless, I want to make loved ones pleasant and try to surprise them, please and give pleasant emotions.
In such cases only needlework can come to the rescue. In stores for creativity, now every buyer can find a huge number of suitable goods for Do -it -yourself cards decor:
scrapbooking, scrapBomeg, craft paper and craft carton, colored paper and cardboard, foil and corrugated paper, lace, braid, linen and canvas, brushwood, vine, sparkles, rhinestones, beads and beads, artificial flowers, foamiran, felt felt, satin ribbons, lurex, gold and silver sand, sequins, decorative figures, acrylic paints and much more.

With confidence we can say that In a homemade postcard, you can express all your work And to realize any imagination.
Before starting work, it is important to make full preparation for work:
- Buy in the required quantity all decorative elements (to create a postcard).
- To have scissors, a ruler and always rubber glue for attaching each decorative element (you can also use a hot gun and glue of instant drying).
- Imagine in advance how your postcard should look: draw its sketch on the draft or make a template by laying one material on another.
Important: you should work very carefully, because if you leave the abdomen from glue, it will dry out and spoil the appearance of your product.
The simplest ideas for creating cards with your own hands:
You can make a spectacular postcard for any holiday from craft cards, colored paper and woolen threads. First, you need to decide for yourself exactly for yourself: what your postcard will look like. There are several options:
- A postcard-book
- Postcard Listen
- A postcard in an envelope
- Square card
- The postcard is rectangular
- The card is curly
- The postcard is miniature
- Postcard on the ties
- Greet for money
- Large postcard (A4 format)
Important: a simple postcard in the envelope looks spectacular. The envelope will help her preserve for a long time, will not hurt the decor.
On the sheet white dense cardboard (base) should glue the background from the craft of paper (the size of the piece should be half a centimeter less than the base of the postcard). It is best to glue paper dry glue (adhesive pencil), so as not to leave wet traces and not allow paper to take the wrong shape.
After the background is ready, stick on it Several woolen threads - These are "ropes from balls." After that, cut out from colored paper A few hearts. Hearts can be bent in half. Thereafter make only the bend and glue the woolen thread to the upper end. From a red sheet of colored paper, make an envelope for storing postcards. The product is ready, it remains only to sign.
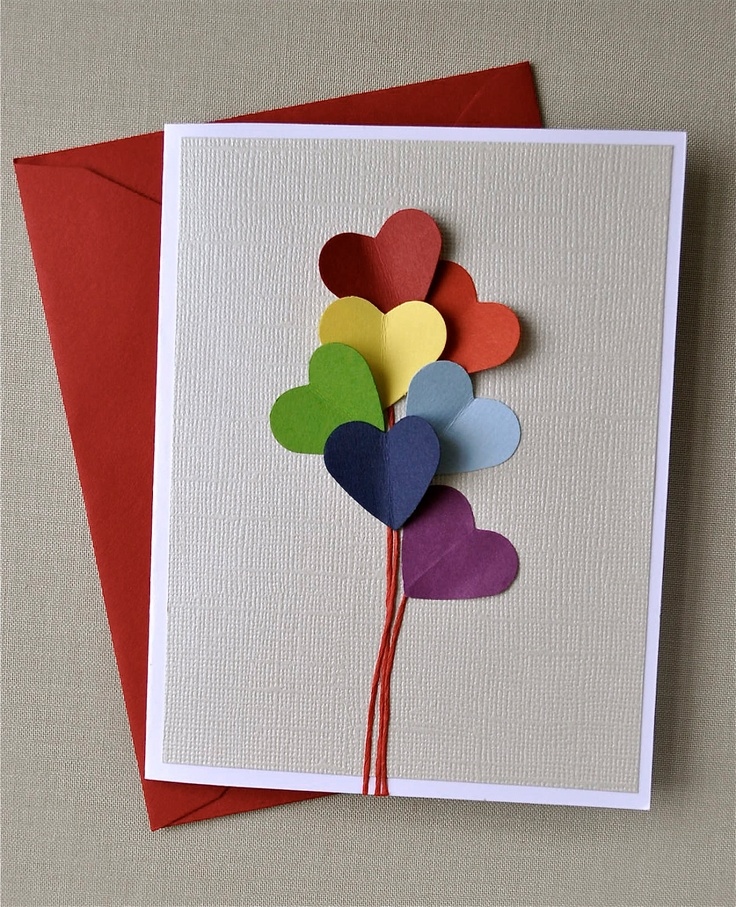
Cut hearts, as well as any other figures, you can not only from colored paper, but also from crafts of paper. It has a pattern, drawing, or just an unusual color and texture that will give your charm card. Choose a postcard for the base white, milk or beige cardboard (light brown). Such colors are most pleasant for perception and are considered classic.
Another interesting and budgetary way to decorate the postcard - glue the buttons on it. To do this, you just need to have a cardboard for the base and A handful of buttons of different diameters. Draw a figure or drawing on a cardboard with a simple pencil: a heart, a ball, a Christmas tree (whatever).
If necessary, a finished sketch pull the liner (thin felt -tip pen) and only then neatly glue the buttons onto the card. Wait for the adhesive to dry and continue the design: write wishes, fasten another pattern or draw.

Woolen thread - A simple and interesting decor for the postcard. But, it must be used correctly: choose by color, check its ability to “paint” glue (this feature can leave ugly spots), and indeed come up with why do you need it In a manual craft. Most often, the thread is used, as part of the picture (ropes, pens, legs, hair, ropes, bridges, etc.), or it express an important word.

Happy birthday cards with congratulations
Birthday postcard task - please the birthday man. That is why it should be done bright, cheerful, colorful, fill with generous wishes, decorate with sparkles. With one look, the postcard should “talk” that the person who received it means a lot for you.
The simplest idea is make a spectacular volume card. For this, the base (white, gray or colored cardboard), threads and colored paper will come in handy. The secret of the postcard is that in a closed state it looks quite simple. But, when the birthday man opens it, he sees a huge number of colored balls and the flags characteristic of the holiday with the inscription "Happy Birthday!"
Important: the advantage of this postcard is that the material for its execution is simple and accessible. In addition, every time a person will open it, he will mentally move on this day and his holiday.

Another interesting technique that can be useful in creating a postcard is Quining. Quining - This is twisting thin strips of paper in order to obtain a figure or a serpentine. A quilting set can be purchased in shops for needlework and stationery.
Important: think in advance a pattern, drawing and figures that will decorate your postcard. They should be attached to the cardboard base using hot or rubber glue. After that, the card can be additionally decorated and signed.

A classic way to decorate a card from the inside, and not outside - make a voluminous decor inside. Creating it is not difficult. To do this, first of all, you need to have two sheets of dense cardboard of different colors (preferably).
A sheet of cardboard, which will be internal, fold in half and make 6 even cuts on the bend (for three convex gifts inside):
- Two 2 cm (small gift, the distance between the incisions is also 2 cm).
- Step 5 mm and make two cuts according to 4 cm (medium -sized gift) with a distance of 4 cm.
- Return 5 mm again and make two incisions 6 cm (large -sized gift) with a distance of 6 cm.
Important: measure your postcard in advance and draw the cut lines so that you have enough space.
After that, open the cardboard sheet, turn the bends to the wrong side And glue two bases of the base. It remains only to decorate and sign a postcard. Inside you get three convex cubes are the foundations of gifts, they should be sealed with colored or craft with paper, as well as decorated with ribbons. The product is ready!

Happy New Year cards with your own hands: design ideas, templates
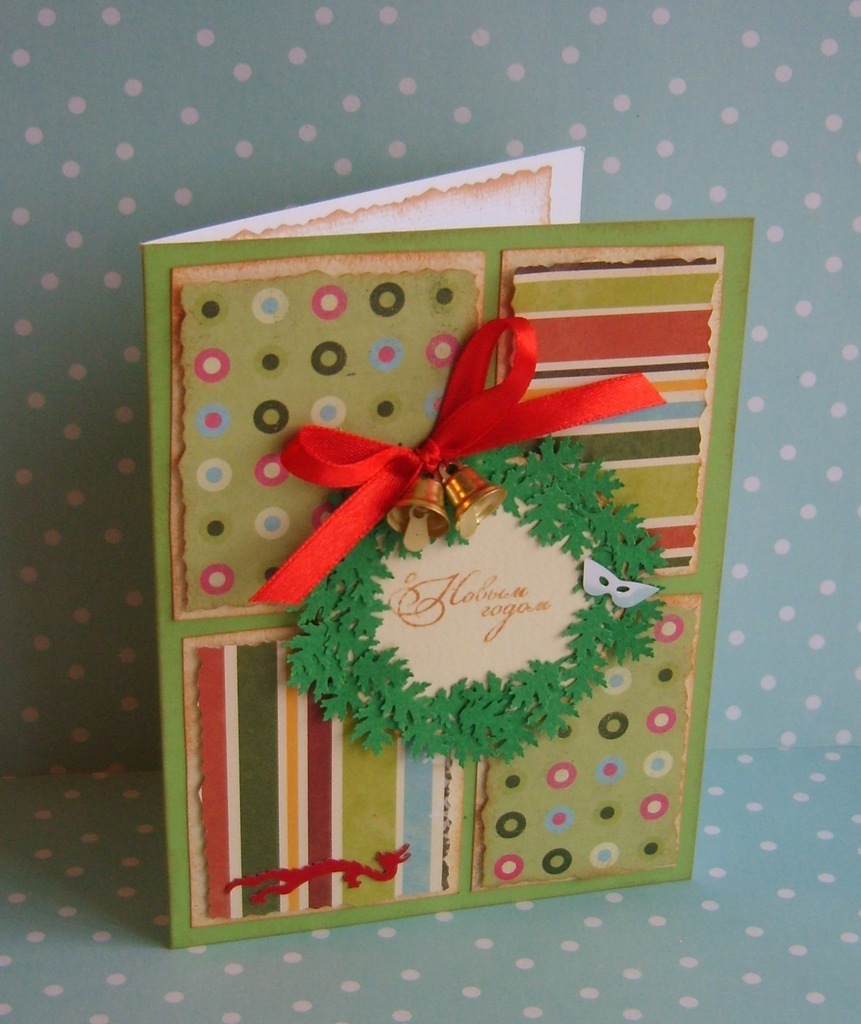
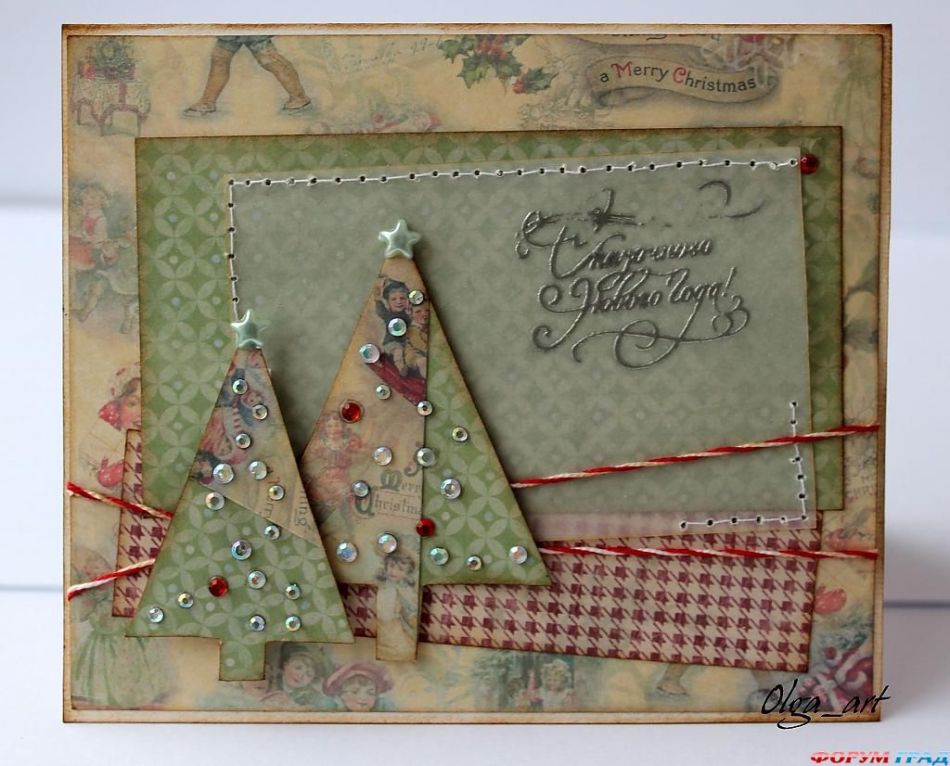
New Year is a magical time and therefore every trifle that surrounds a person during a festive time should exude pleasant emotions. For the manufacture of New Year's cards with your own hands, technique is best suited scrapbooking.
Important: Scrapbooking is a needlework that actively uses scrapBUMAGO (thin paper with drawings, patterns and prints).
The technique also involves the use of various decorative elements: beads, ribbons, rhinestones, lace, sparkles, dry twigs, acorns, centers, cones and much more. All jewelry and pictures are required they are glued to a beautiful background. Congratulations, words and signatures can be written manually, or you can print, cut and glue it.
Important: it is best to glue jewelry on a card using hot glue - it dries quickly enough and it has a good clutch.
New Year's cards using scrapbooking technique:


If you are not strong in creativity and scrapbooking is a very complicated “science” for you, you can make a beautiful card using a simple application. For this, a dense coffee -colored cardboard and craft paper will come in handy. When cutting simple geometric shapes, attach them to the base with dry glue for the formation of a thematic pattern: Christmas trees, Santa Claus, Snowman, Christmas Ball or Gift.
Interesting: instead of a craft of paper, you can also use tapes, beads of shade, clippings from magazines and old cards.

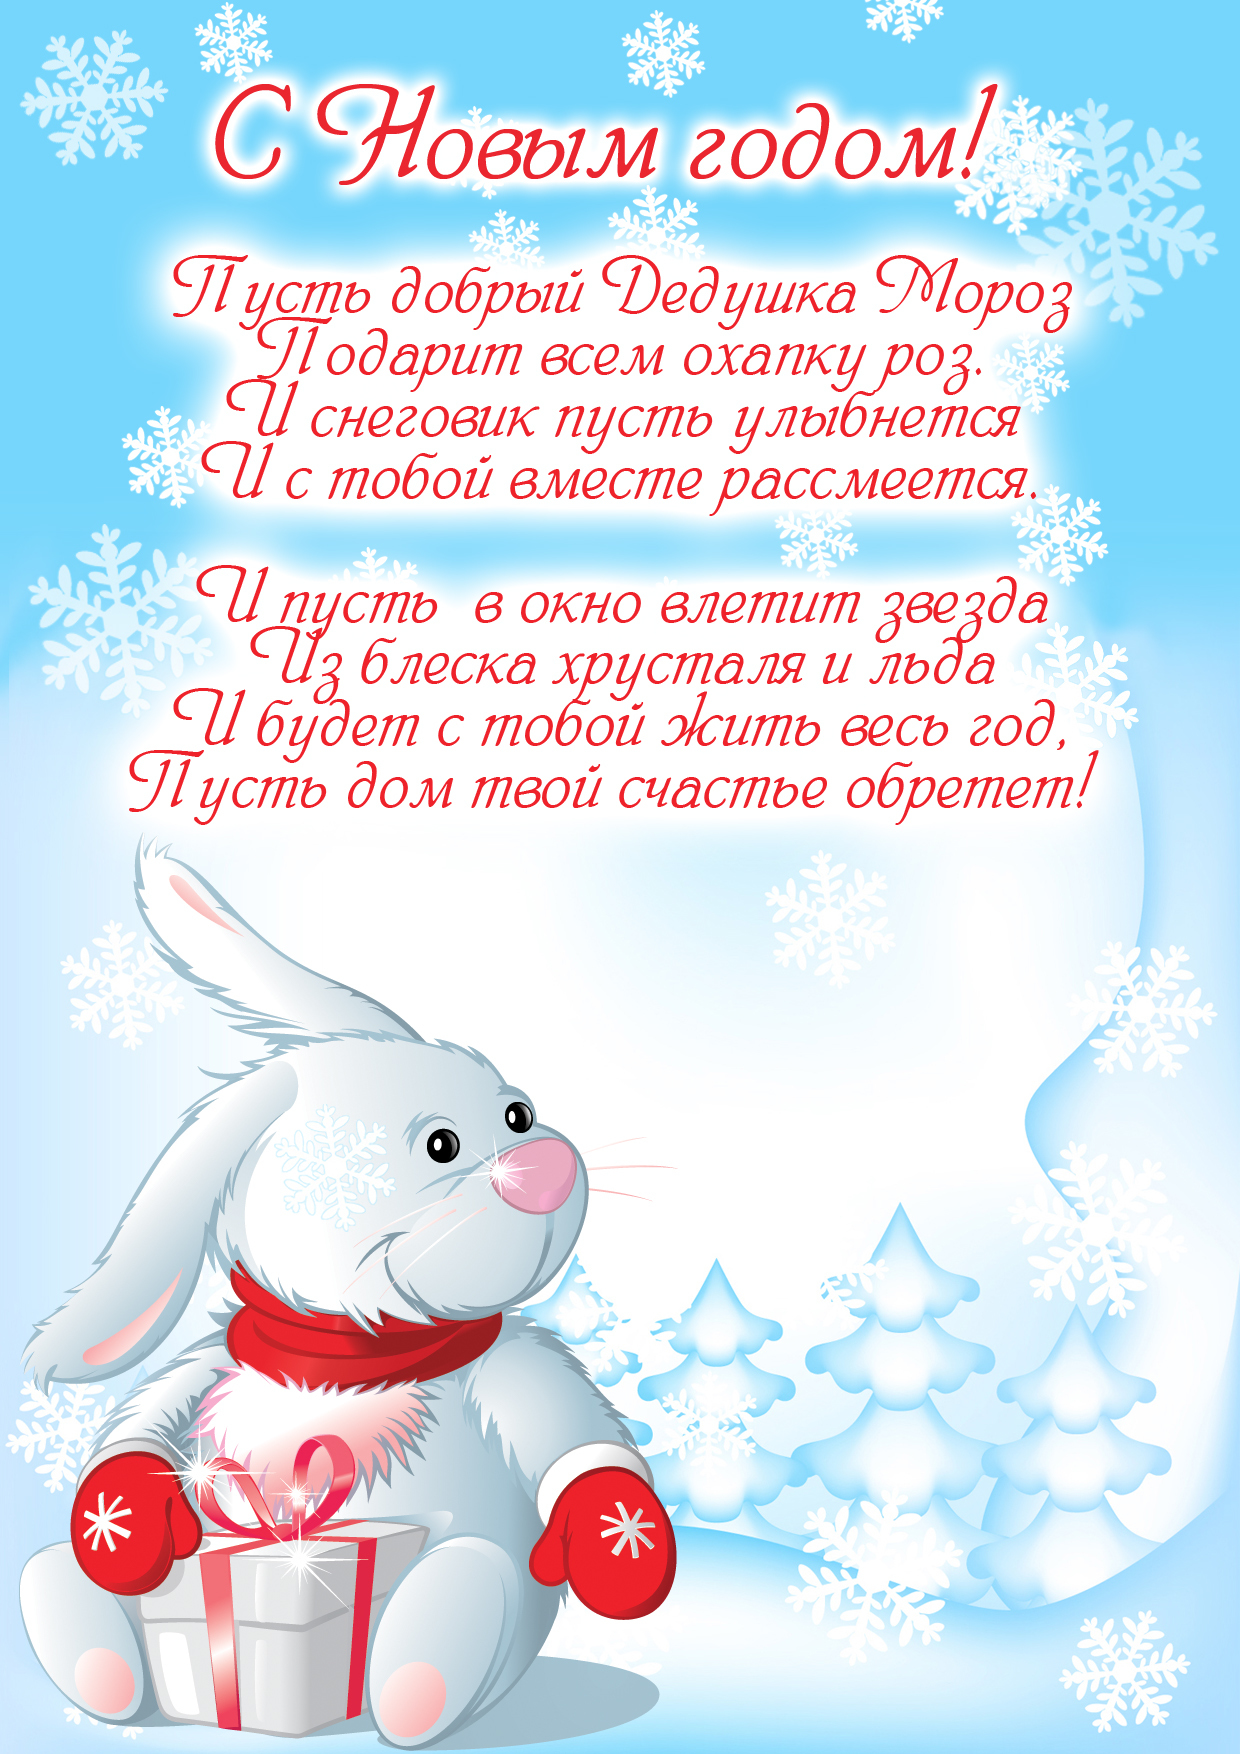
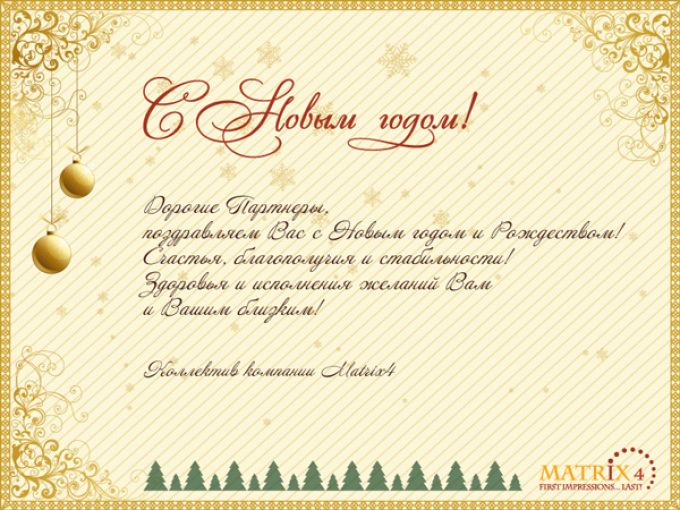
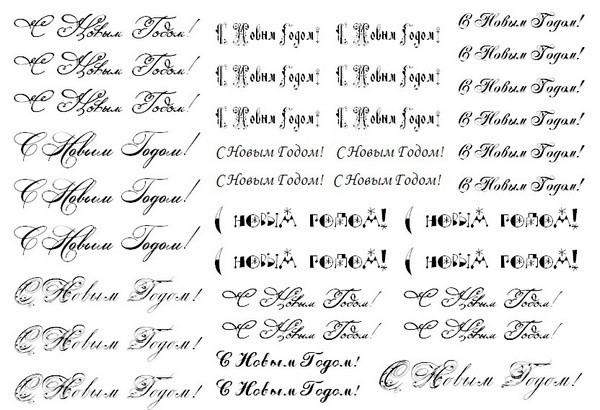
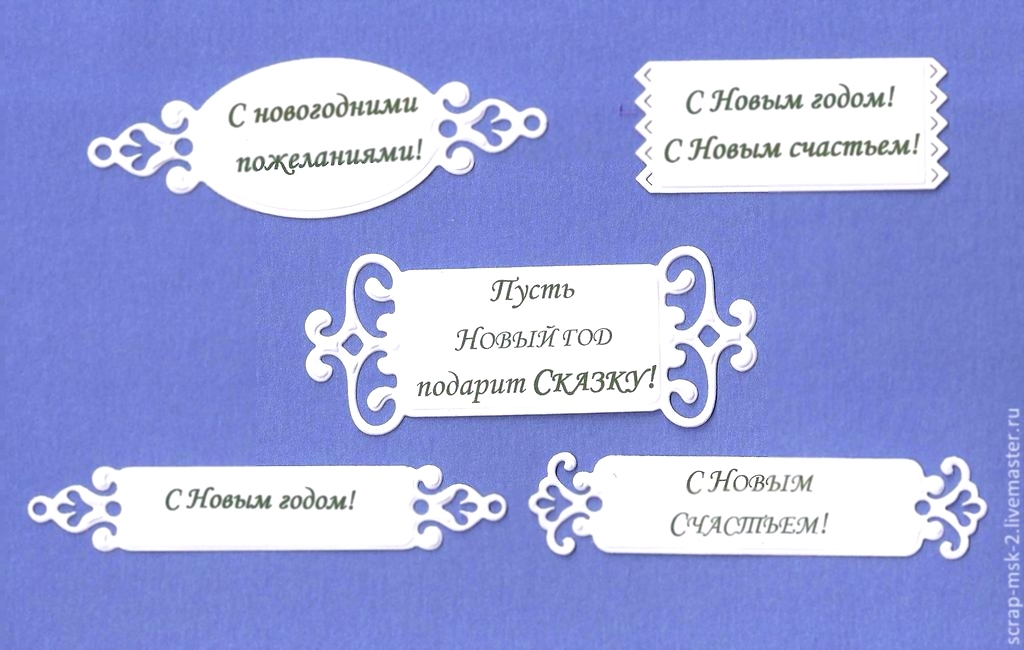
Happy New Year cards: Congratulations texts
To supplement the design of any postcard made by your own hands will help printed on paper and cut text. Such clippings look spectacular based on beige and coffee -colored, the text is written in beautiful calligraphic handwriting or book font.
Ideas for creativity, texts for the New Year card:


Postcards from February 14 - DIY Valentine's Day: Design Ideas, templates
Valentine's Day - a holiday saturated with special energy. Everyone in love on this day is trying surrender your soulmate: Give flowers, gifts, sweets and of course valentine.
Valentine is a beautiful postcard with which a person recognizes love. It must be red, have a lot of hearts, flowers, amuors and beautiful words.
Ideas for creativity, postcards for February 14 with your own hands:

The thread is a decorative element that can easily find the use of love topics in postcards.


Interesting idea: You can make your postcard on the front page several envelopes of different colored paper. In each envelope you can put a compliment or note For your second half.


Postcards from February 14: Congratulations texts
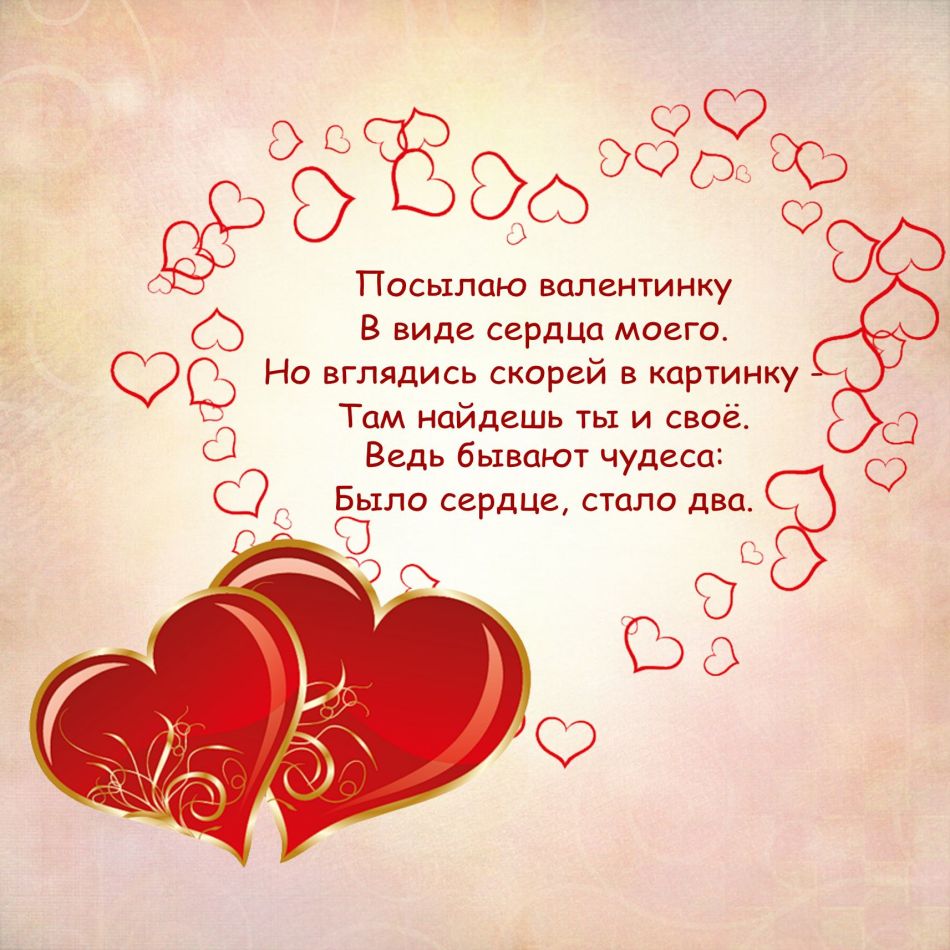
As well as New Year's cards, valentines can be decorated with texts specially printed on the printer And inscriptions. It can be simple words “I love you”, but there may be poems and recognition in romantic feelings.
Ideas for creativity, texts with congratulations:




Cards from March 8 with your own hands: design ideas, templates
Congratulate your favorite women happy holiday 8 You can also with the help homemade postcard. Moreover, such a postcard will be much brighter and more emotionally express your feelingsthan the one bought in the store.
You can decorate a postcard dedicated to the holiday on March 8 different decorative elements:
- Bows
- Beads
- Lace
- Artificial flowers and berries
- Number "8"
- Braid
- Crafts with paper
- Embroidery
Important: Embroidery on paper - another the original way to decorate the card. It is not difficult to do this: you need to draw a pattern with a simple pencil, penetrate the hole with a needle around the pattern and only then spread the thread into each hole.
Cards with embroidery:


Quining - Another popular technique that is very looks successfully on spring cards. Kwing allows you to do volumetric floral decor on the title page postcard. You can combine quilling very well with printed texts, congratulations and signatures.
Postcards for March 8 using the Kwing technique:


Because March 8 - Female holiday, then very tender and organic You can decorate the card using lace. In a needlework store you can purchase lace braid any size and color. It is attached to the base with hot or rubber glue.

Satin ribbon - The best decoration for postcards in honor of March 8. It can be attached by anyone in the way, but the best - make a bow. Other tape fastening options are ties that fasten two sheets of postcards and a postcard in the form of a gift with a ribbon.

Postcards from March 8: texts, ideas for creativity
The wishes and congratulations written in beautiful fonts and printed from a computer will be able to complement the style of any festive postcard and decorate it, both outside and inside.
Tests and congratulations for postcards by March 8:


