In this article, we will talk about how to apply old light bulbs already in an original way.
Content
- How to pull the insides from a light bulb?
- DIY crafts from bulbs, Christmas toys: master class, photo
- How to make a snowman from a light bulb: description, photo
- How to make a penguin light bulb: description, photo
- How to make Santa Claus from a light bulb: description, photo
- How to make a snow maiden from a light bulb: description, photo
- How to make flowers from a light bulb, bouquet: description, photo
- How to make a Christmas tree from a light bulb: description, photo
- How to make a craft with a bachelok from a light bulb: description, photo
- How to make a vase from a light bulb: description, photo
- How to make a rooster from a light bulb: description, photo
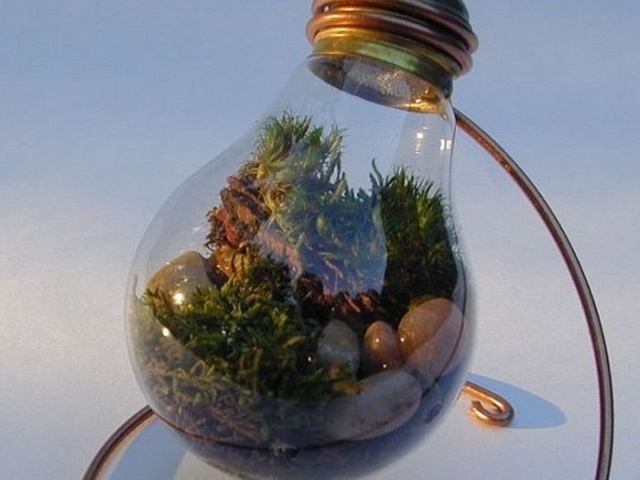
- How to make a terrarium from a light bulb: description, photo
- How to make a minion light: description, photo
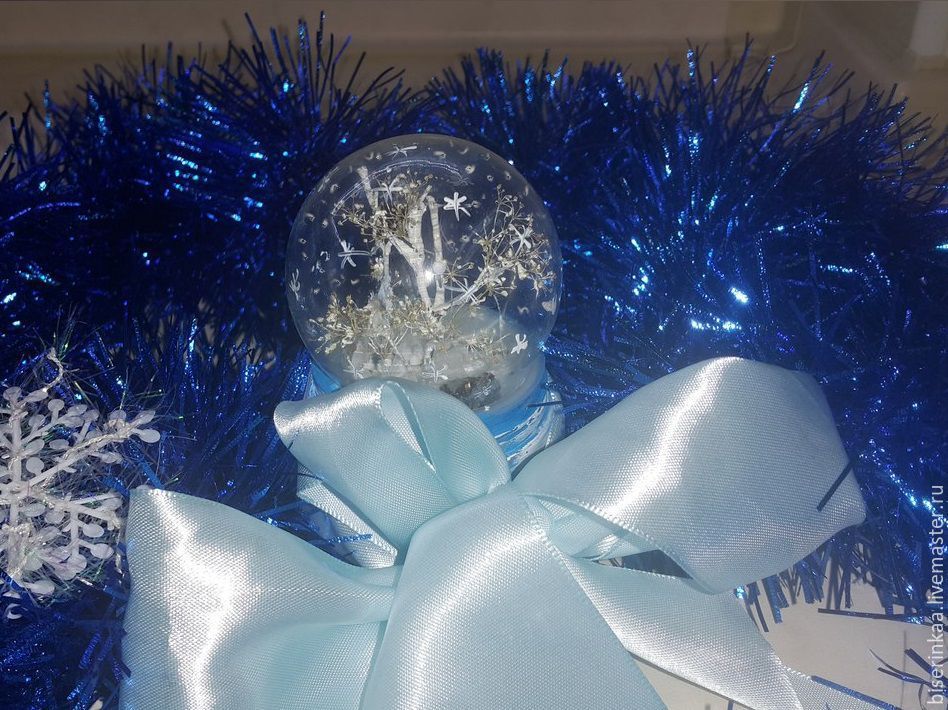
- How to make a snowball from a light bulb: description, photo
- What craft can be made of spiral, energy -saving, LED bulbs?
- What craft can be made of small bulbs?
- About the terrarium made from the light bulb:
A damaged light bulb is irritated: "burned out, you need to change." But what if we say that this useless, at first glance, the thing can be used wisely, making an interesting craft?
How to pull the insides from a light bulb?
But first you need to understand how to clean the light bulb from its contents. The product is needed to analyze:
- Screwdriver
- Pliers
- Box or several sheets of paper - since glass will break, you must take care of the litter under it in advance
Important: gloves made of thick rubber and glasses are also worth getting.
You can proceed:
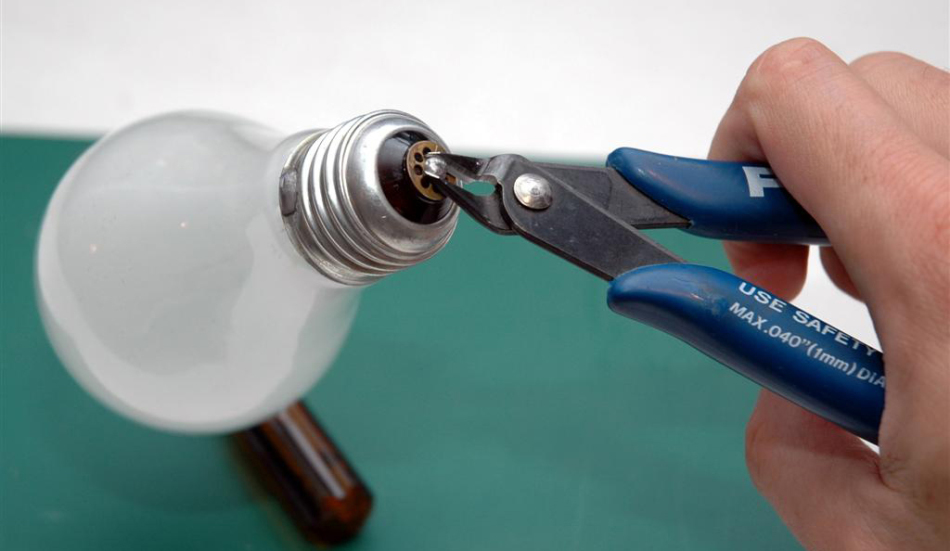
- First of all, you need to find contact - it is located at the bottom of the base. With the help of pliers the contact is loosened Until the breakdown of the wiring becomes audible.
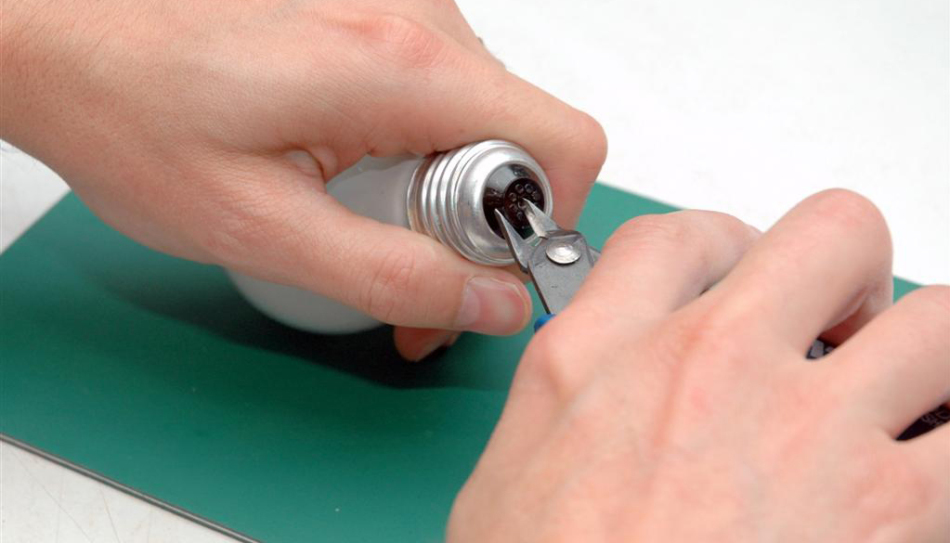
- Next, you need to start basement insulator. The glass in the indicated place is quite thick, so the bulb must be kept tight. You may have to break at different angles. Contact then must be extracted.
- Now you can take a screwdriver - It is most convenient for her remove the remaining inner part of the bulb. You can delete with pliers.
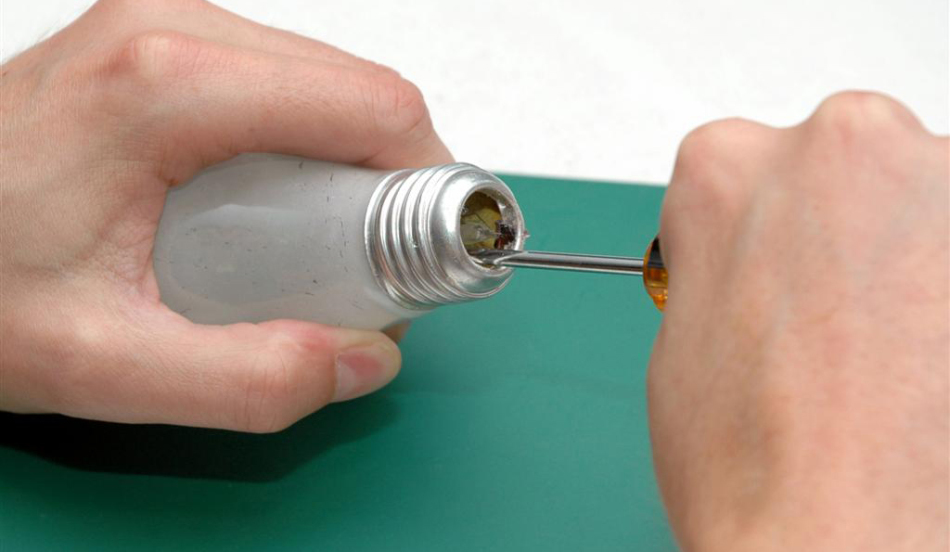
Important: the leg of the lamp is made of glass, so it is worth showing maximum caution.
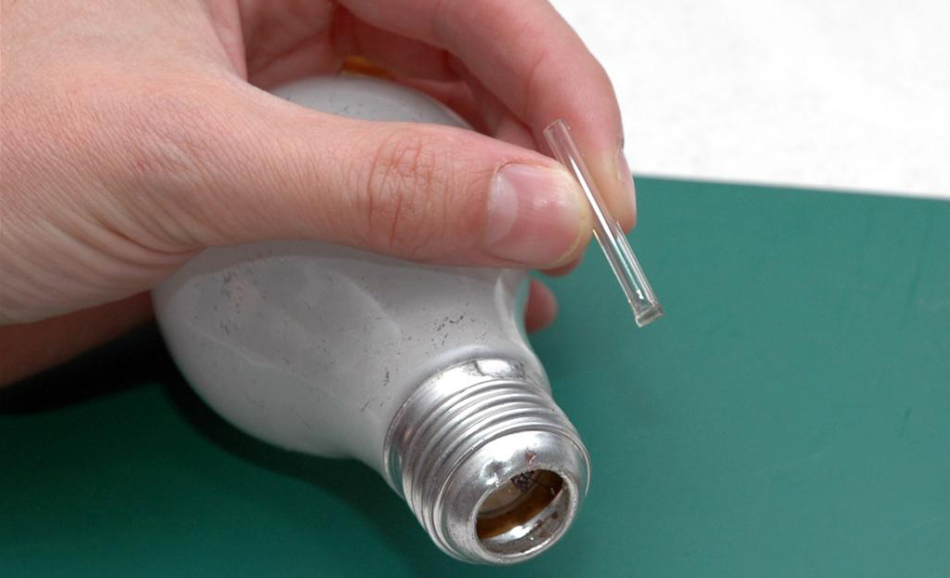
- Electrodes, the body of the intensity, holders - all this it is subject to removal.
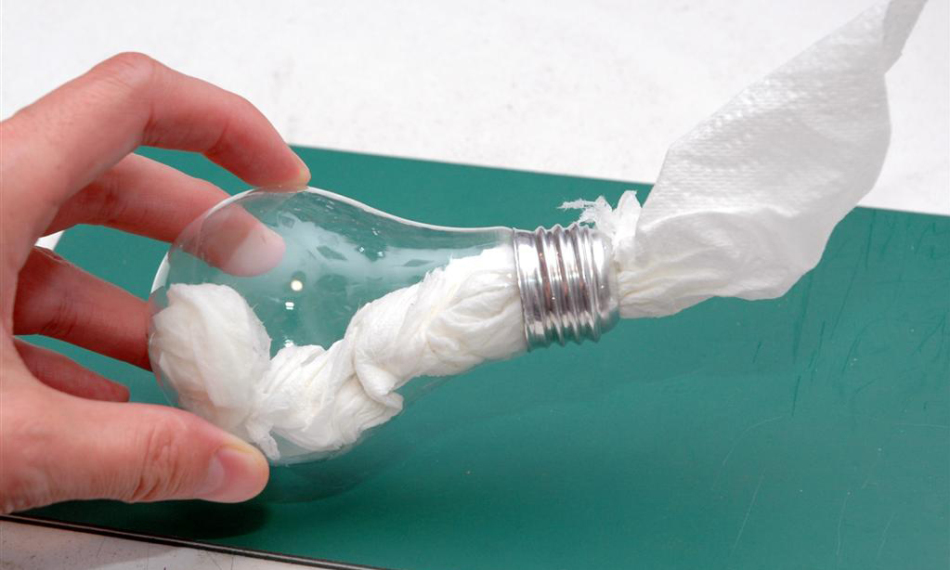
- Preferably a lamp at the end of the procedure wipe From the inside, a napkin.
DIY crafts from bulbs, Christmas toys: master class, photo
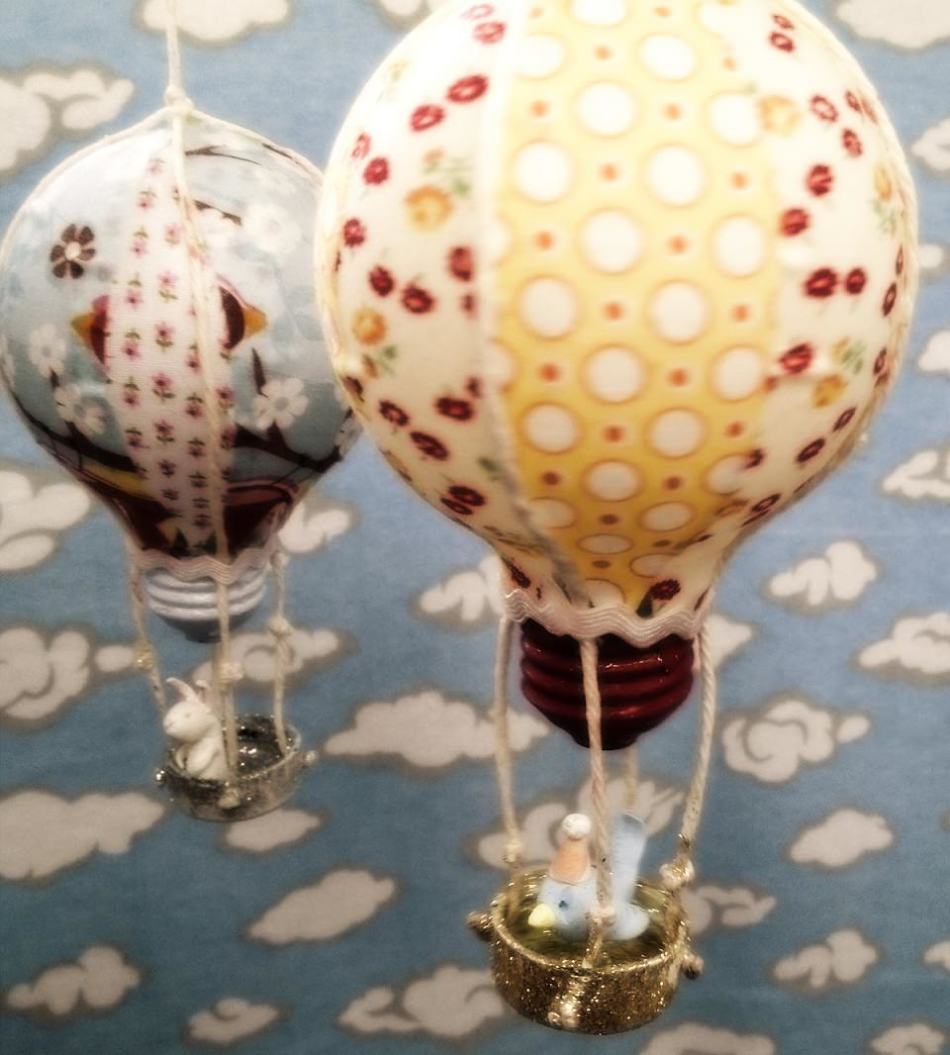
From the light bulb you can make amazing a balloon on the Christmas tree, for which you will need:
- Bulb
- Glue
- Non -weeding rope
- Thin fabric or multi -colored paper
- Sparkles
- Beautiful elastic band
- Plastic bottle
- Acrylic paint
- Clear nail polish
- Awl
Important: Shilo should be chosen thicker.
Work process:
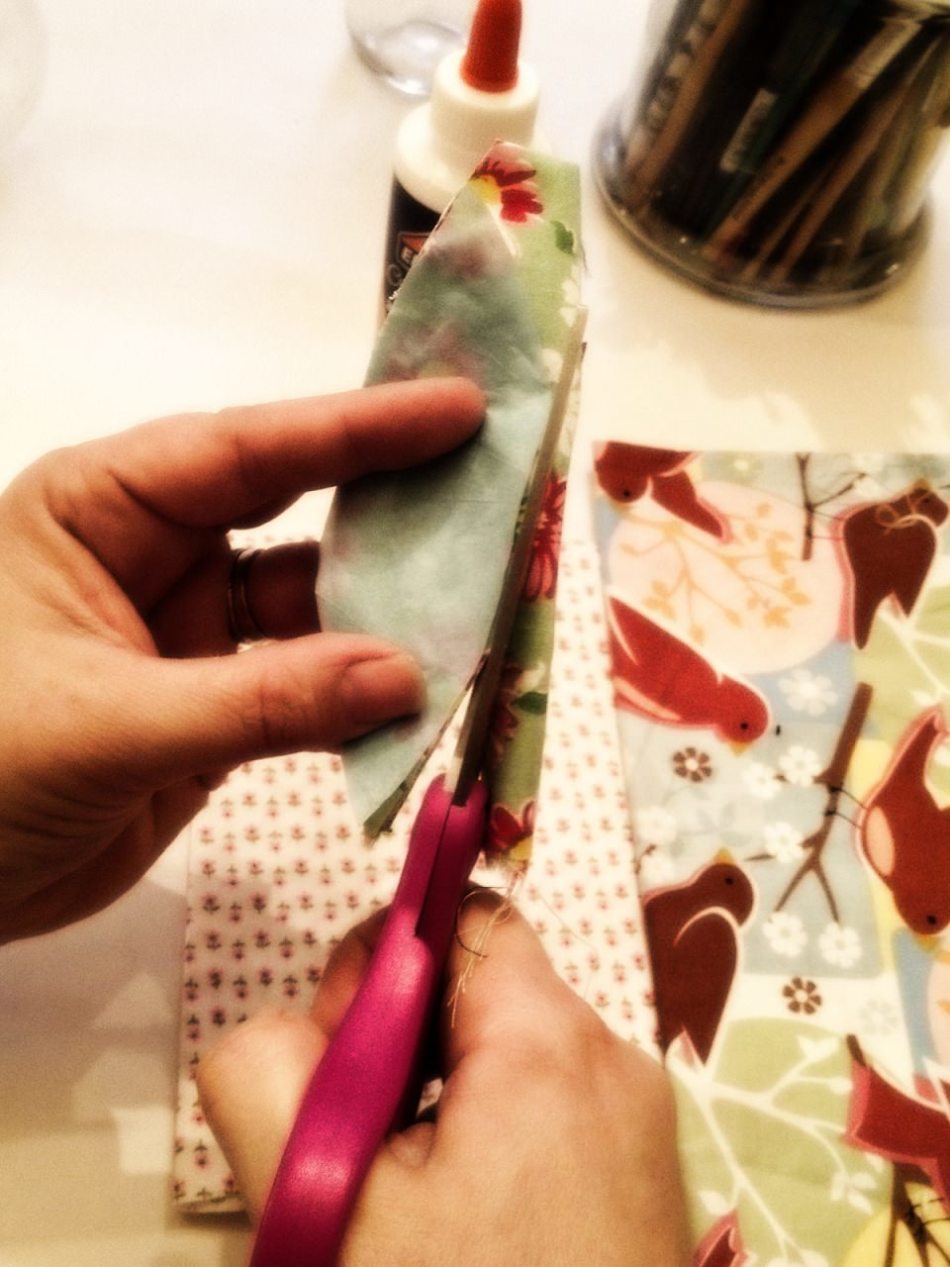
- First thing, from the fabric you need to cut flaps. The width is not so important, but the length should correspond to the distance from the top to the bottom of the light bulb.
- Now fabric pieces follow glue to the light bulb. The edges need to be smeared with glue especially carefully.
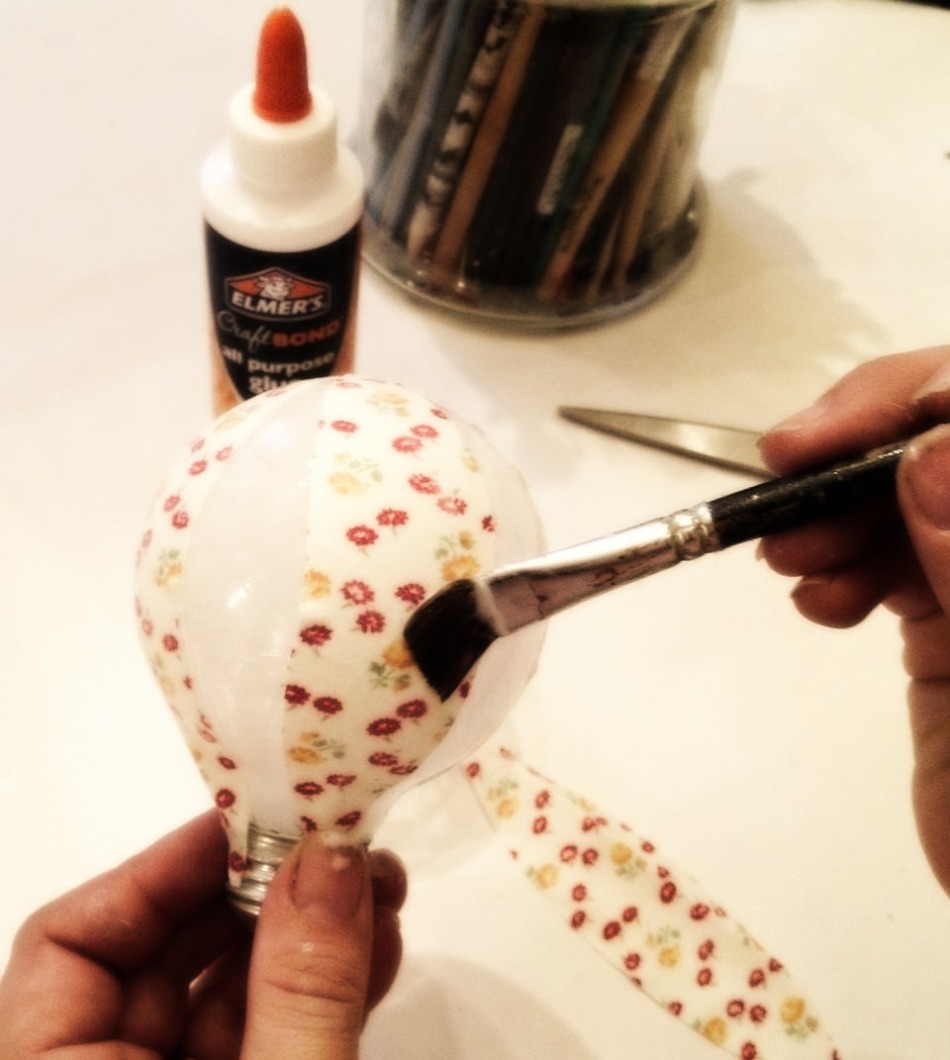
- Then the ball must be given time dry.
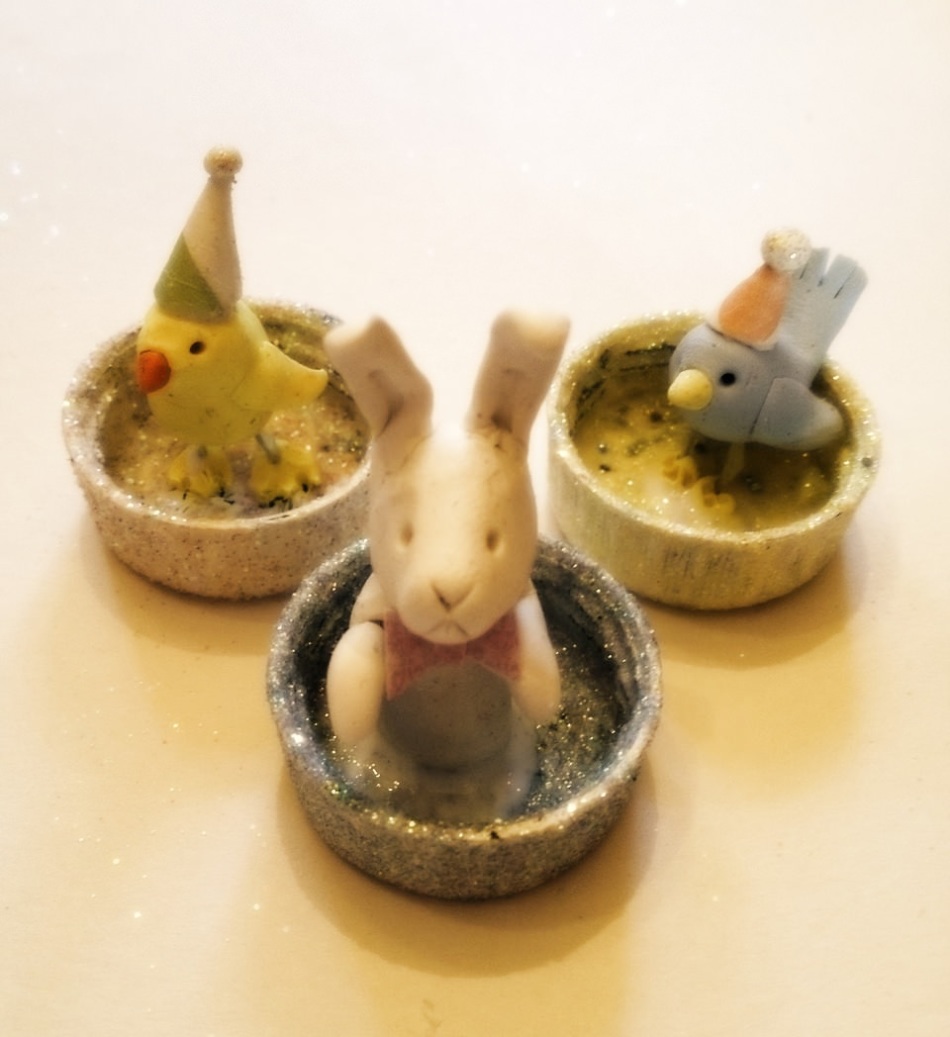
- In the meantime, sparkles are added to the paint or varnish - this mixture needs to be covered with a bottle cover.
- The covers should also dry.
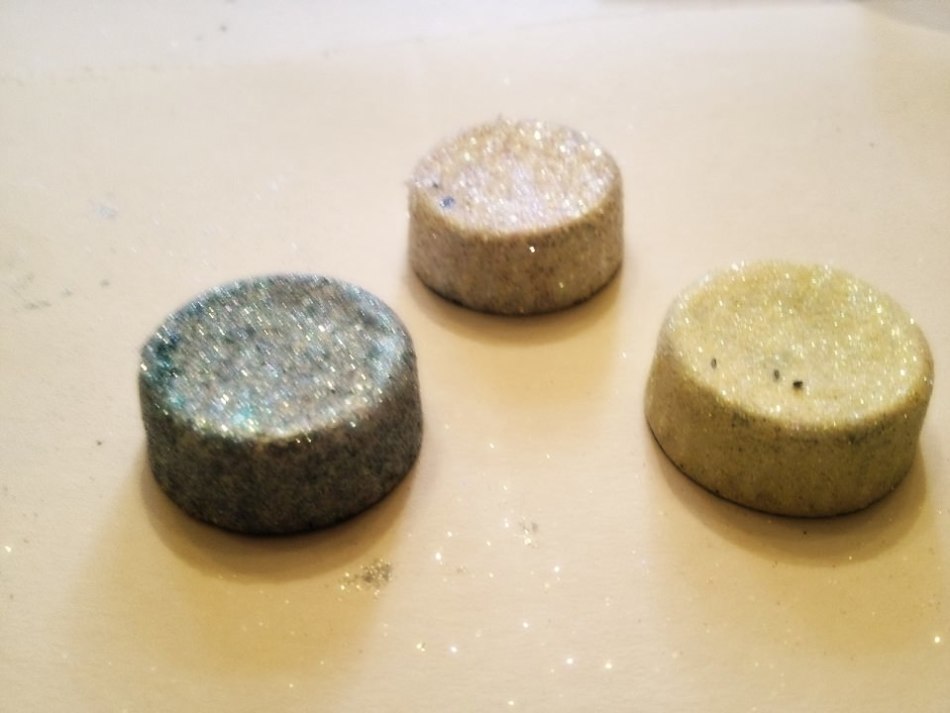
- Then awl 4 holes are made.
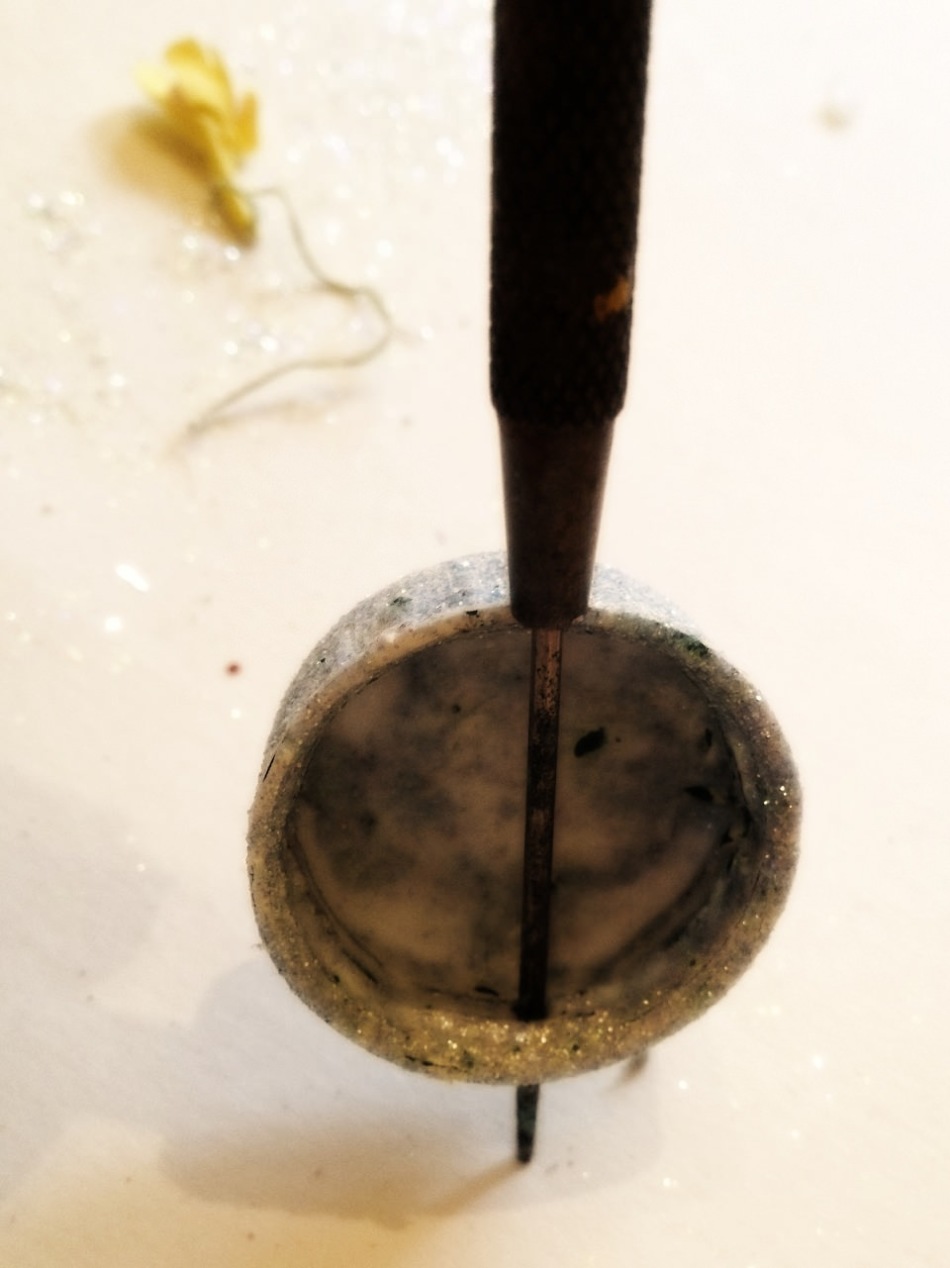
- Now 2 pieces should be cut off from the rope, each of which in theory you can tie a light bulb three times.
- From the first piece Need to form loop.
Important: pieces of the rope of the same length should remain on the sides of the loop.
- Further the rope is applied to the ball So that the loop is at the top, and the ends are located on the sides. You need to fix the rope glue.
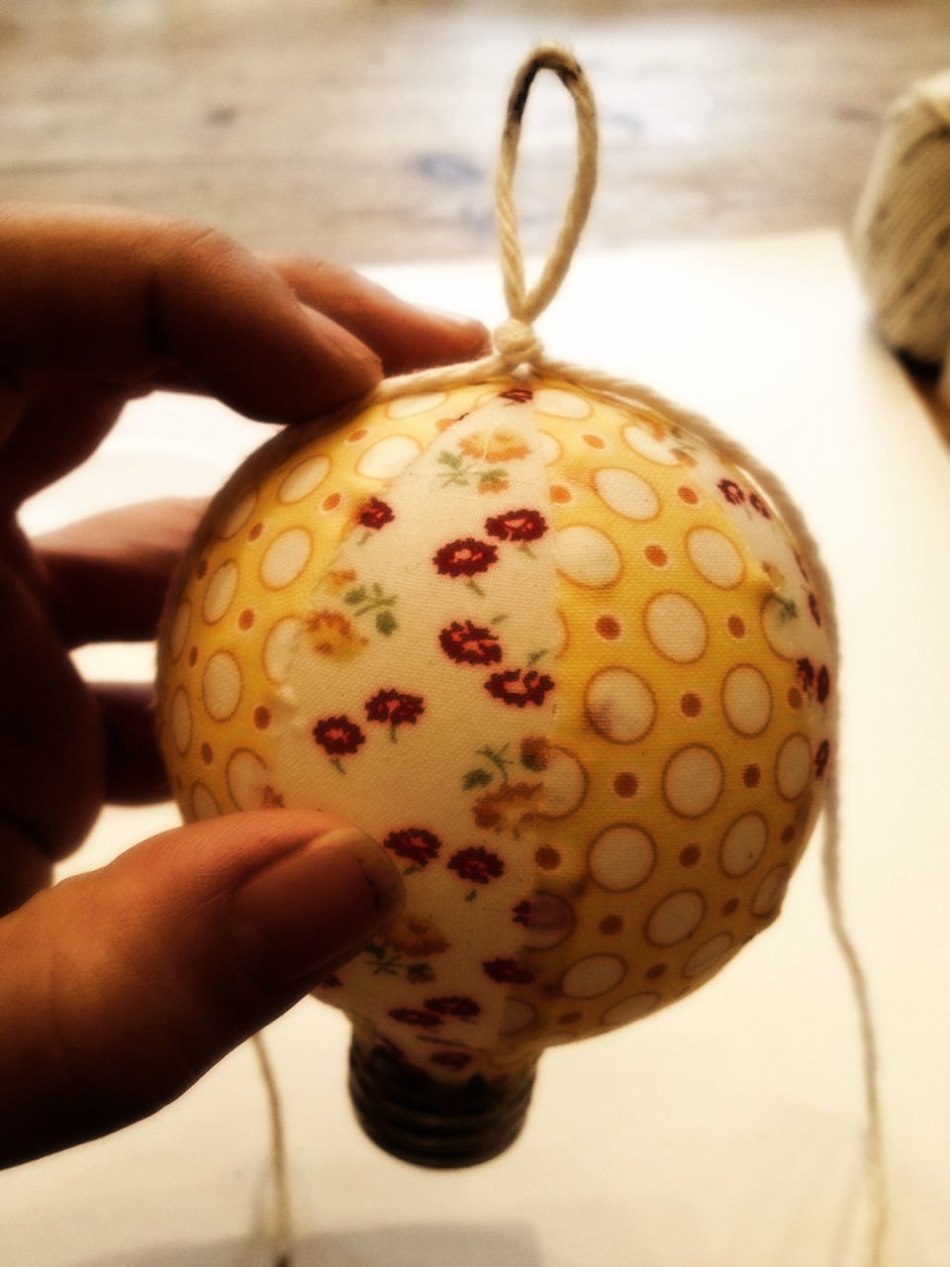
- Then it is taken The second piece ropes. It is formed from it an ordinary knotbut he does not drag out. This node is needed put on a loop and fix. The ends of the rope also need to be placed on the sides of the toy.
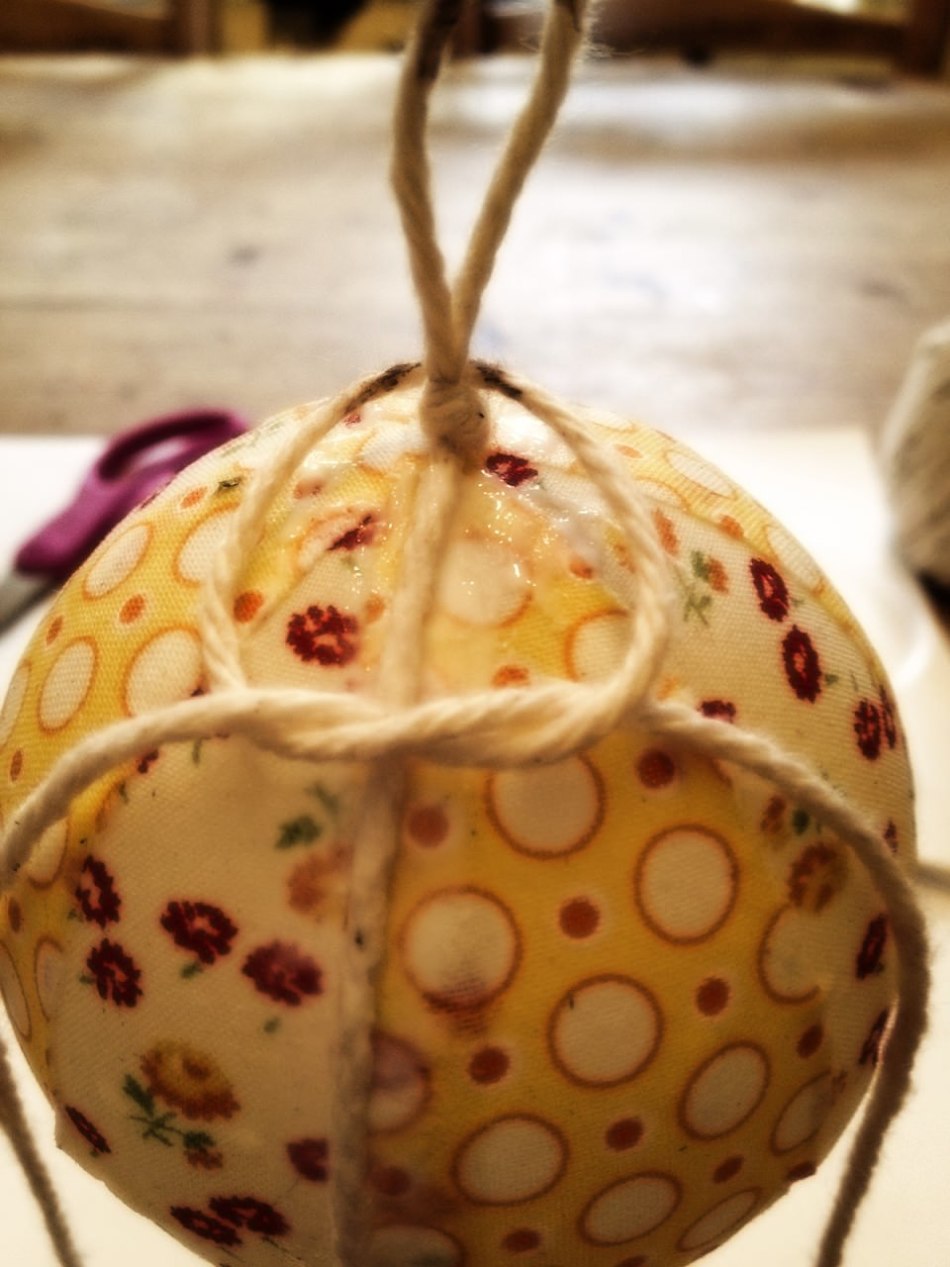
- Base The bulbs are covered paint.
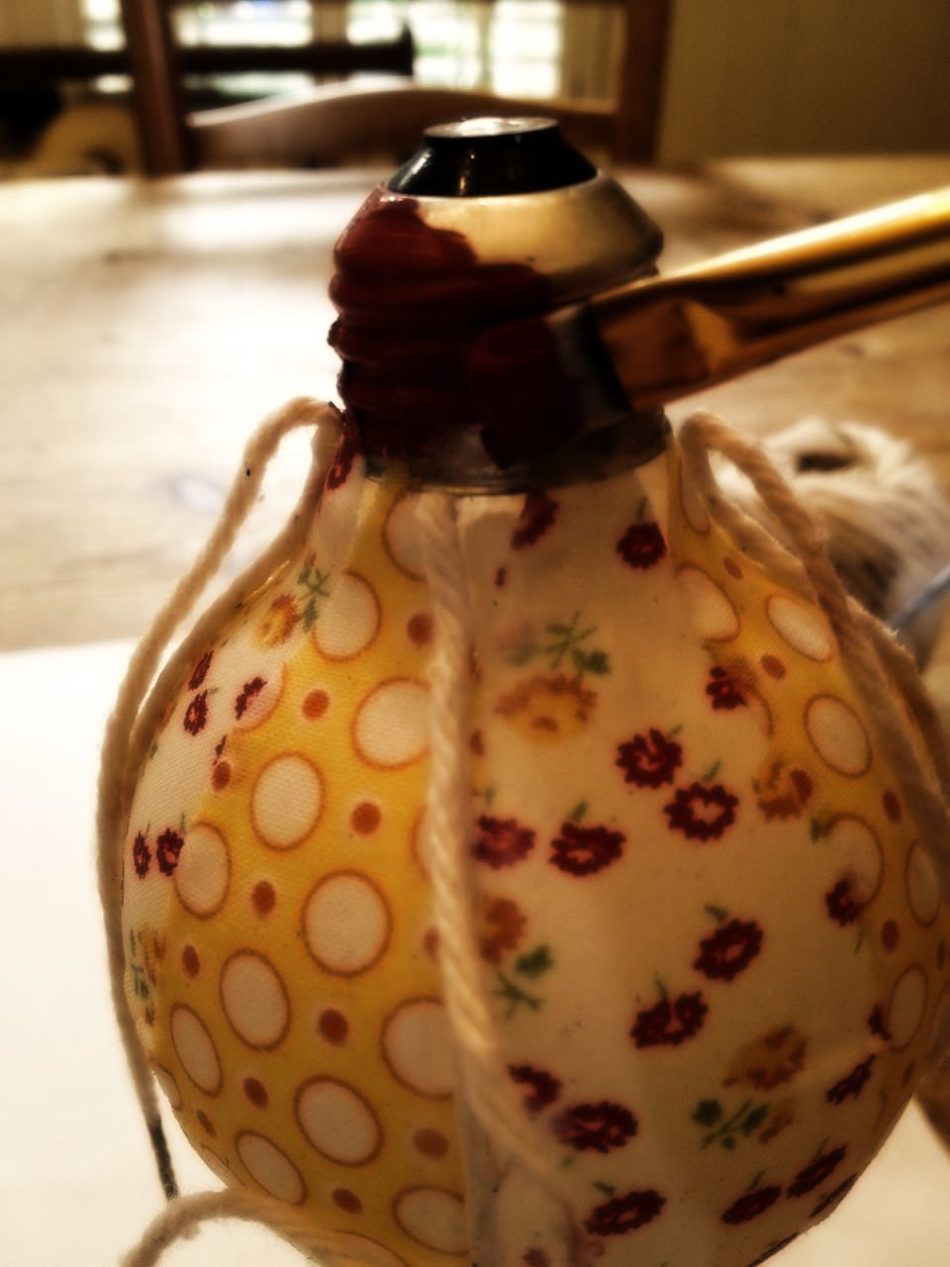
- The ends of the ropes located at the base is worth carry with an elastic band.
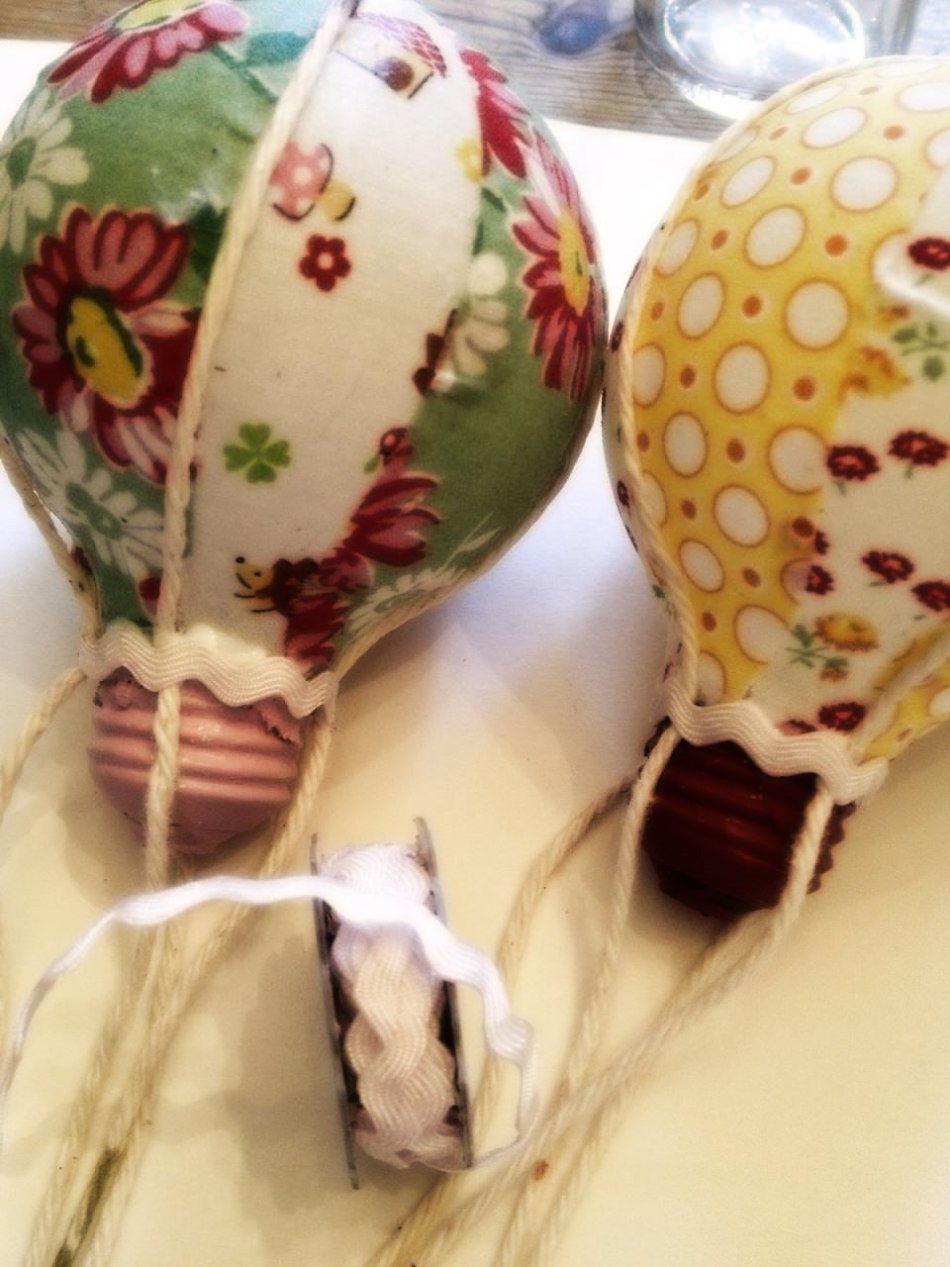
- Now it remains stretch the ends of the ropes and fix There are in the cap.
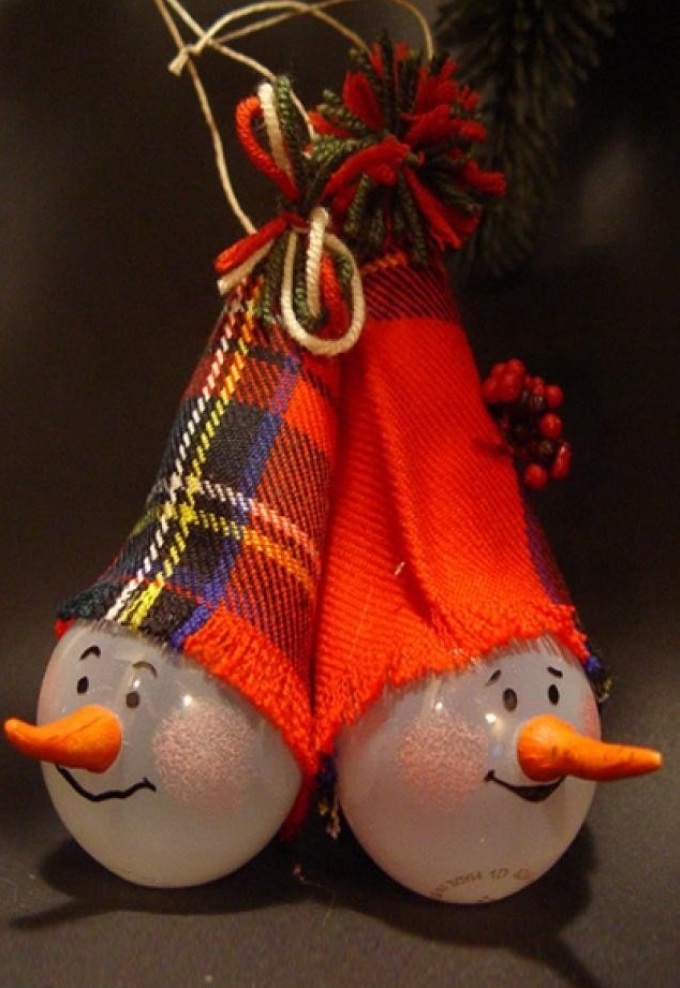
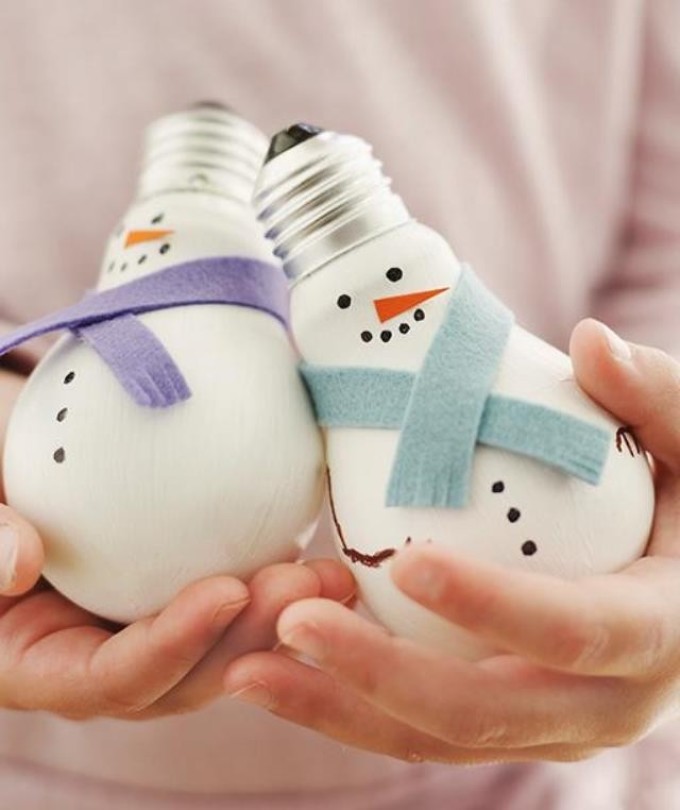
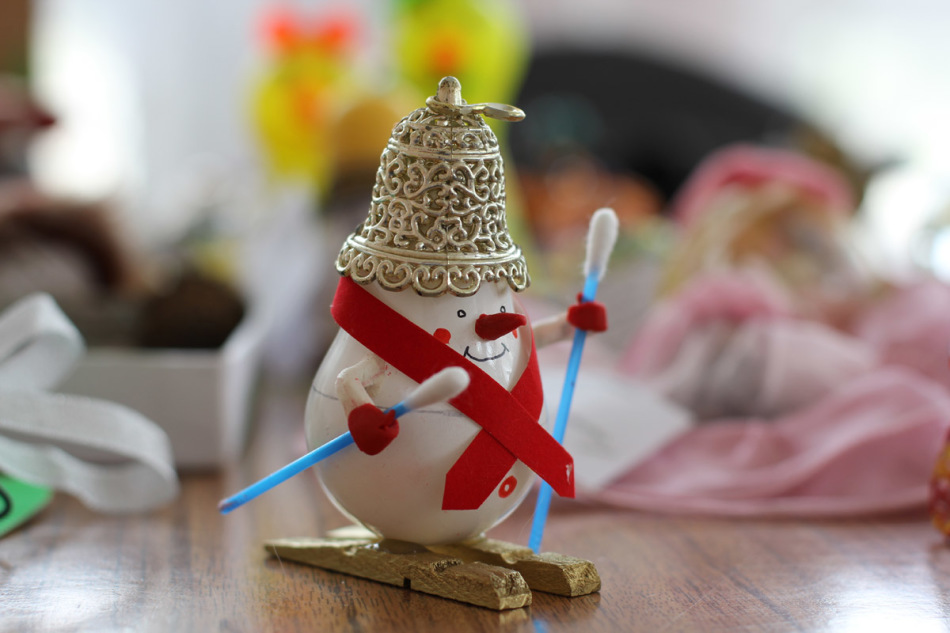
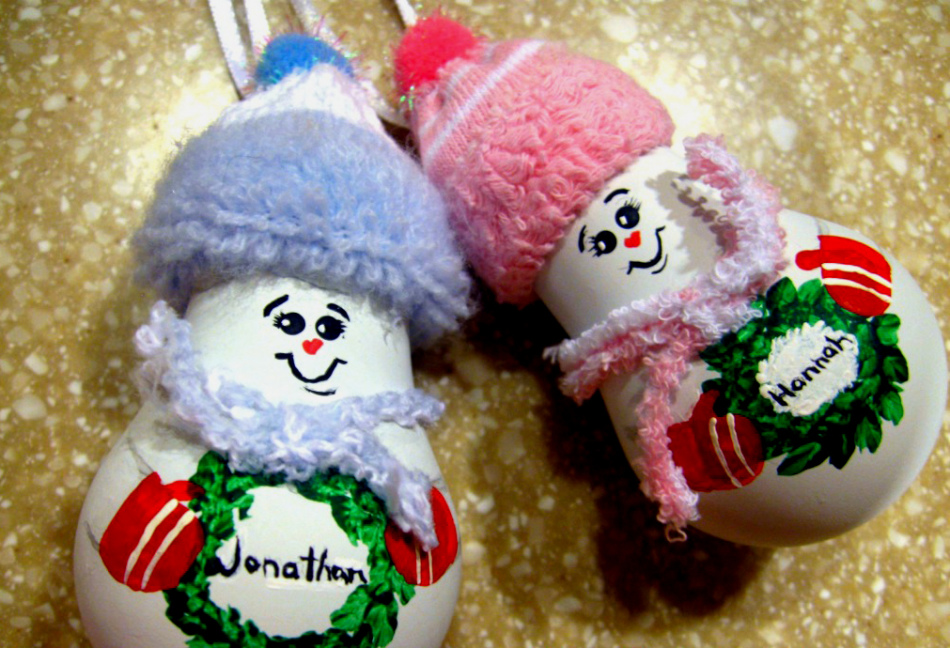
How to make a snowman from a light bulb: description, photo
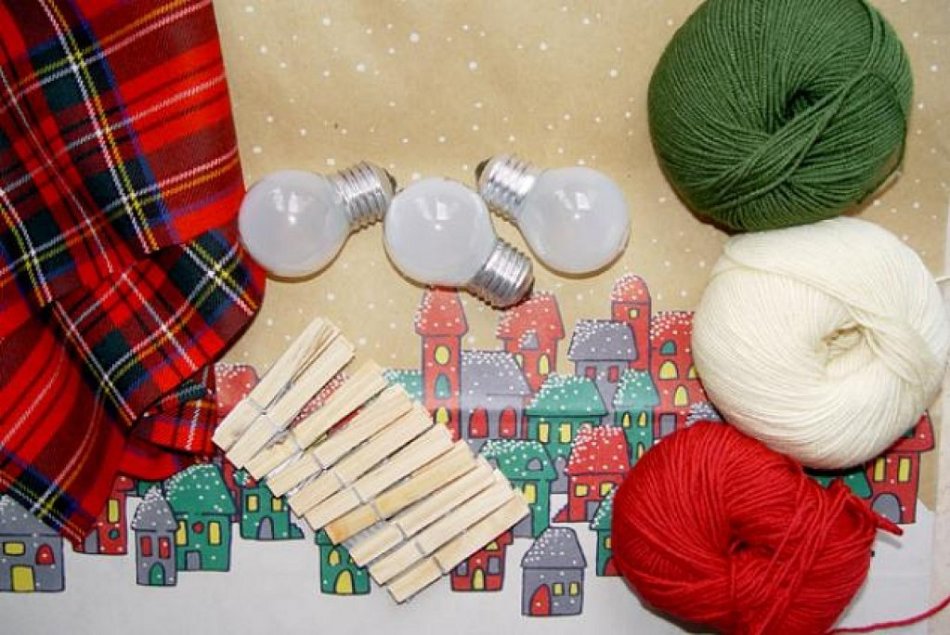
Important: fabric is not needed a lot - 15 cm is enough.
Operating procedure:
- From the fabric are cut out triangles.
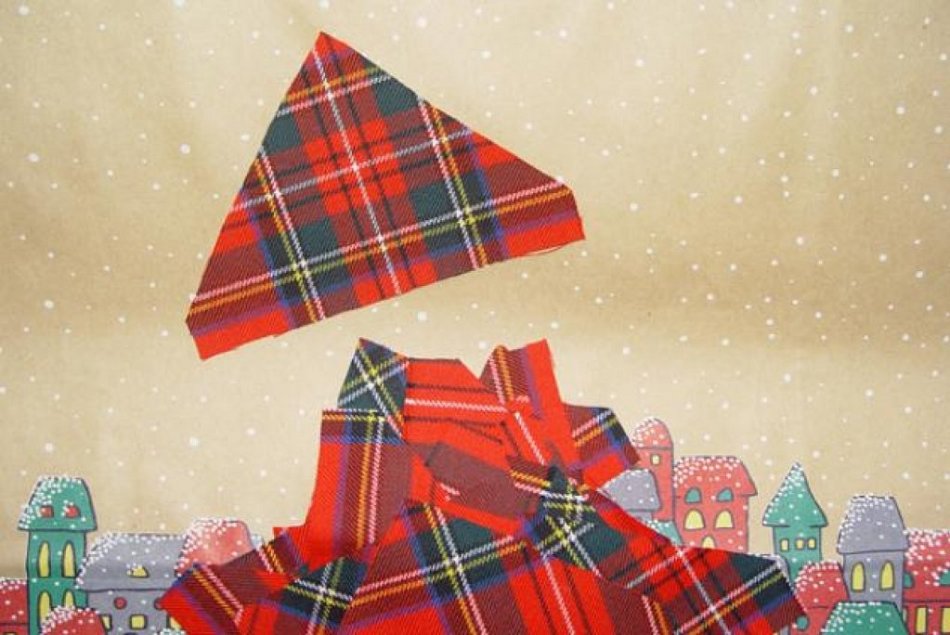
- The lower edge is built fringe. It is made simply - threads are removed from the bottom of the triangle.
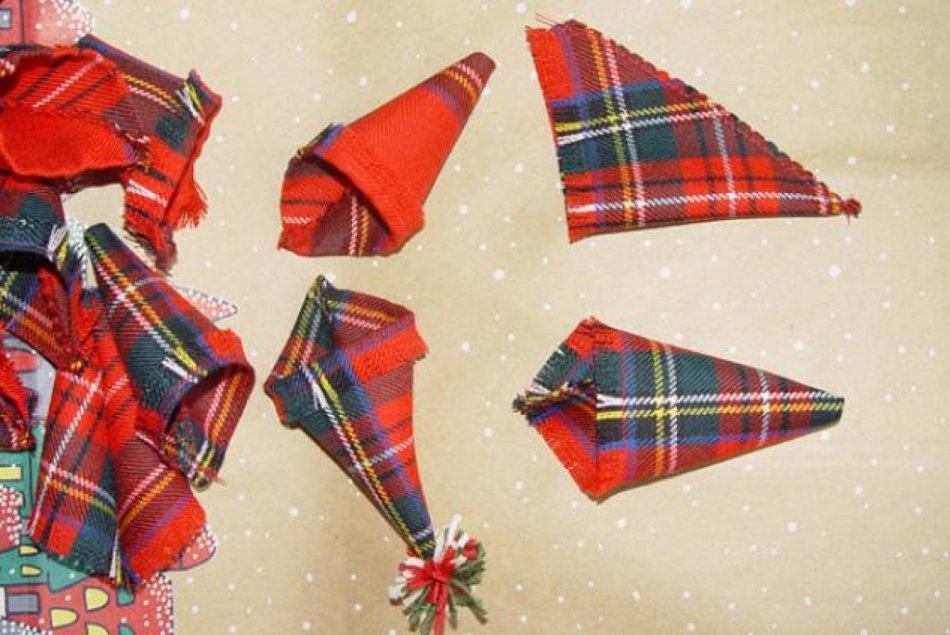
- Further triangles they are sewn in the form of caps and decorated.
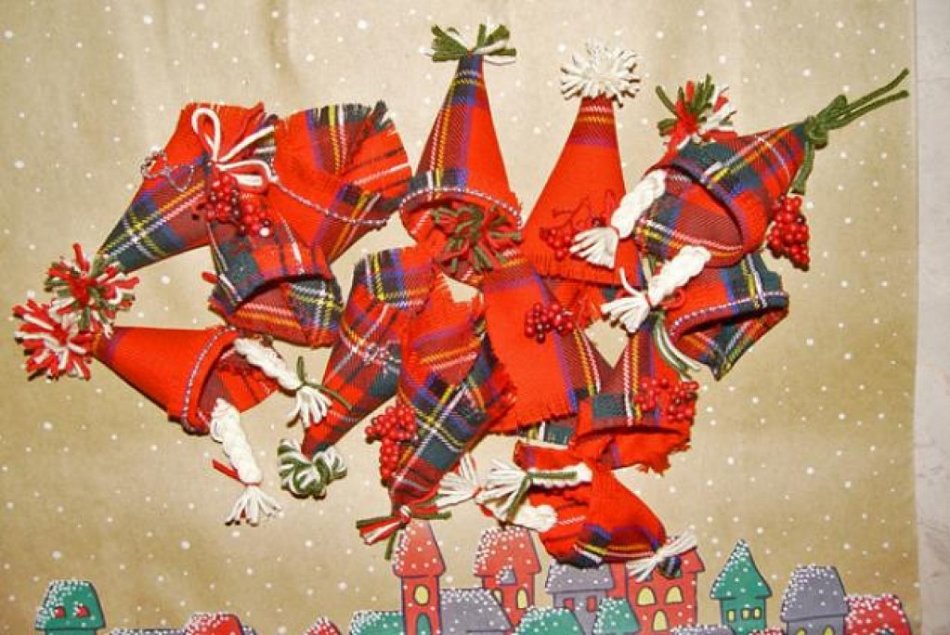
- Now from polymer clay is needed To blind the noses-carrots, and acrylic paint is desirable Apply dashes.
- Left glue caps and noses to light bulbs and with paints depict the muzzles.
Important: you need to remember about the loops with which the snowman will hang on the Christmas tree.
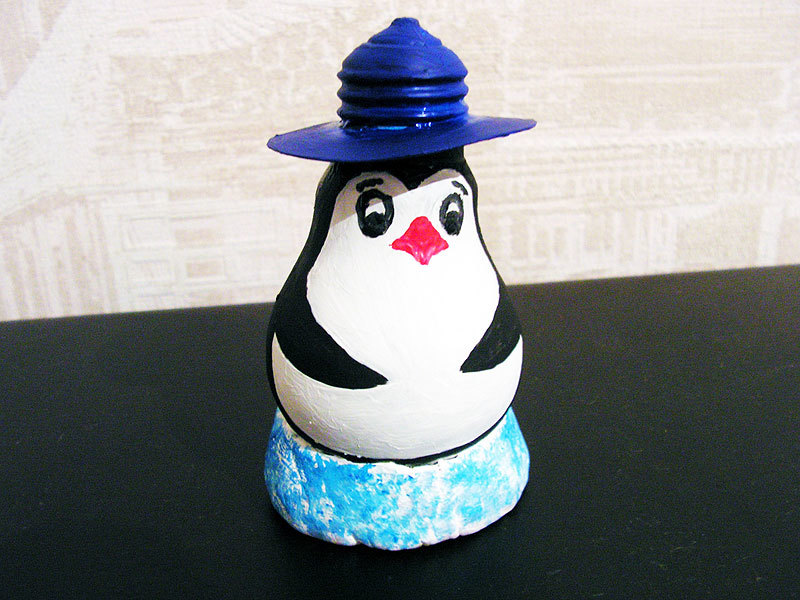
How to make a penguin light bulb: description, photo
You need to create a penguin:
- Bulb
- Clay designed specifically for modeling. The fact is that such material can dry after some time and freeze itself
- Acrylic paints
- Cardboard
The order of work is as follows:
- From clay is formed foundation, on which it is worth attaching a light bulb.
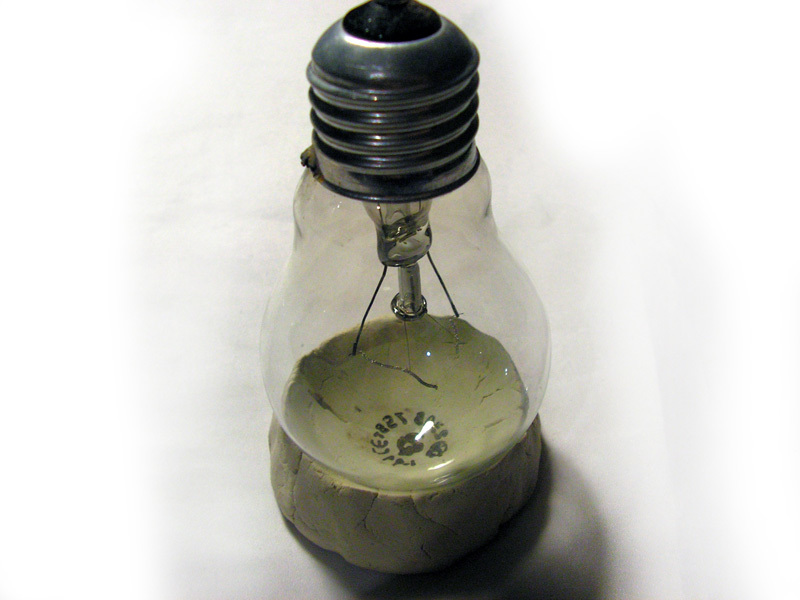
- From cardboard a circle with a hole is cut - Through it, the cardboard is put on the base.
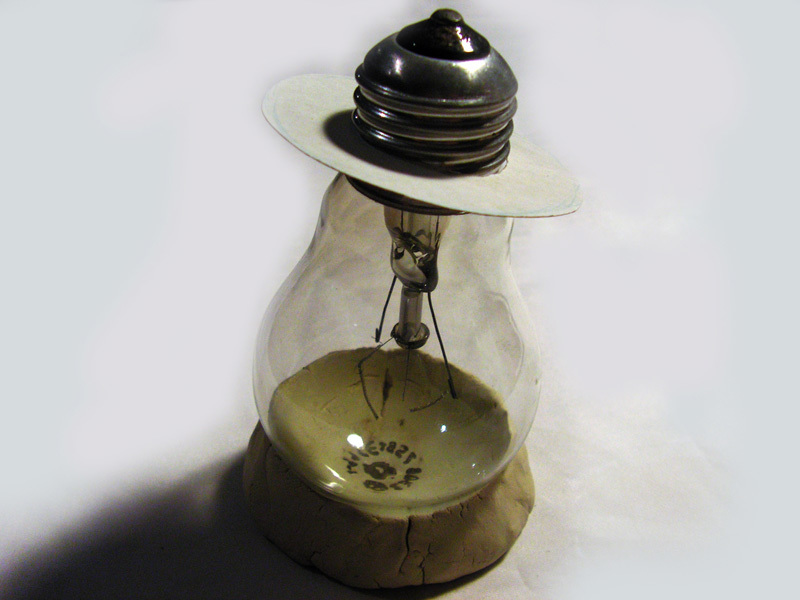
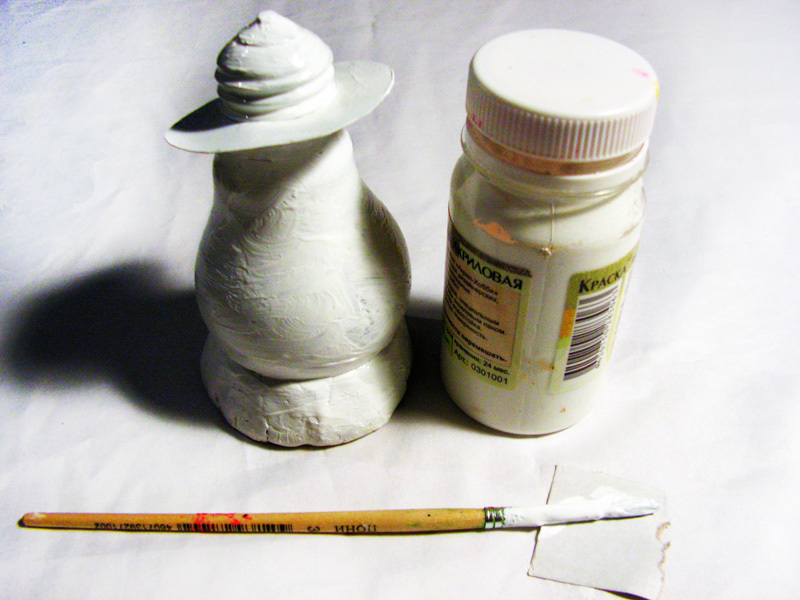
- Then you need to produce Acrylic paint primer.
Important: everything is primed - both the light bulb itself, and clay, a base, a cardboard circle.
- Further color paint They are completely covered cardboard circle On both sides and base.
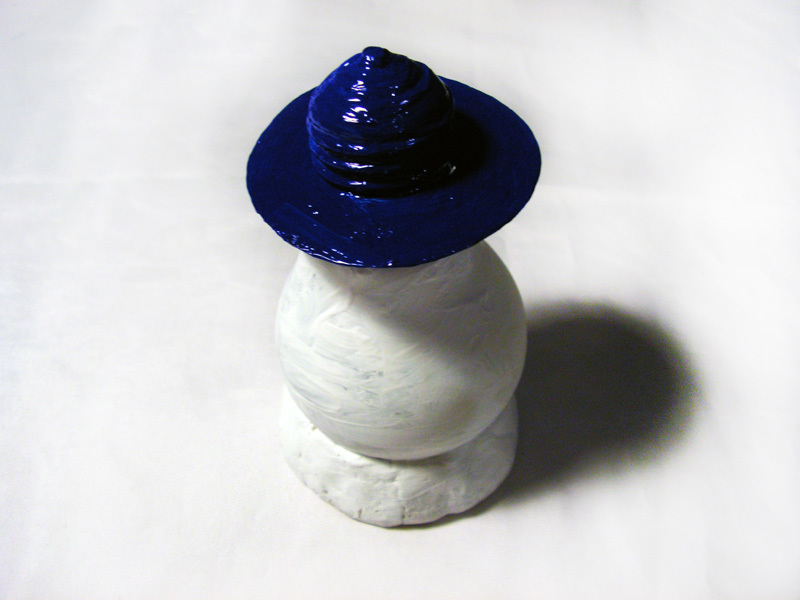
- It remains to paint the rest of the light - To depict a penguin’s tailcoat, cover again with white paint a tummy and a muzzle, indicate the eyes with a beak.
- The base can be decorated Under the snow motifs.
How to make Santa Claus from a light bulb: description, photo
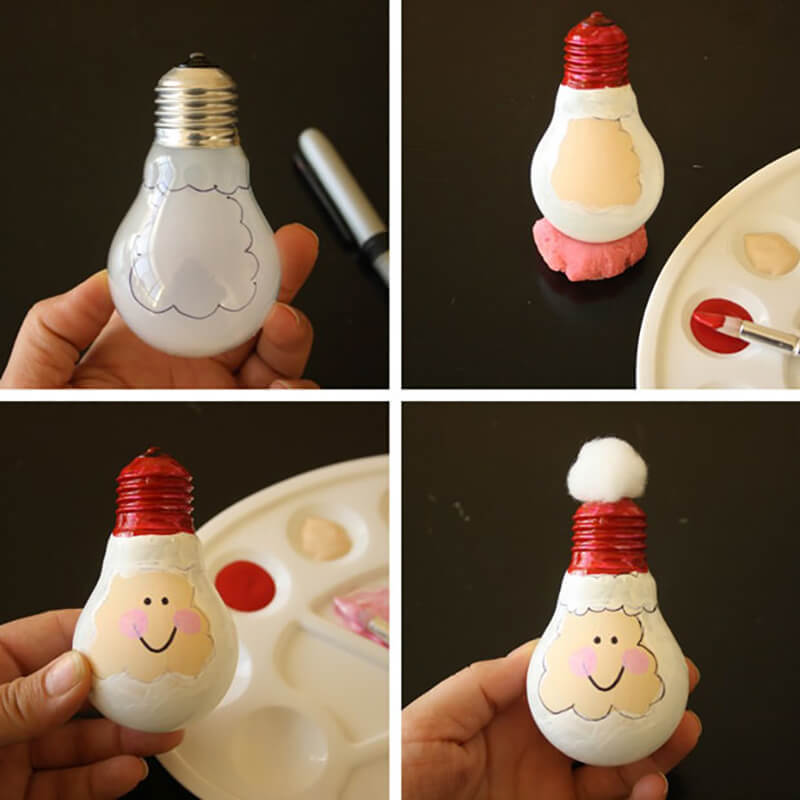
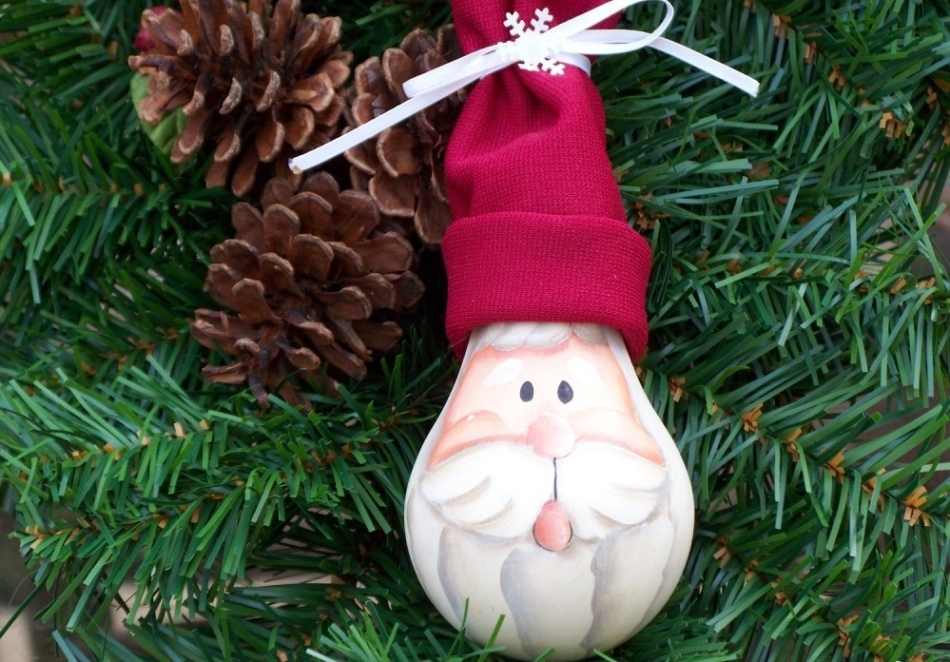
Even beginner needlewomen can make Santa Claus from a light bulb. For this need:
- Marker Fleet on a light bulb sketch of the face character
- Face beige acrylic paint, and the rest of the light bulb - White
- Acrylic paint black and pink colors the face is drawn moredetails
Important: with red paint you need to draw a base of the light bulb - it will be a hat.
- The cap is decorated on top pompon and a loop. A regular piece of cotton wool can act as a pompom
How to make a snow maiden from a light bulb: description, photo
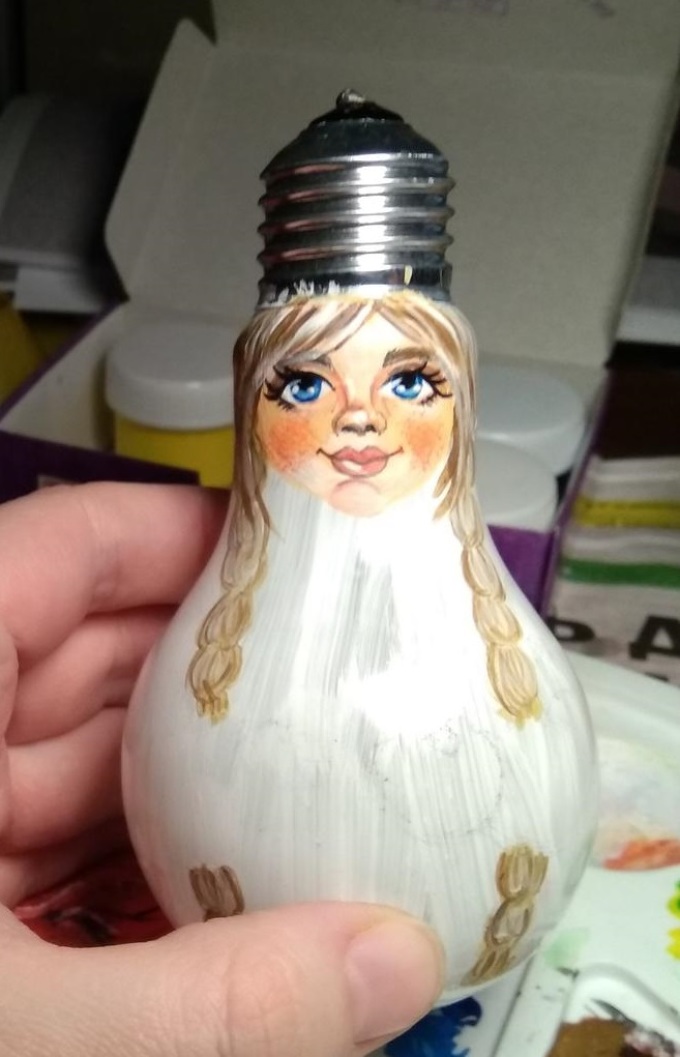
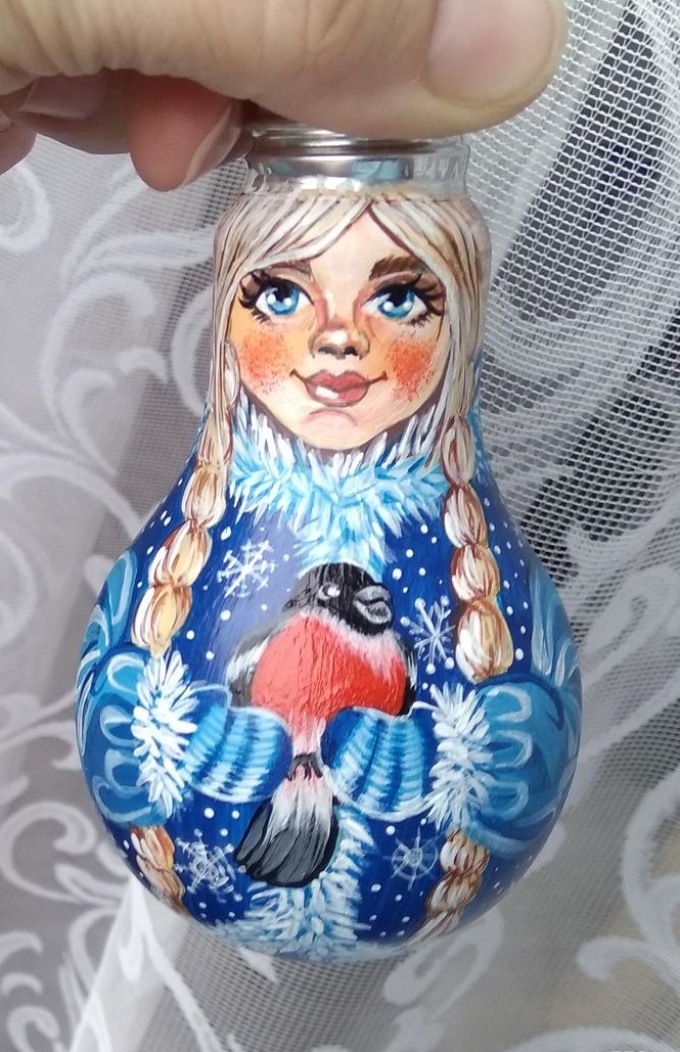
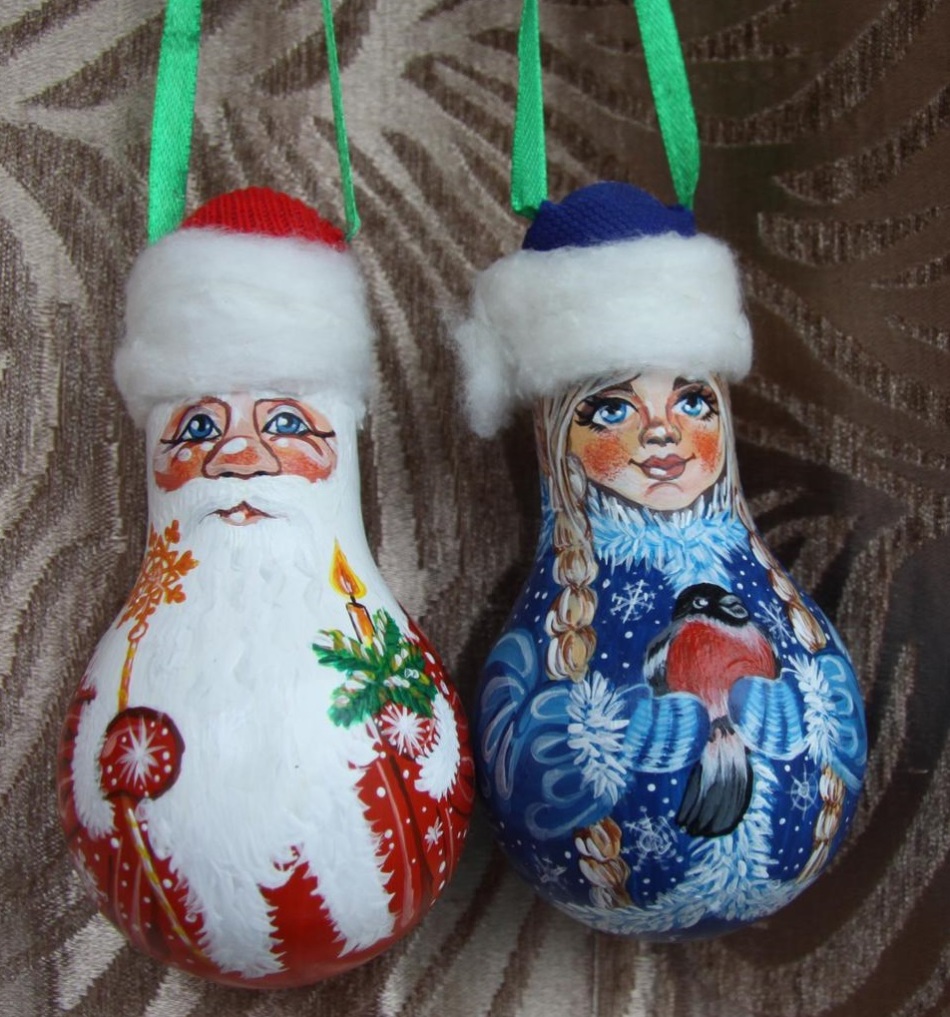
The Snow Maiden can be created like Santa Claus from the previous master class.
And you can paint the bulb more thinner:
- For example, according to the following sketch:
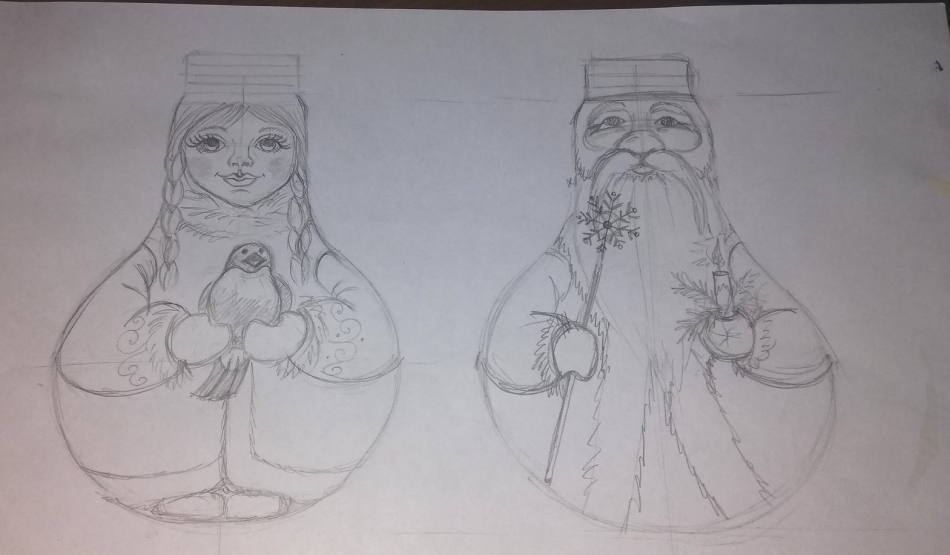
- You can prepare a sketch on thin paper, and then - transfer it to a pre -thundered bulb.
- Next comes the most artistic part of the work - Coloring.
Important: best, as in past cases, use acrylic paints.
How to make flowers from a light bulb, bouquet: description, photo
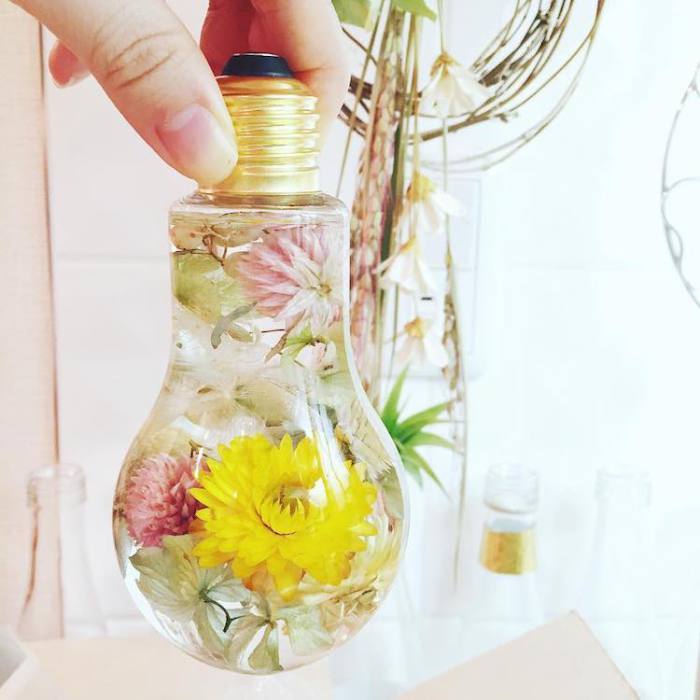
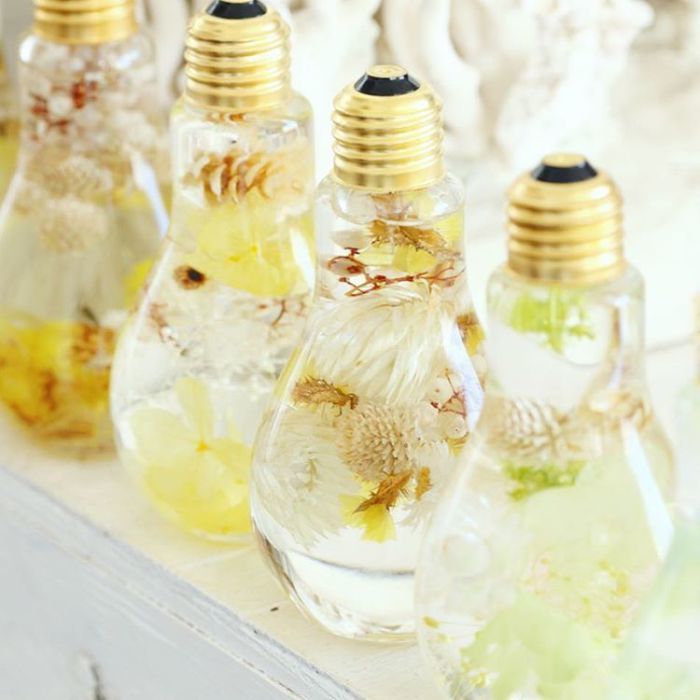
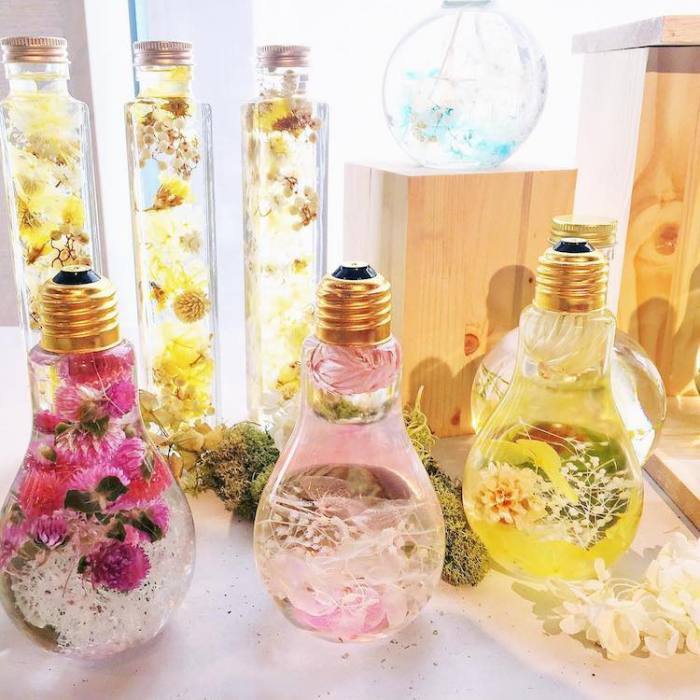
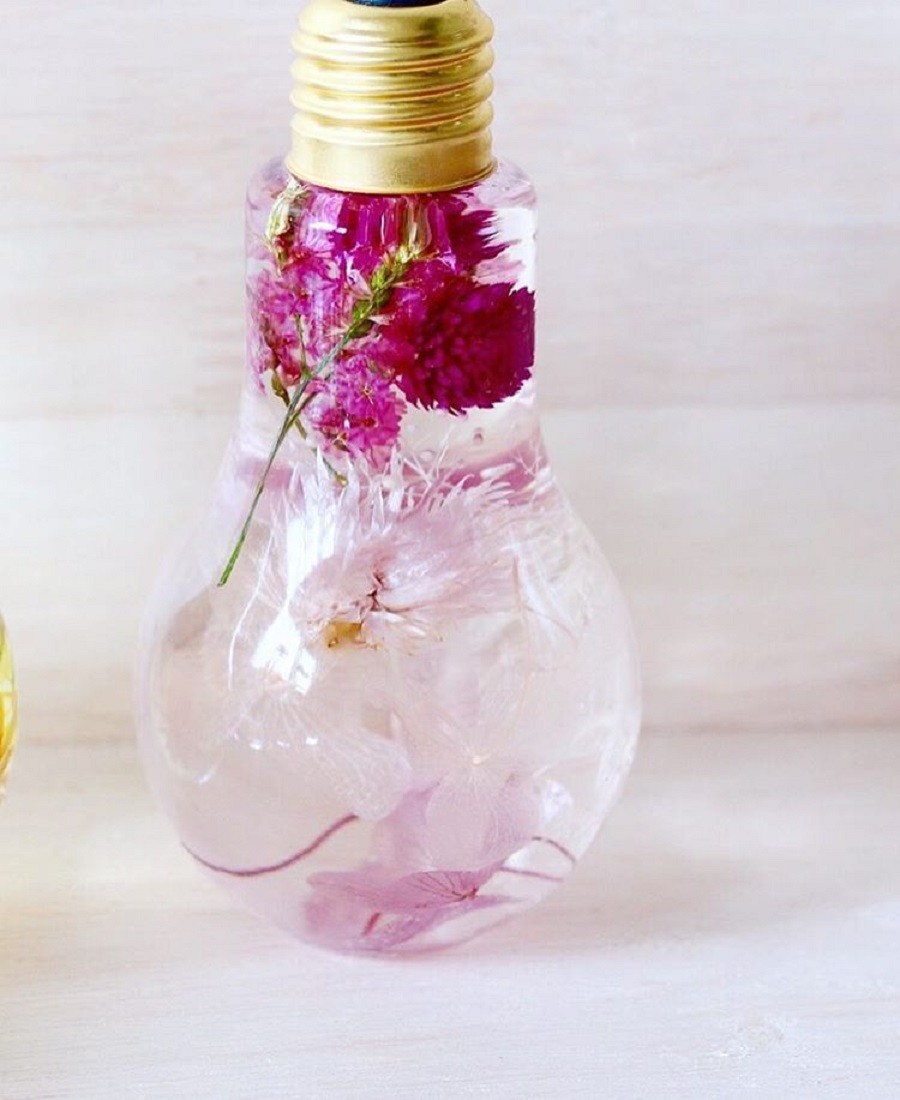
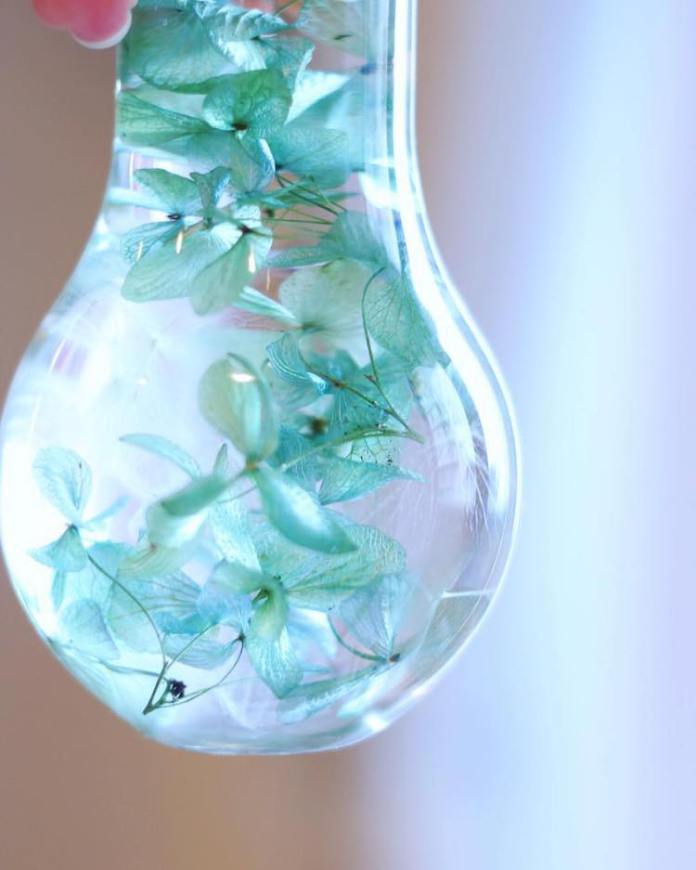
This original bouquet is A selection of colors in vacuum. It is noteworthy that with every shaking, flowers change their position, which means that The bouquet may look different.
Creating such a miracle is simple:
- It is only necessary for starters the bulb is almost completely filled with distilled water.
- Then added glycerin and flowers.
- It remains tight Flow the base Light bulbs - and the bouquet is ready!
Several options for unique bouquets in the lamp:
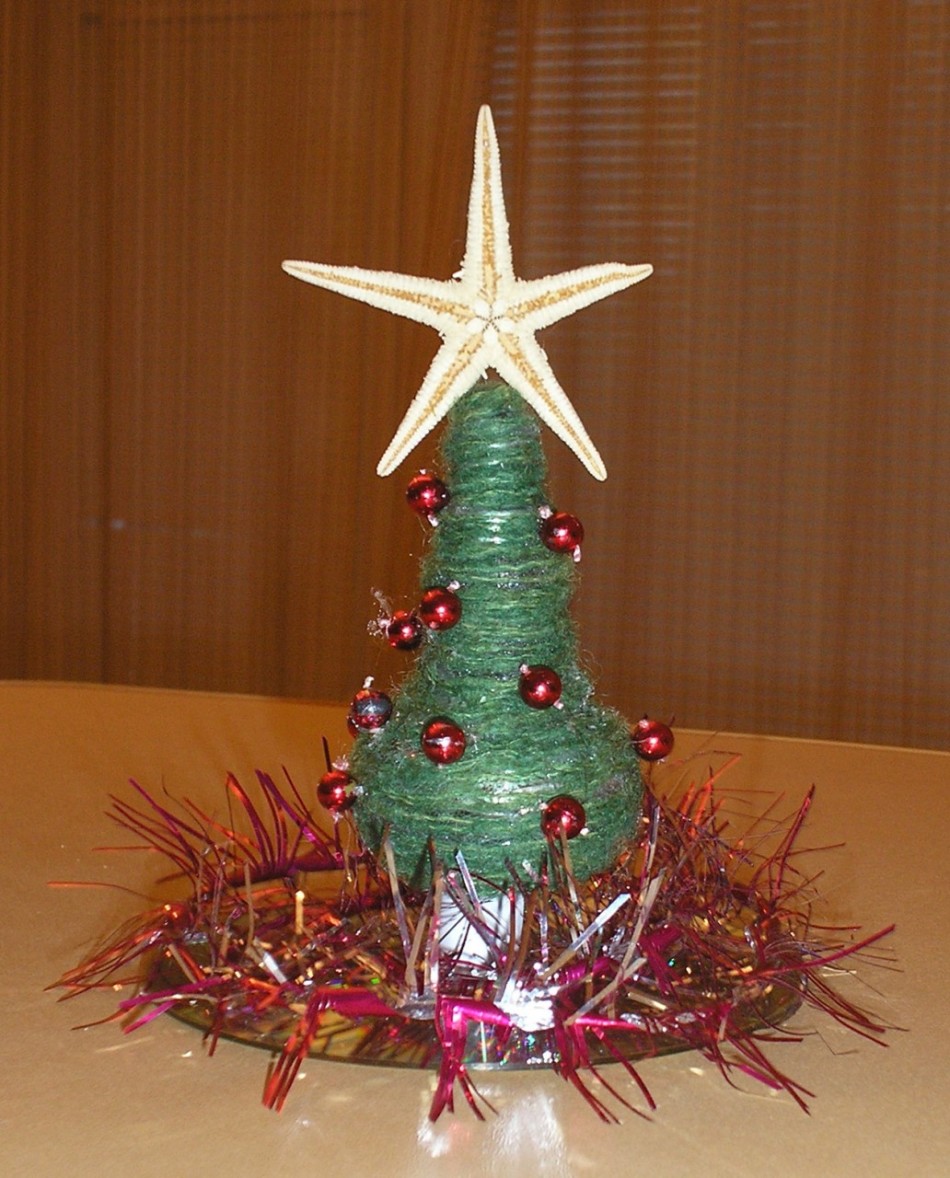
How to make a Christmas tree from a light bulb: description, photo
To create such a craft you need:
- Bulb
- Compact disc
- Paper
- Scissors, glue
- Asterisk, beads
- Threads
Important: it is preferable to use woolen threads.
Operating procedure:
- To the widest part The bulbs are needed Glue the thread. It is preferable to use a special pistol for gluing.
- Further the same the thread needs to be wrapped in a spiral Until it is not possible to wrap the entire light bulb. Periodically, the bulb will have to be flavored with glue.
- So far, the workpiece Drinks, it is worth rolling out of paper Rolonchik.
- The roll is inserted in the hole of the disk.
- Next is a roll cut Thus, so that he consisted of four parts - They will serve as a stand.
Important: the whole part located on the other side of the disk will serve as a stump for the Christmas tree.
- On this stump is worth set the Christmas tree, gluing it.
- It remains decoratetree.
How to make a craft with a bachelok from a light bulb: description, photo
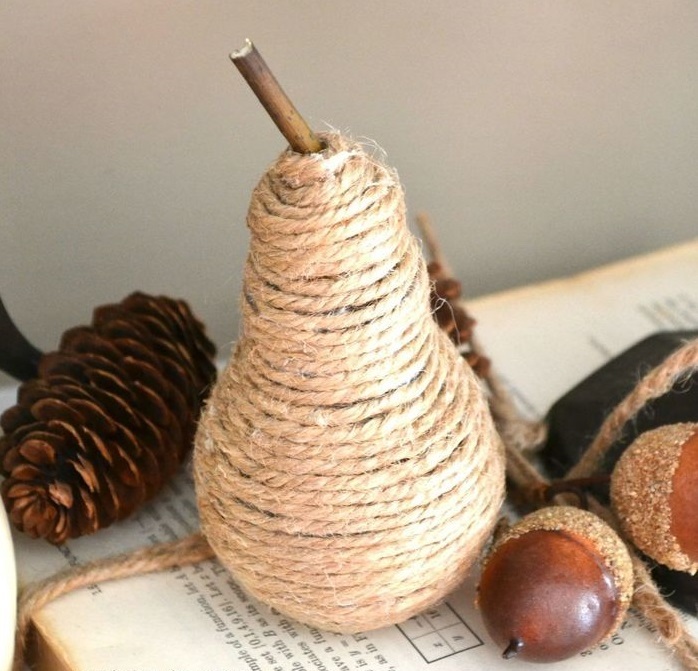
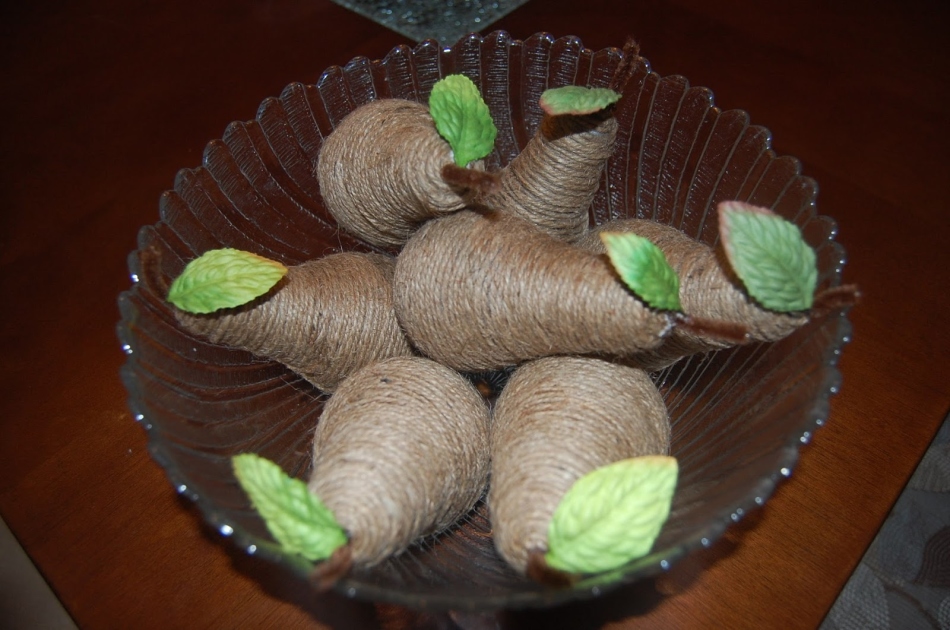
The easiest option is wrap the light bulb According to the principle described in the previous master class. You do not need to leave gaps. On top you can attach a twig or paper tube -It will turn out to be a craft.
How to make a vase from a light bulb: description, photo
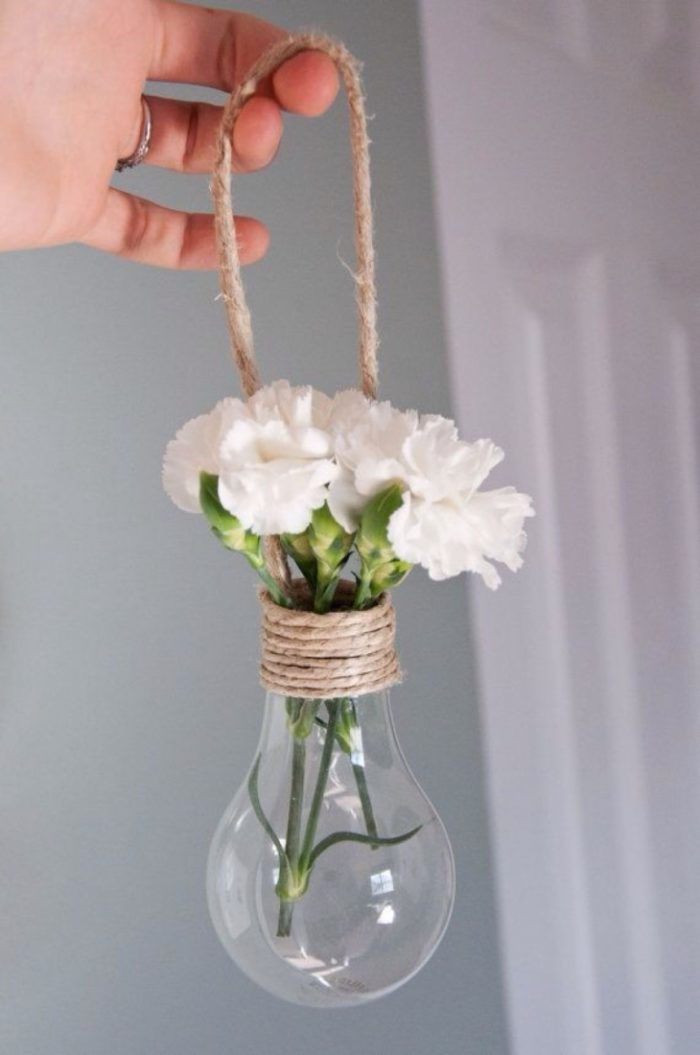
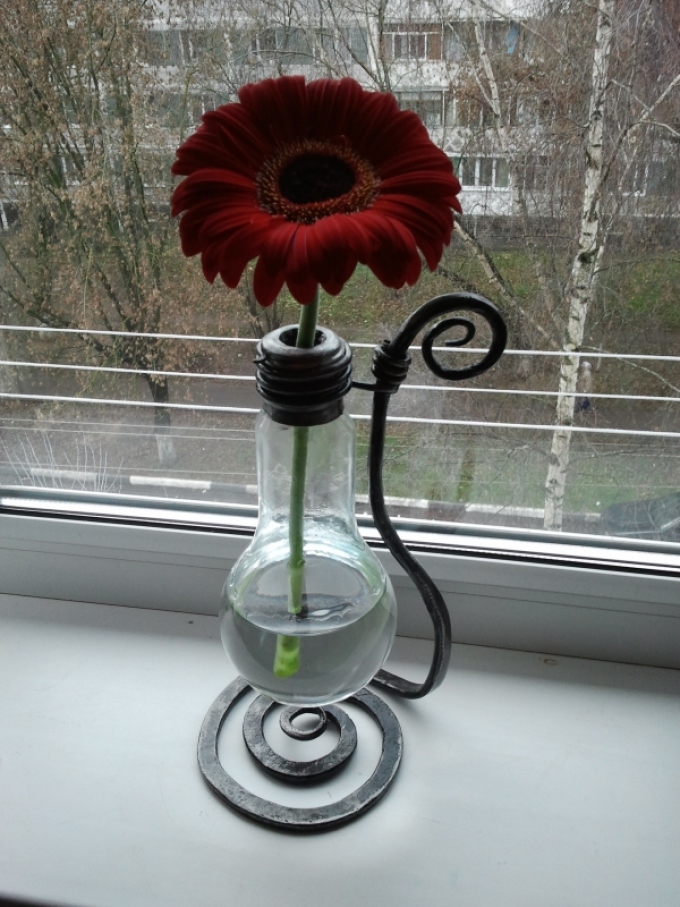
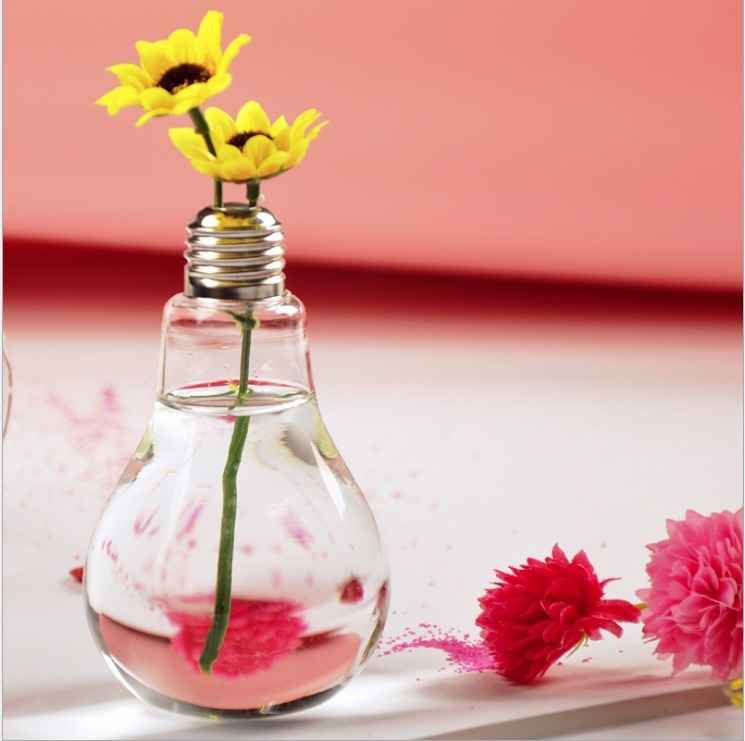
Flowers can be placed in a lamp not only completely, but also so that only the stem is inside. The creation algorithm is simple: only in such an original vase is worth pour the water, and then - place the flower.
But options for stands for a vase There may be many! For example:
- Wire, one end of which is entwined around the base, and from the second the stand itself is formed
Important: the wire is chosen for such a goal.
- Chain, on which a vase can be suspended. In this case, the holes must be drilled in the basement
- Twinewhich should be wrapped around the base or pass into the hole made there
- Old unnecessary standwhich can probably be found on any mezzanine
- Polymer clay or other material on which a vase can simply be closed

How to make a rooster from a light bulb: description, photo
The procedure for making a rooster from a light bulb is as follows:
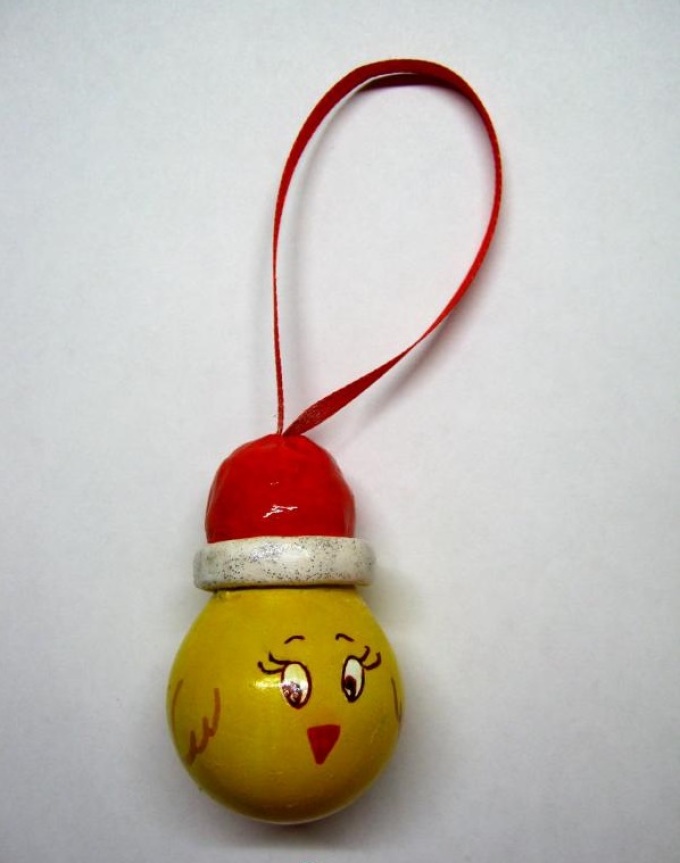
- First of all, you need degrease the bulb, Otherwise, the paint can lie poorly on it. It is perfect for this purpose to relieve varnish.
- Then you can paint the light bulb acrylic white paint, give her in bang.
Important: it is advisable to apply two layers of paint.
- Now you need to paint a cockerel yellow paint. Here, too, it is worth creating two layers.
- Now you can do it sketches of the outlines of the Cockerel. To begin with, it is preferable to use a regular simple pencil, and then you can already go to a thin layer of black paint.
- Be sure to Cover the workpiece with varnish.
- Since the base is preferably decorated, it is worth doing, for example, A scallop or New Year's cap. For example, plasticine may be suitable.
- In a hat or scallop is necessary insert the loop.
Important: if there is a desire to paint a hat or scallop, it is worthwhile to first cover plasticine with flour - so the paint will be better to hold.
- A cap or scallop also needs Cover varnish.
How to make a terrarium from a light bulb: description, photo
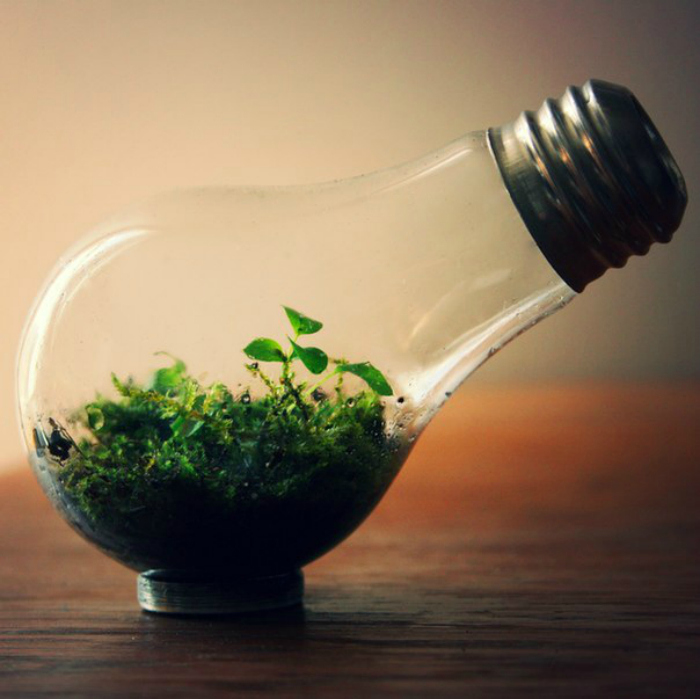
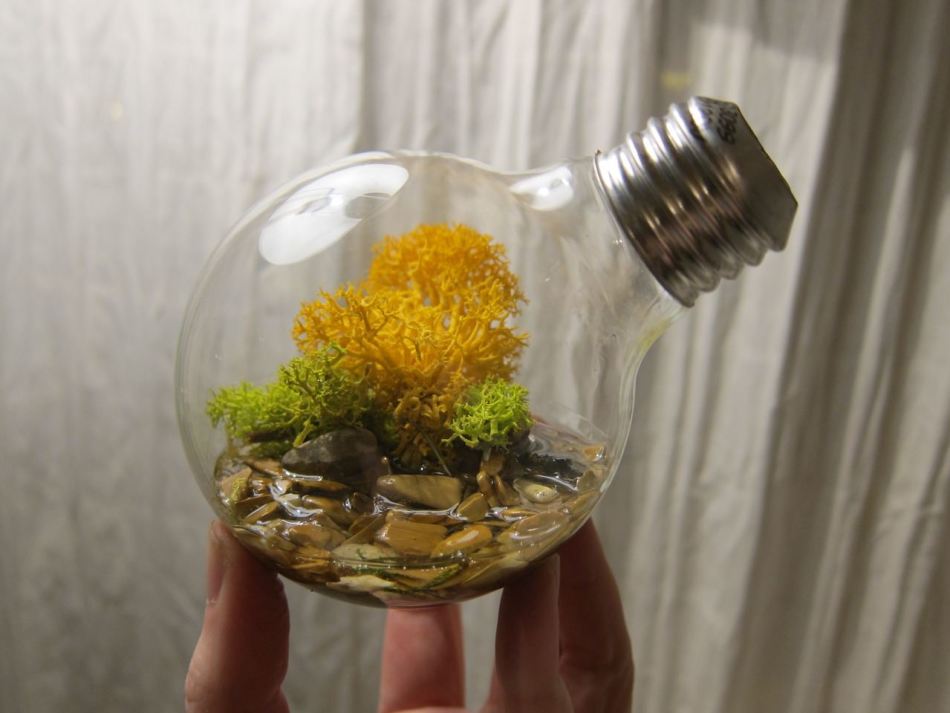
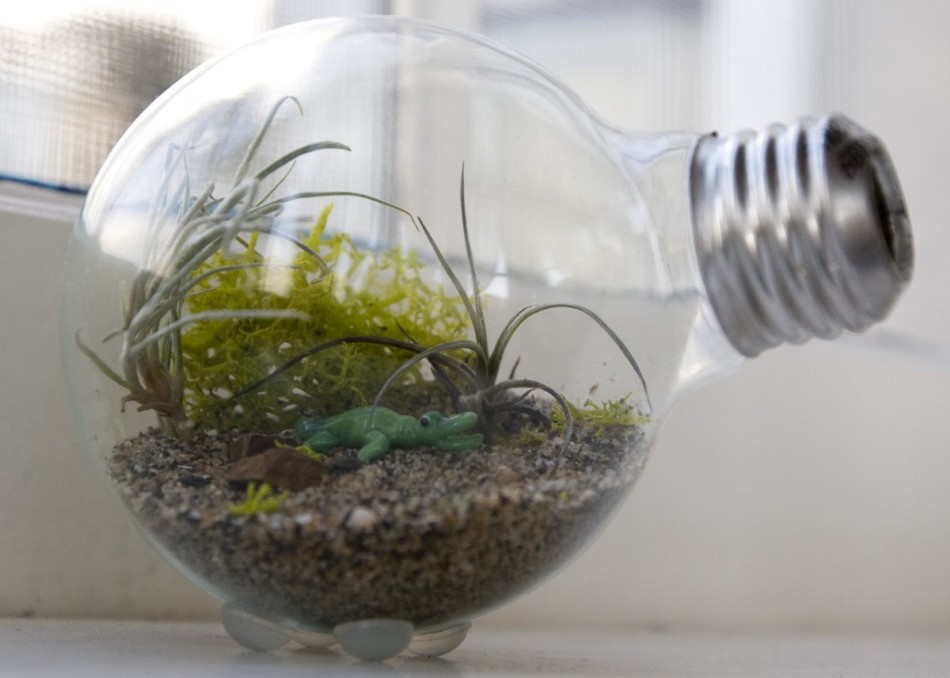
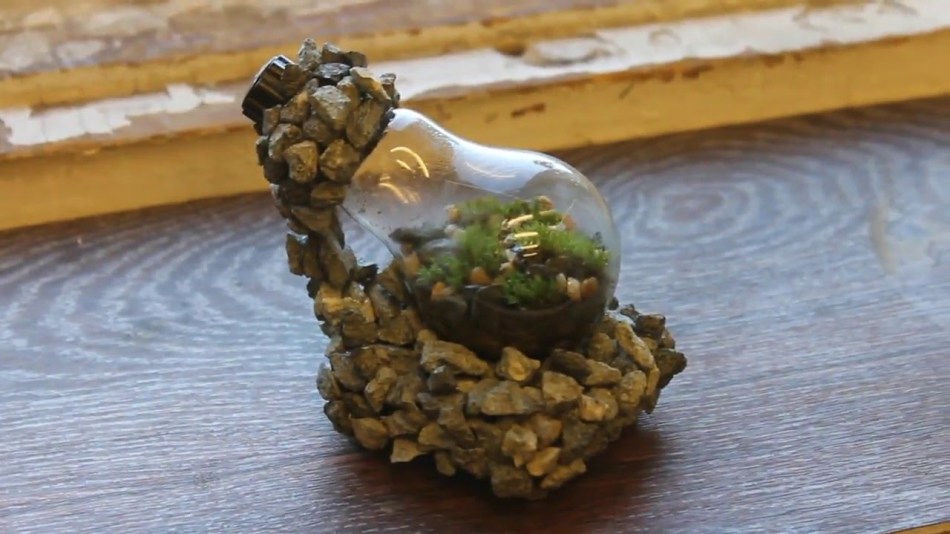
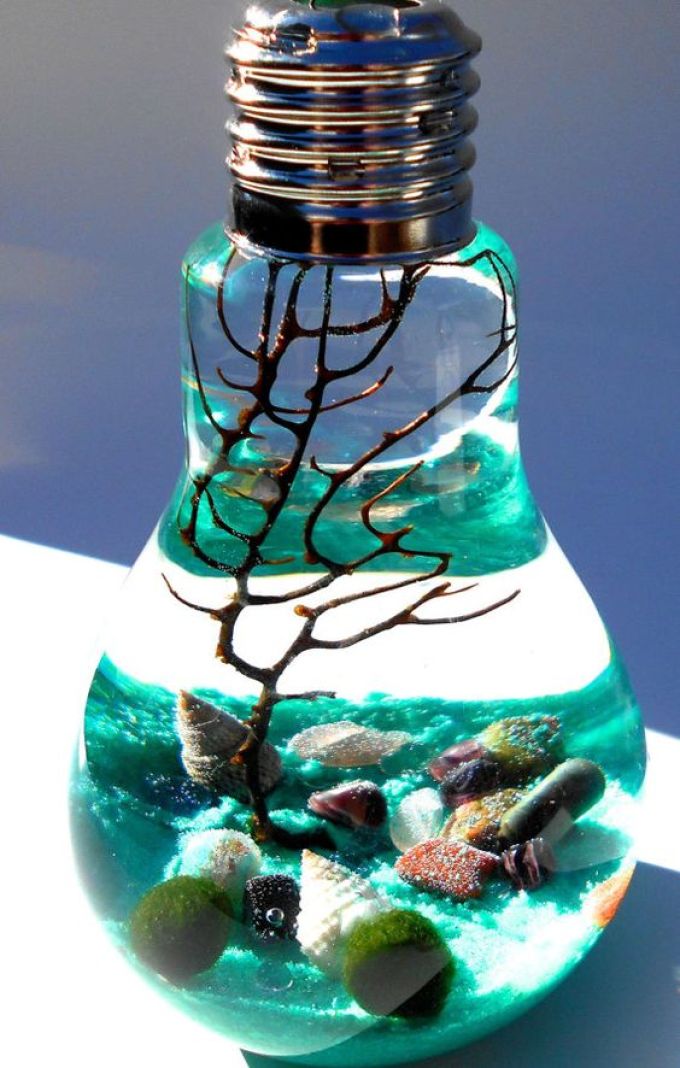
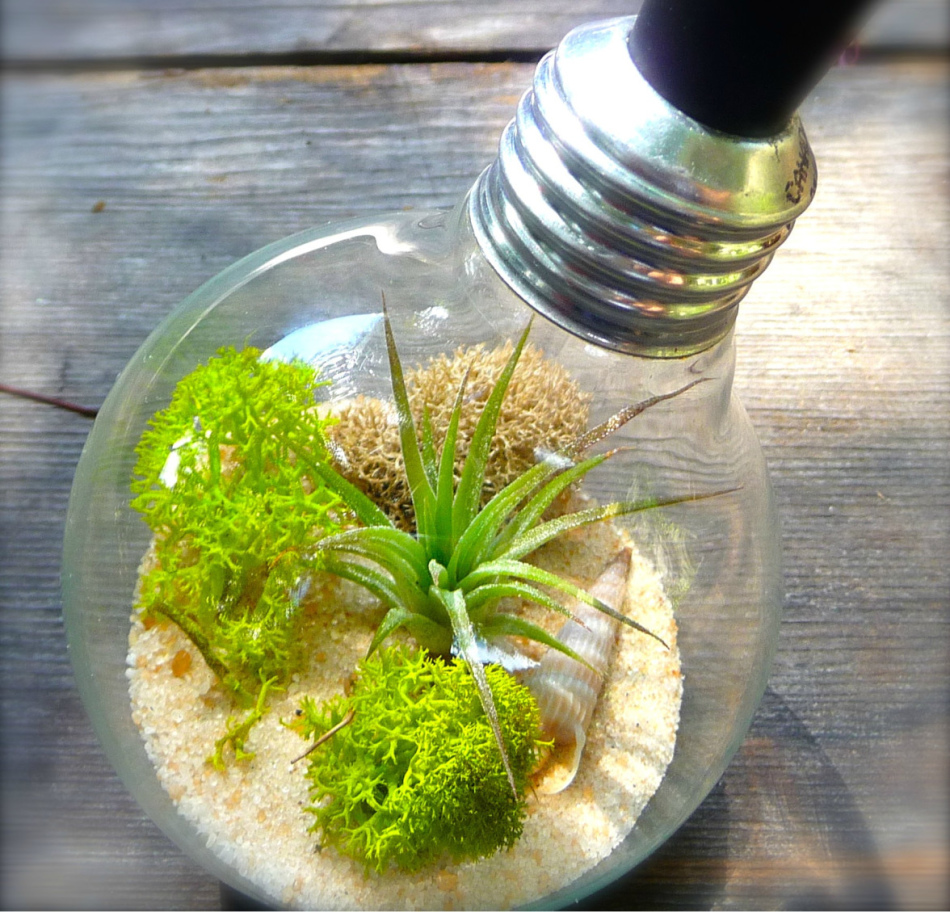
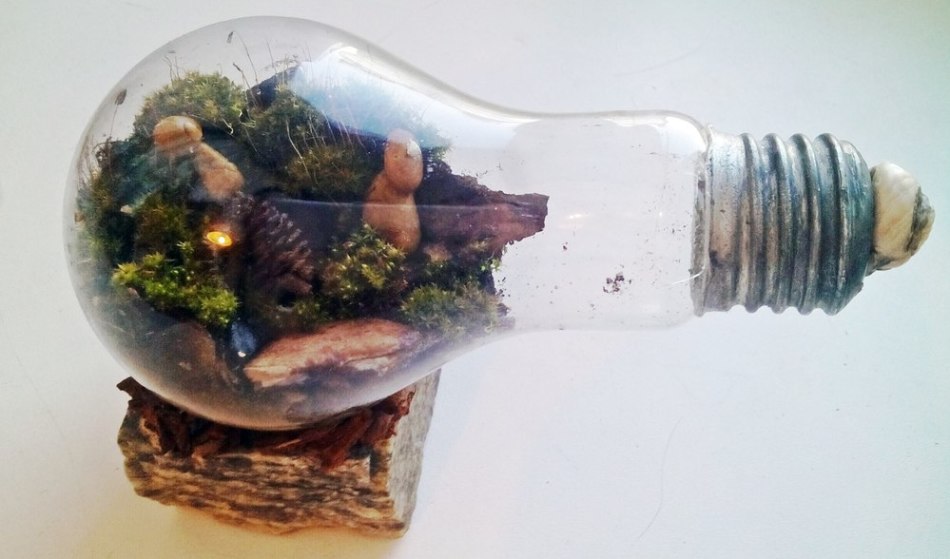
A terrarium from a light bulb - at first glance, virtuoso work, but it is not difficult to do it:
- After releasing the light bulb from the insides, it needs Fill in sand, gravel. If you want to choose gravel, then you need to select the smallest. Come in handy and pebbles As a drainage.
- Further the sand is washed and dried in the oven - It should be done for disinfection.
- Now a funnel is made from a piece of paper, through which the filler must get into the light bulb.
Important: first, pebbles go, and only then - everything else.
- The soil needs to be carefully laid. Pinzet will help in this matter.
- Further with the same tweezers you can put moss, bark, some plants. Plants should be in any case unpretentious - For example, Tillandsia is suitable.
- If you want to add some water, then suitable rain or filtered.
- Decorate Terrarium can be beads, small figures, etc.
- Next is needed attach back the base.
Important: it is important to protect the terrarium from direct sunlight and darkness.
How to make a minion light: description, photo
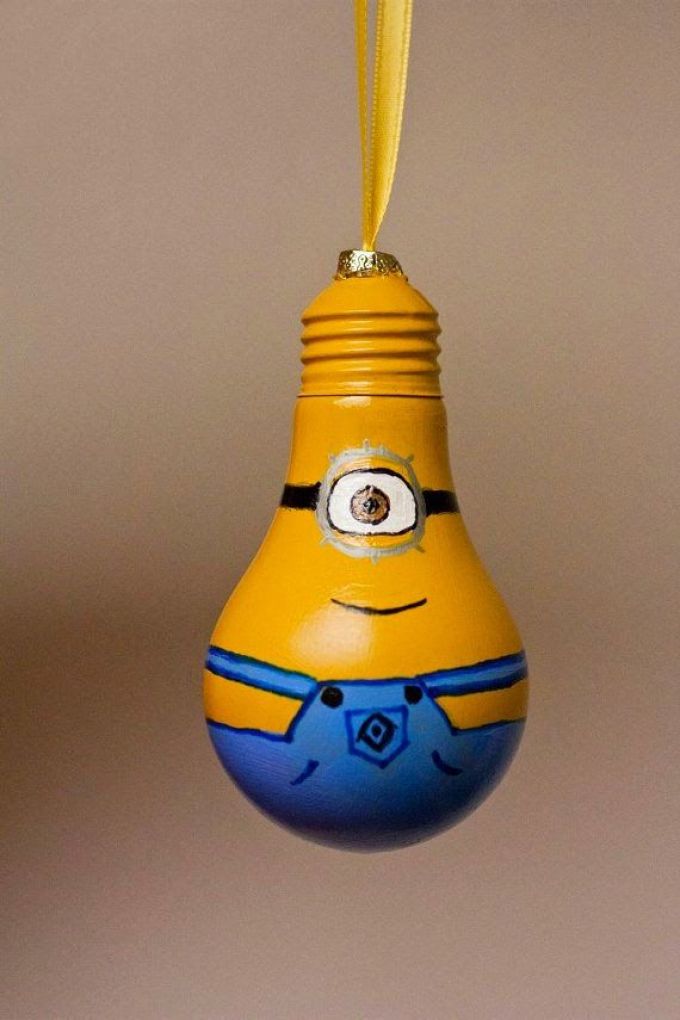
You can create a similar toy as follows:
- For starters, a light bulb degrease
- Then it is worth making the primer with white paint
- Next is going yellow. You can apply it with a regular sponge. It is preferable to create Two layers
- Further, white paint draws eyes
Important: it is recommended not to leave gaps for the eyes when painted with yellow paint, but to draw your eyes with a separate stage.
- Now draw glasses, mouth.
- Concerning overalls, then you can also draw. But you can cut out a pattern of paper, try it on feltand then cut a blank of felt. The suit is glued with glue.
- If needed create a hairstyle, you can use ordinary woolen threads.
How to make a snowball from a light bulb: description, photo
For such a craft you need:
- Lamp
- The jar in which the cream was previously stored
- Styrofoam
- Vata
- Acrylic paints or gouache
- Brushes
- Glue
- Glass cutter
- A little small twigs
- Decor
Operating procedure:
- First you need to get rid of the basement.
Important: for this purpose, glass cutters, dense gloves or services of a special workshop are used.
- Further Schools are painted with white acrylic paint.
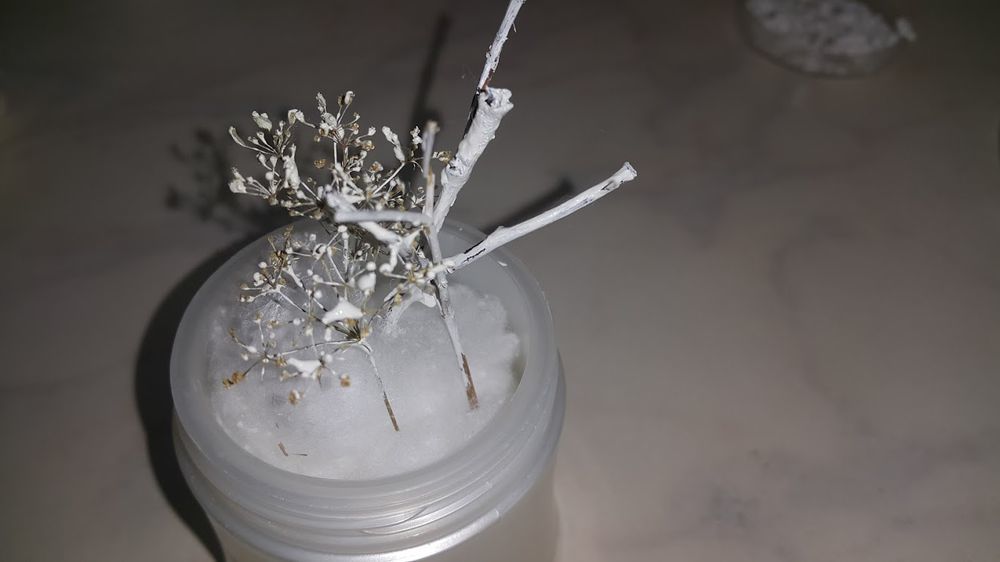
- While the effect of snow on the twigs dries, The jar must be filled with cotton wool.
- Now thickets need to be stuck in cotton wool. It is preferable to water cotton wool with a small amount of PVA - it will attach twigs and leave the cotton wool.
- Until the glue has time to dry, it is worth Get a little foam.
- Next comes the most interesting part of the work - decor!
- After all the objects of interest are placed in the workpiece, you can Cover it with a light bulb.
Important: you need to cover carefully - nothing should be damaged, and nothing should be hooked with sharp edges.
- Preferably a light bulb attach a super-cell.
- Now it remains decorate the base Ballon - and the craft is ready!
What craft can be made of spiral, energy -saving, LED bulbs?
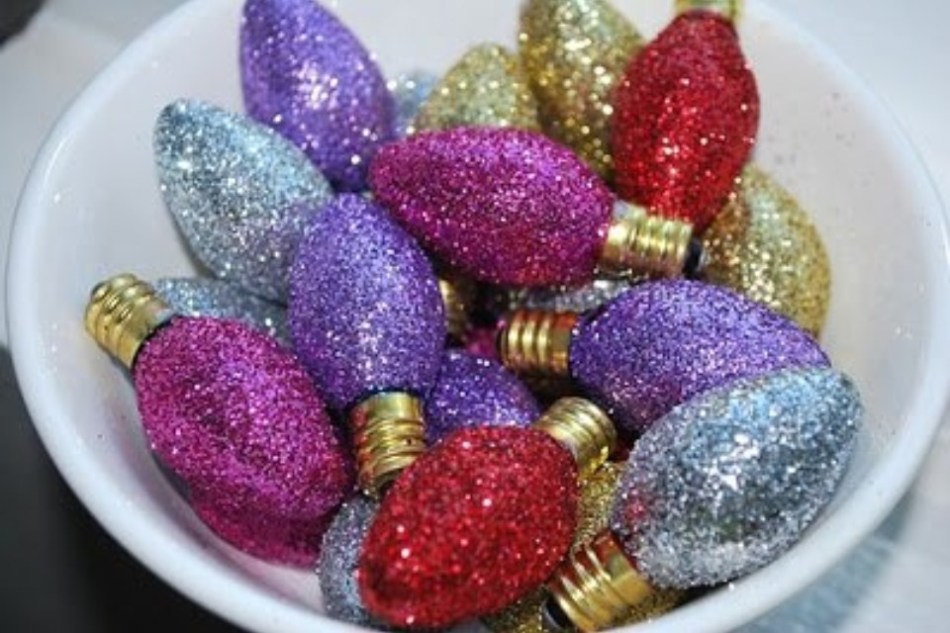
From such bulbs there will be excellent shiny jewelry, for the manufacture of which we need only:
- Bulbs
- PVA-blanket
- Sparkles
- Cords, ribbons
The work order is very simple:
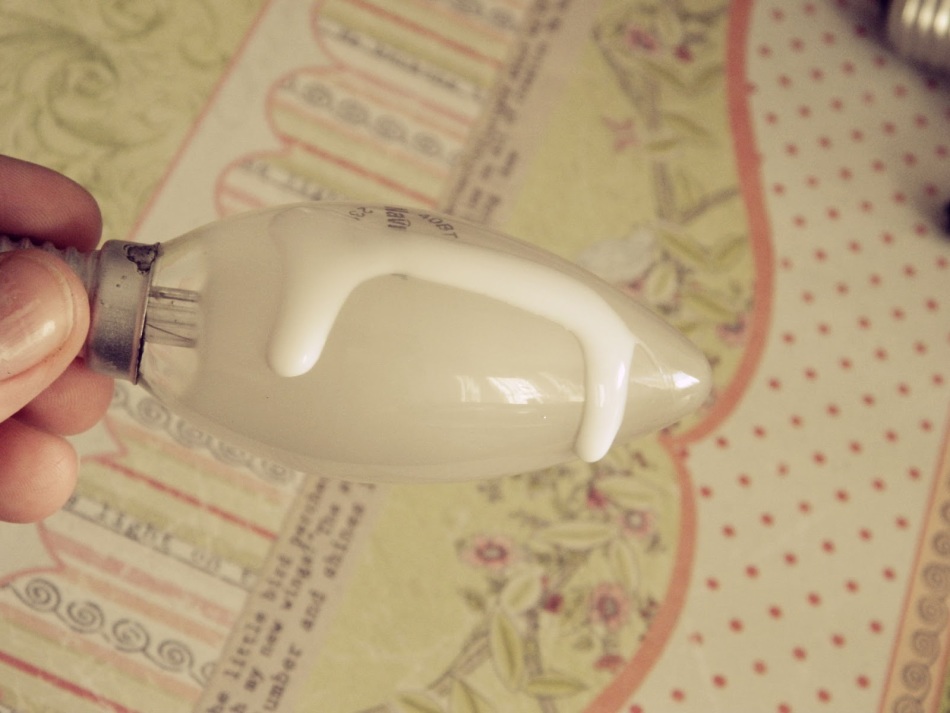
- Bulbs Coated with glue
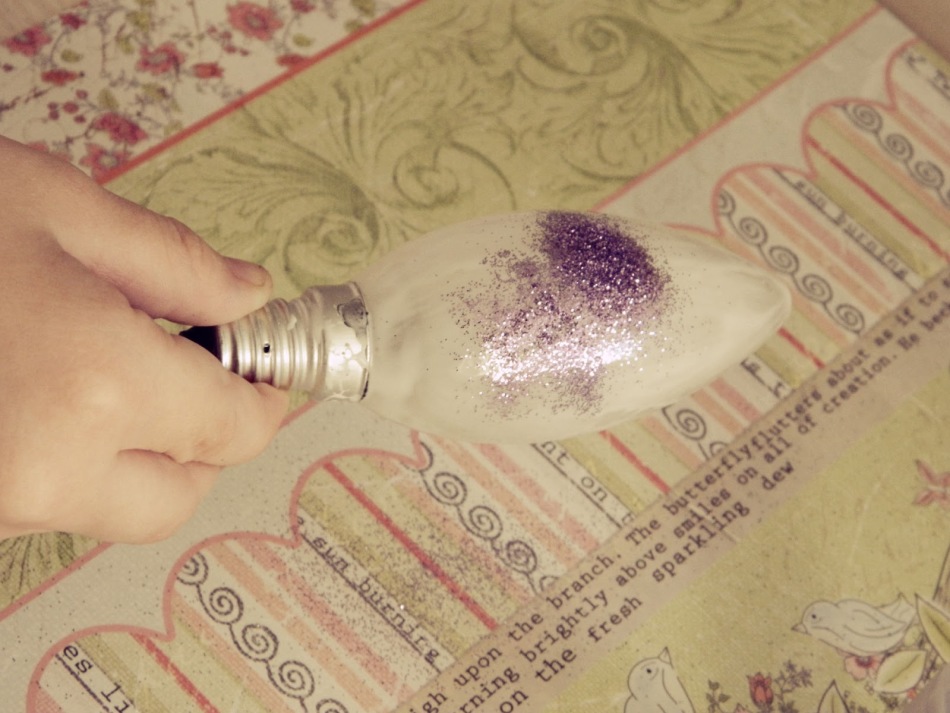
- Next, you can start sprinking crafts with sparkles
Important: it is preferable that the sparkles are dry.
- In order for the light bulb to be covered with sparkles from all sides, i need to twist it in them
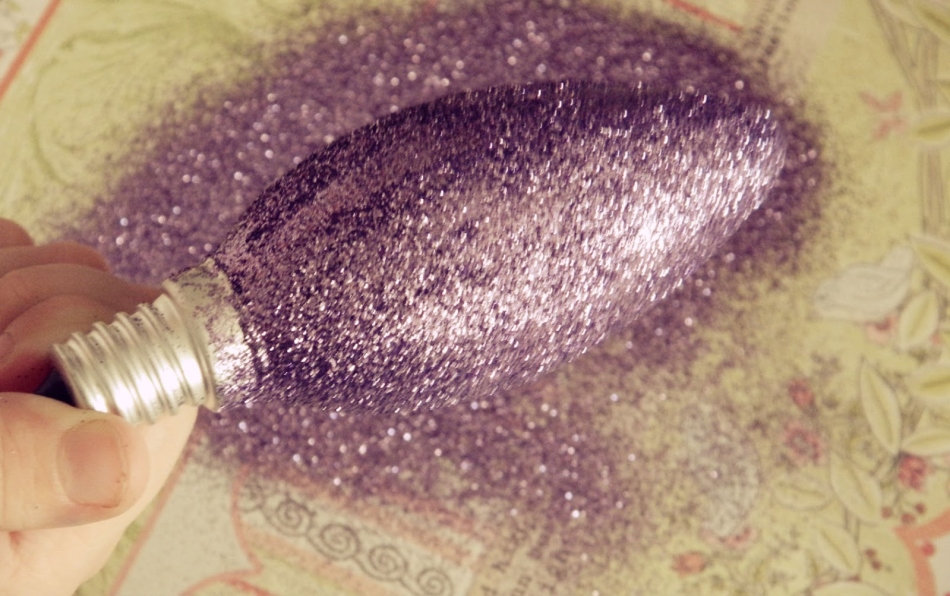
- Next, the blanks must be left dry
- Left attach a bow, cord
What craft can be made of small bulbs?
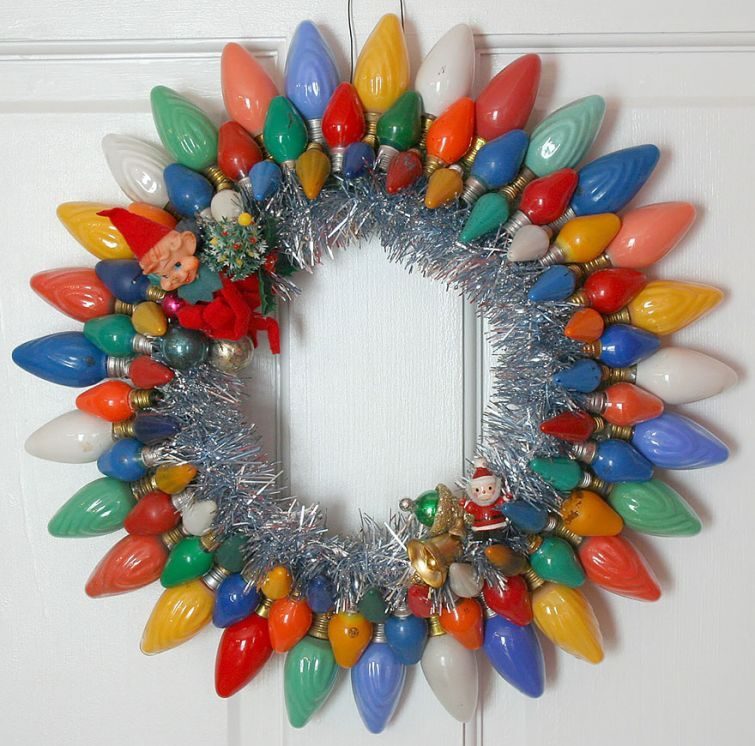
If many small bulbs have accumulated, which were used, for example, in garlands, you can use the following ways:
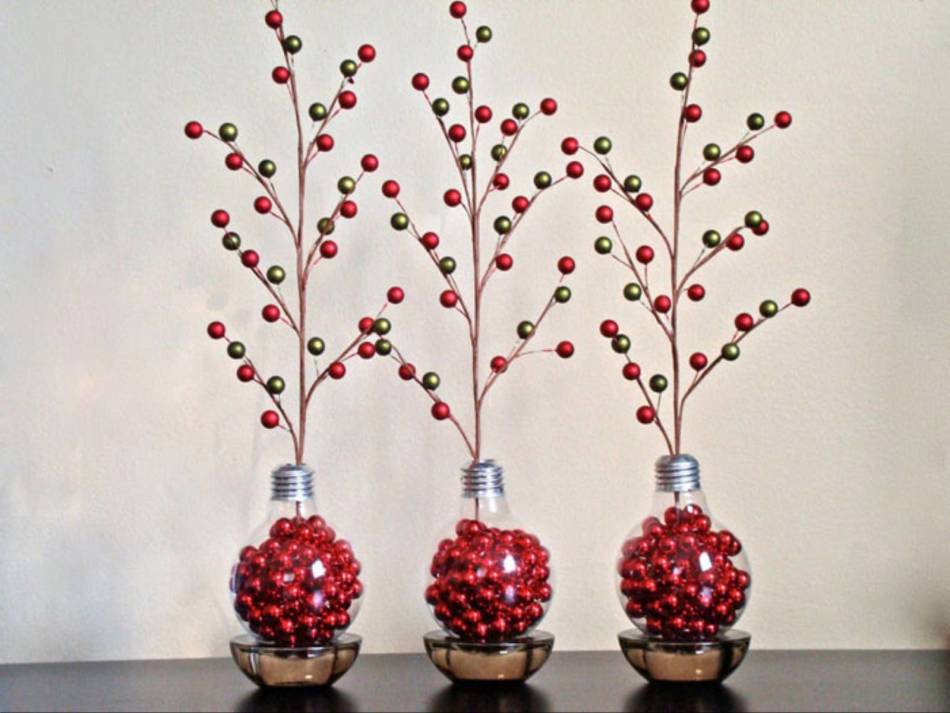
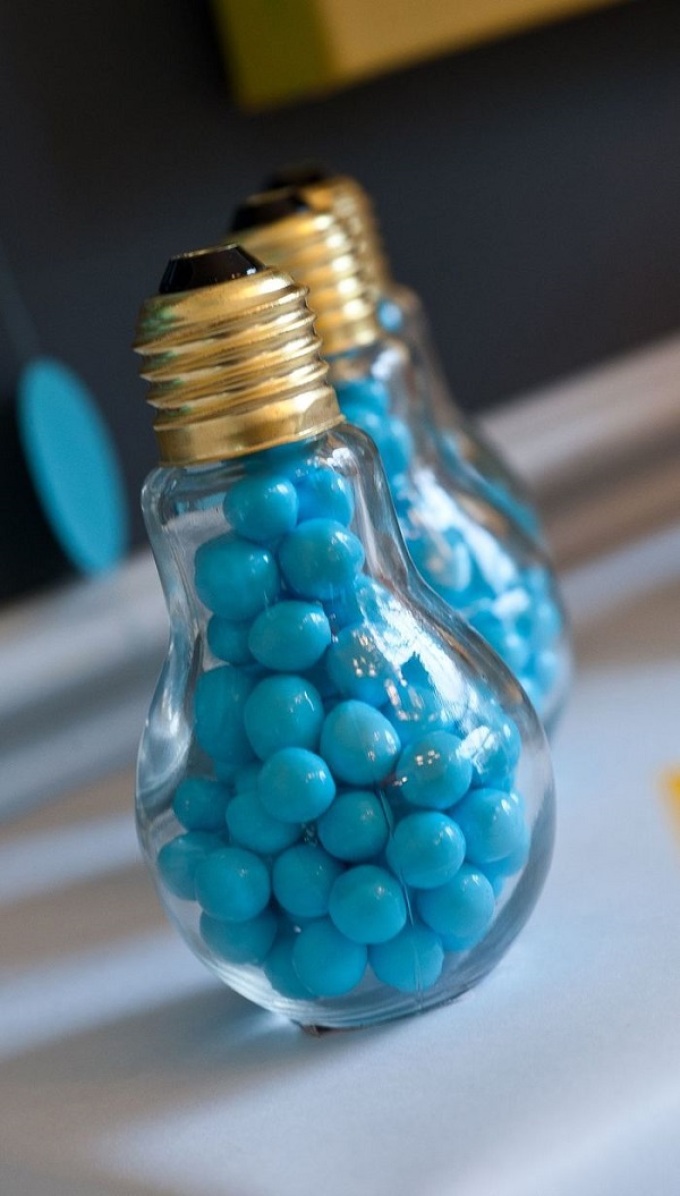
We are used to counting blown bulbs useless and not very aesthetic. However, even such a nondescript item can be transformed beyond recognition!

