This article describes the most interesting master classes on creating your unique nightlight.
Content
- With your own hands soaring in the air: photo, description
- DIY nightlight in the form of a starry sky: master class, photos
- DIY nightlight from a tea can: description, photo
- DIY LED nightlight: Instructions, photo
- DIY nightlight-luna: master class, photo
- Night-shelter with your own hands: description, photo
- DIY nights' ideas: photos
- Master class on making a spinning spinning spin:
Almost all children like to fall asleep under the mysterious and soft light from the nightlight. But what to hide, even adults like the cozy atmosphere that he creates. And even more comfortable to build a nightlight yourself!
With your own hands soaring in the air: photo, description
In order to make such a nightlight with your own hands, you will need:
- Khosuovka designed for wood work, or a jigsaw as an alternative
- Ordinary drill or screwdriver with a set of drills
- Glue gun
- Paint for white wood work with a brush
- Scissors
- Fighting
- Wooden rails. One must be chosen so that it is equal in length 210 cm, And according to the parameters - 1.5x1.5 cm. The second length should be 60 cm, and the parameters - 3x3 cm.
- Lamp with a luminescent or LED type cartridge
- Power cord equipped with a switch and a fork
- A4 paper - ordinary white
- Transparent multi -colored plastic
Important: if it’s hard to find it, you can buy the most ordinary color folder for paper in any stationery store.

You can start work:
- First of all, pieces are cut out of the racks. We need to make 8 pcs. on 1.5x1, 5x13 cm, 3 pcs. on 1.5x1, 5x25 cm, 1 PC. on 1.5x1, 5x23 cm, 4 things. on 3x3x12 cm.
- Now pieces with sides on 13 cm you need to glue it with cubes on 25 cm. You need to use glue for connection. The frame needs to be kept at least 5 minutes, Otherwise, good gluing will not work.
- Next, bars 23 and 25 cm glued with bars along 13 cm.

- Now you can build base. These will be pieces of 12 cm - They must be glued with each other.

- Frames glue Between themselves, as a result of which the master receives a cube.
Important: it is necessary to allocate time to dry the cube. It is preferable to crush it from above by weights - so gluing will pass better.
- After the workpiece has dried up, you can start doing holes for the food wire.

- You need to remember that the holes are certainly worth Stir with sandpaper.
- Next is worth it Take a stand. To mark it correctly is almost the main task of the master. This is the guess of the question of how the nightlight is going to soar in the air. The fact is that The cube should shift somewhat relative to the base, and the latter should not be noticeable as a result. It turns out the optical effect of soaring in the air.

- Then the base and the cube are glued And they are left for a while to dry.

Important: if you glue the base and the cube incorrectly, the whole highlight of the idea will disappear. Therefore, it is very important to pay particular attention to this stage.
- Now you can paint the workpiece white paint. Everything is painted - both frames and the bottom.
- Next, you need to arouse an electrician in yourself, passing the wire to the previously made holes, having assembled the cartridge and connecting the wire.
- The wire is fixed hot glue from a pistol.

- The cartridge is also glued. But already to the base of the workpiece.

- Sheets are cut out of colored foldersequal in parameters to the sides of the cube. It will be light filters. They are glued to the sides of the cube so that in the end they are from the inside lamp.

- But front end It is glued ordinary paper.

Important: it is recommended to spend a few more minutes on cutting the legs-substations of any rubber material. They also need to be glued to the nightlight - its base.


DIY nightlight in the form of a starry sky: master class, photos
This type of nightlight is very popular. In order to create it, you will need:
- A bank made of glass and equipped with a lid - and it is preferable that it has the shape of a cylinder
- Karmanny flashlight working thanks to batteries
- Dense foil
- Shilo, scissors
It’s easy to make a nightlight with your own hands:
- From a sheet of foil is cut out Harvesting, equal in height, a jar, and in width - its circles.
- They are done in foil holeswho will continue to be stars on the walls.
Important: if you want to create not just chaotic stars, but real constellations, you can cut them purposefully. Then the nightlight will also turn out to be informative.

- The ends of the workpiece are glued and placed inside the can. The bank in the end should be completely sealed with foil from the inside.
- Foil glued To the inside of the can.
- Then it remains put a flashlight to the bottom And turn it on at night.

DIY nightlight from a tea can: description, photo
Surely many in the house have unnecessary containers. For example, A jar of tea. It can also be a magnificent lamp. You just need to stock up on the following things:
- The jar itself
- A sheet of scrap-paper, which would correspond to the parameters of the jar
- Sheet of cardboard
- Paint acrylic
- Sandpaper
- With a knife
Important: you need not kitchen, but a knife for stationery.
- Tape painting
- Supercliem
- Incandescent lamp and cartridge to it
- Network cord and switch
Now you can start making a nightlight with your own hands:
- If a sheet scrap-paper more necessary parameters, then you need cut the required piece For banks. It must be taken into account that the top will also have to be decorated. The fact is that the bank will be turned upside down And the bottom will be on horseback.
- Sheet glue On a jar.
- Further from ordinary paper the oval is cut. You can circle the can cover for convenience - it should just have an oval shape.
- Carled oval attached to the lateral part of the jar Using painting tape.

Important: you need to not forget to circle the oval with a pencil.
- Further along the circulated contour the window is cut Right in the bank.
- The edges statched sandpaper.
- Now to a clean sheet of paper All the same oval is attached again. It is circled and cut out, but only inside should stay stripes.

- This oval is worth it glue to the inside Thus, so that he covers the window.

- Left decorate the nightlight to your liking. Acrylic paint, threads, paper, buttons, ribbons - everything that the soul wants.
- Now technical points. Behind the banks, you need to cut a neatly a hole for the cord.
- In the lid, the cans need to be cut a hole for the cartridge.
- Cartridge, switch and electric fork Gathering together.
Important: only then the cartridge is fixed in the bank, a lamp is screwed into it.
- Above a jar of a bonus is put on - And now the craft is ready!

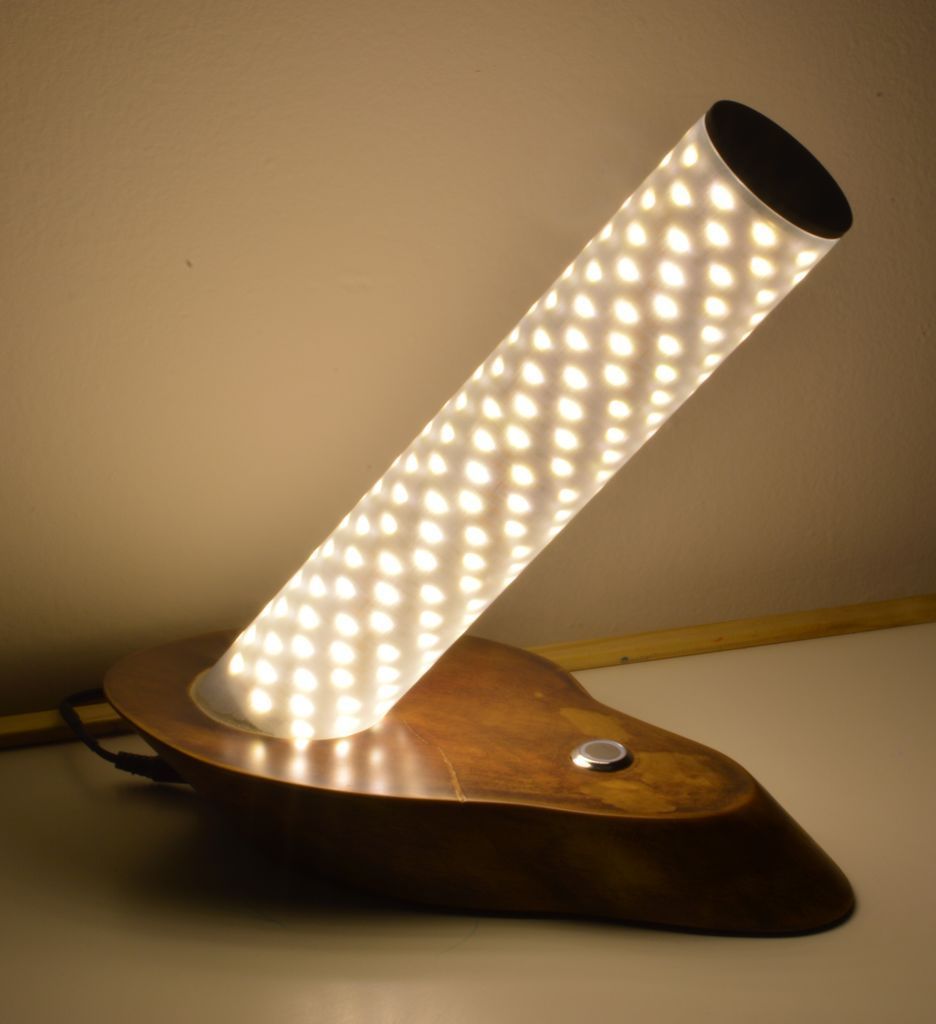
DIY LED nightlight: Instructions, photo
For such a nightlight you need:
- Plastic tubes, transparent - 2 pcs. The diameter should be different
- LEDs and fees for them
- Large traffic jam
- Glass
- A small piece of wire
- Glue and pliers
You can proceed:
- For starters, it is worth it bend the ends At LED bulbs.
Important: for this purpose it is recommended to use pliers.

- Next is all the pieces are connected With the help of a wire. They must be located parallel to each other and be polar.
- The ends of the wire join To the board.

- Now in a larger pipe it is glued smaller.
- Voids fill out decorative pebbles made of glass.

- Now LED the cork is connected to the tube. It remains to turn on the nightlight - and you can use it!

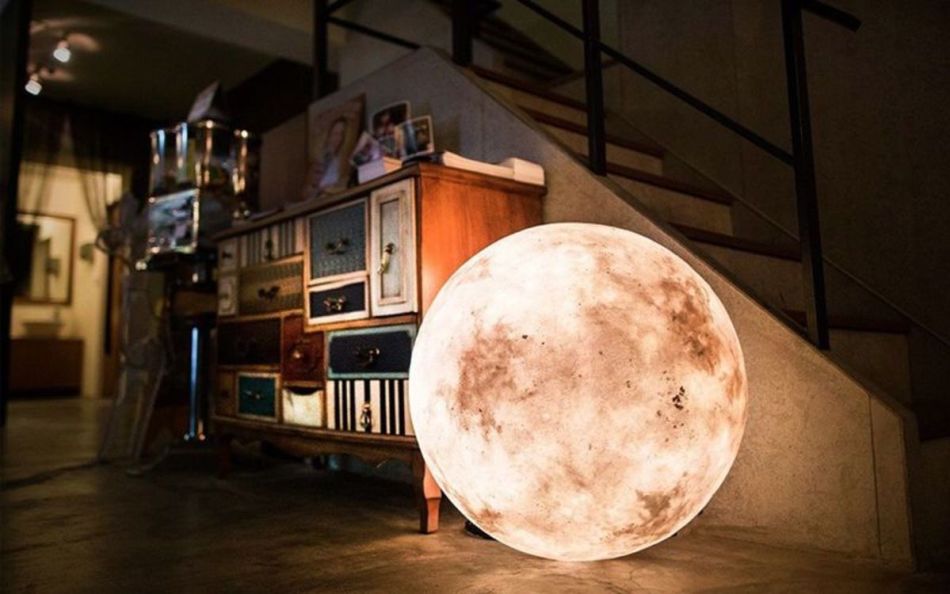
DIY nightlight-luna: master class, photo
The materials are as follows:
- A balloon, which after inflating has a round shape
- Paper towels
- Glue is the most ordinary PVA
- Acrylic paint - white, shade of ivory. Perfectly mix it with ocher
- Sponge
Important: the larger the pores on it is the better.
The process of making a nightlight with your own hands looks like this:
- First, a place is circled where it is formed a bundle of the ball. The circle should be in diameter 6 or 7 cm.
- An inflated ball sinks in glue. Or you can apply glue with a brush.
- Now its surface it is pasted with paper towels. It is preferable to do at least 3 layers towels.
- As soon as the glue dries, the ball is processed acrylic paint.
- Further into the paint the sponge is dipped - She should process the surface of the ball.
- Now you need to cut out the previously advanced circle - the ball through it needs to be removed.
Important: it is recommended to use tweezers for convenience.
- Then it is placed inside Light bulb or garland.
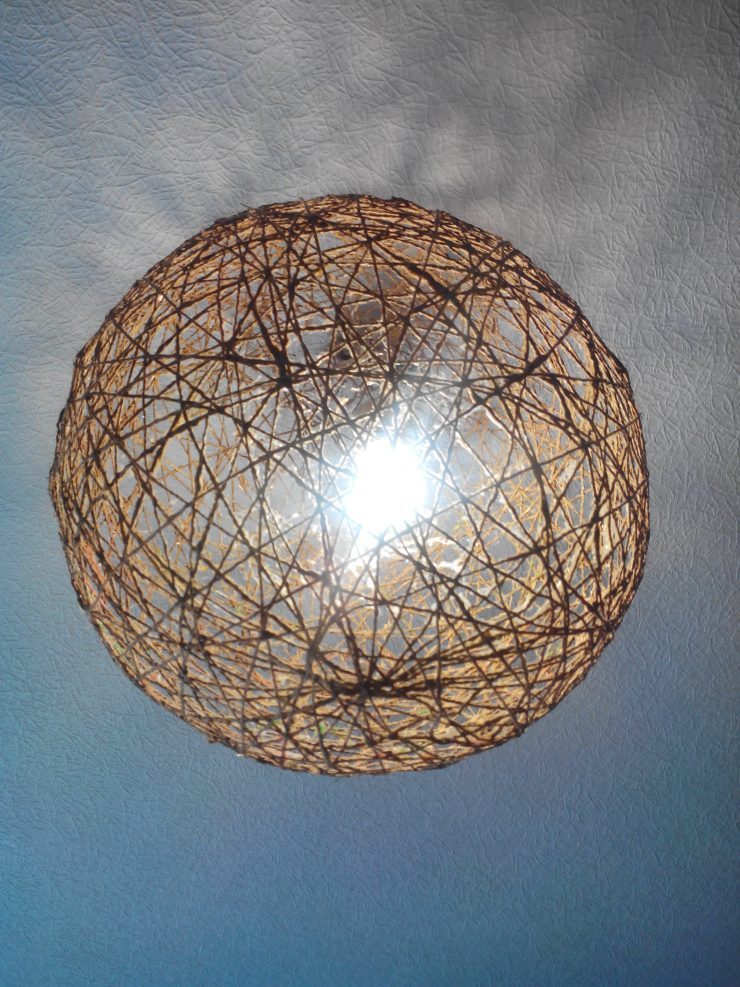
Night-shelter with your own hands: description, photo
Necessary materials:
- A lampshade of a suitable shape, that is, oval or round. If there is no lampshade, you can prepare a wire frame pasted over with a translucent fabric.
- Vata
- LED light bulb, or many bulbs
- Dense thread
- Glue
The order of work is as follows:
- To the lampshade or in the wire frame A light bulb is placed.
- Through the lampshade a thread is carried out - For her, the nightlight will attach to the ceiling.
- From cotton wool a cloud is formed. The more fluffy - the better. Vata is attached with glue, which is enough to apply a little to each piece.
Important: if the hole in the lampshade is noticeable, it must also be sealed with cotton wool.
- It remains to attach a nightlight To the ceiling - And the thunderstorm cloud is ready!

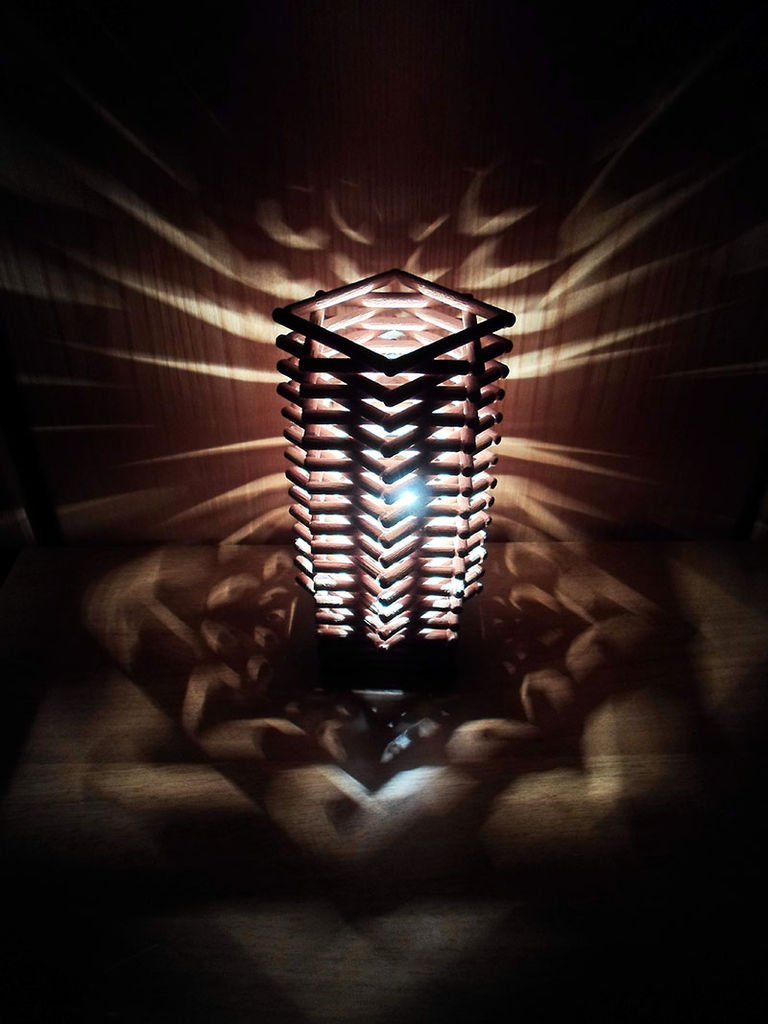
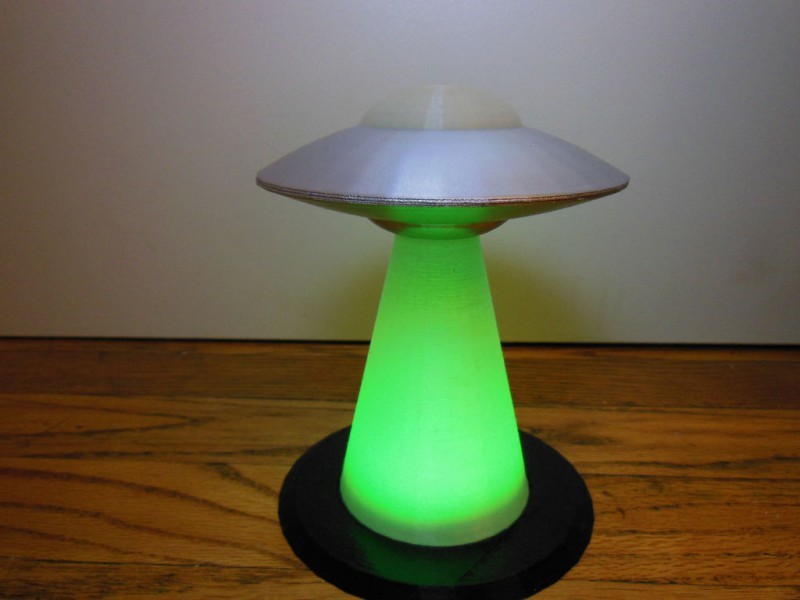
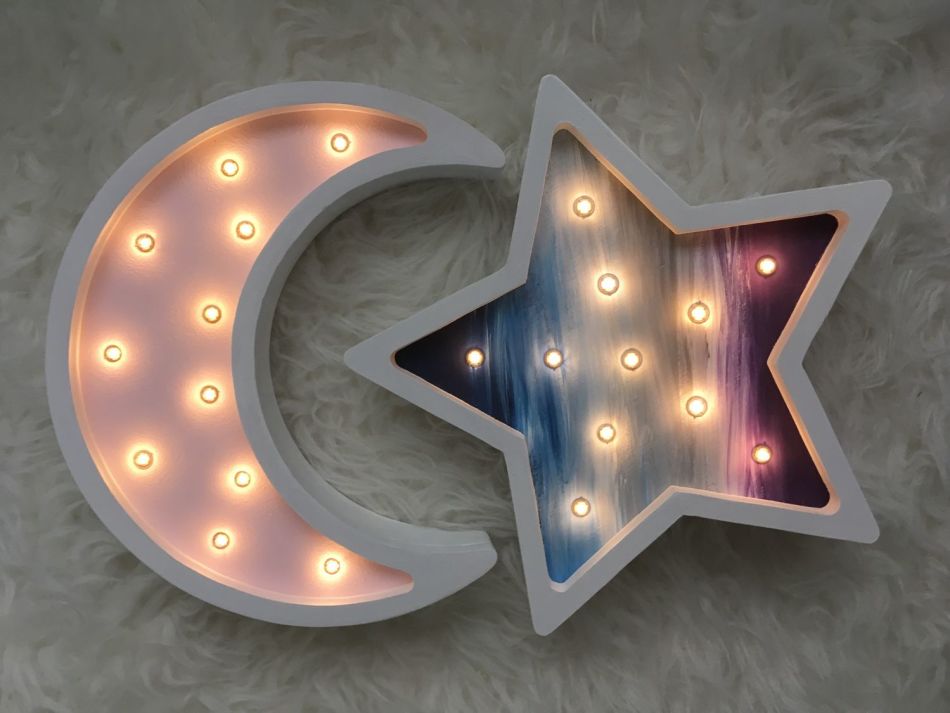
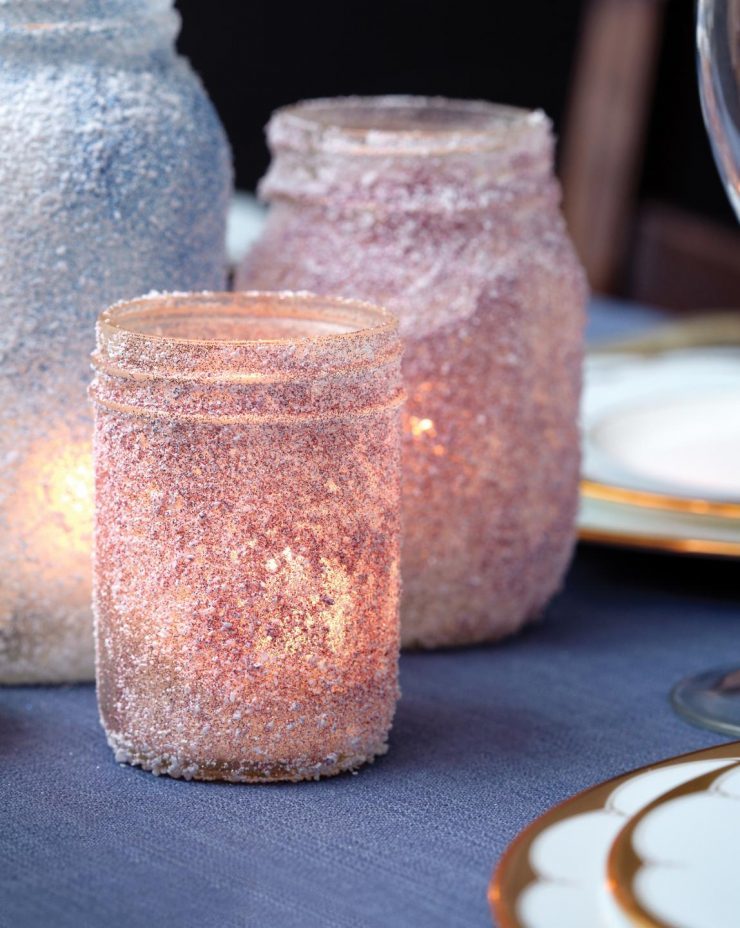
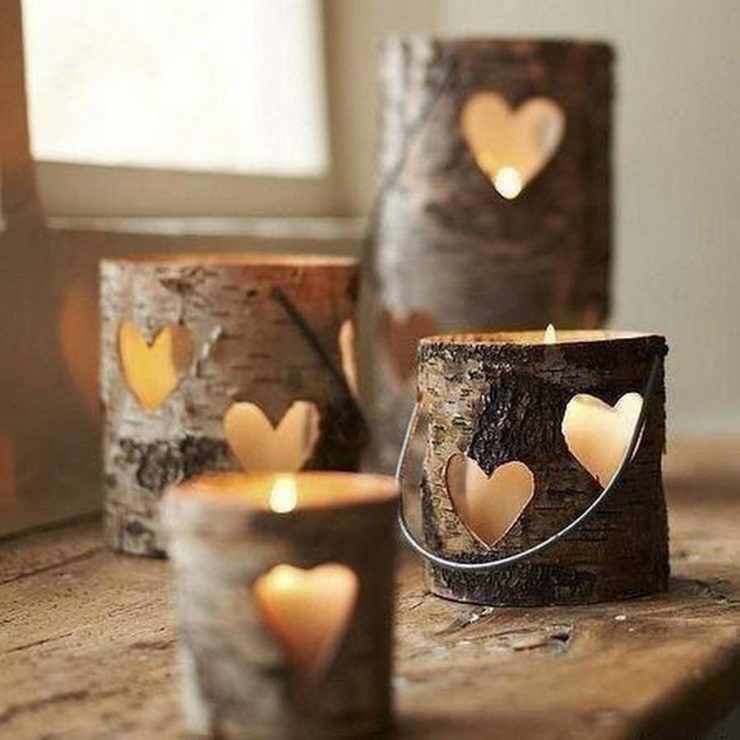
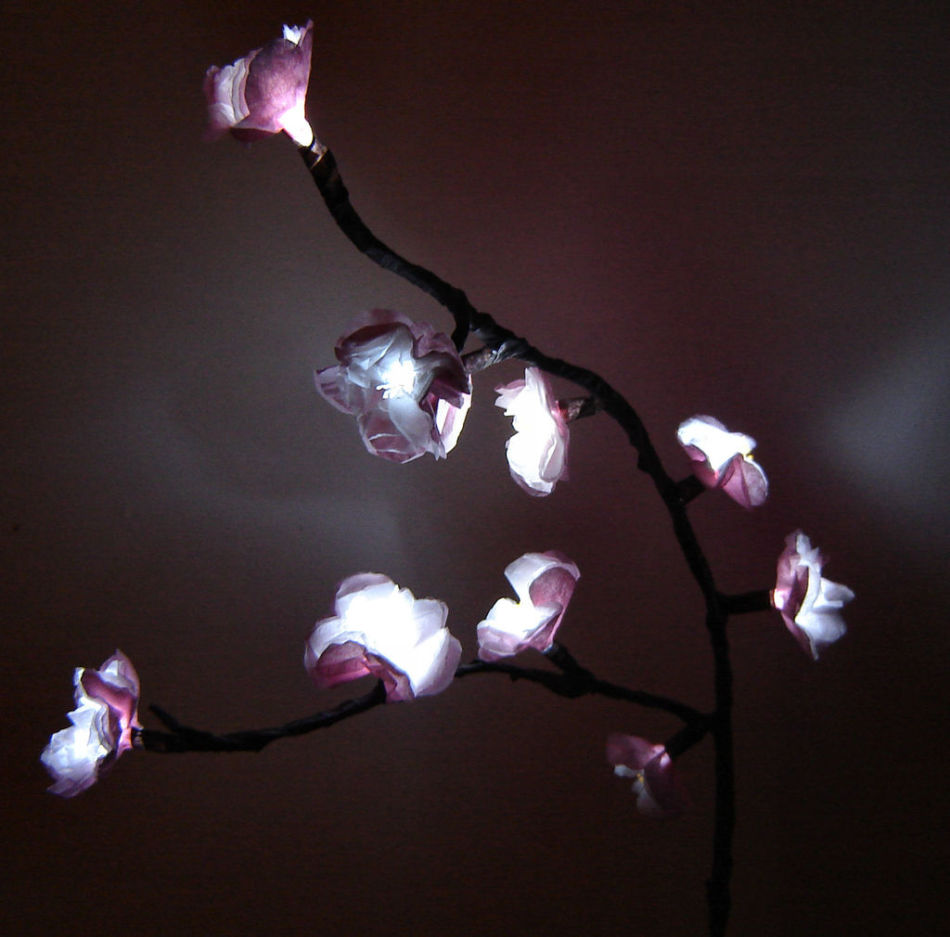
DIY nights' ideas: photos
We offer for inspiration to familiarize yourself with the following photo ideas of nights with your own hands:
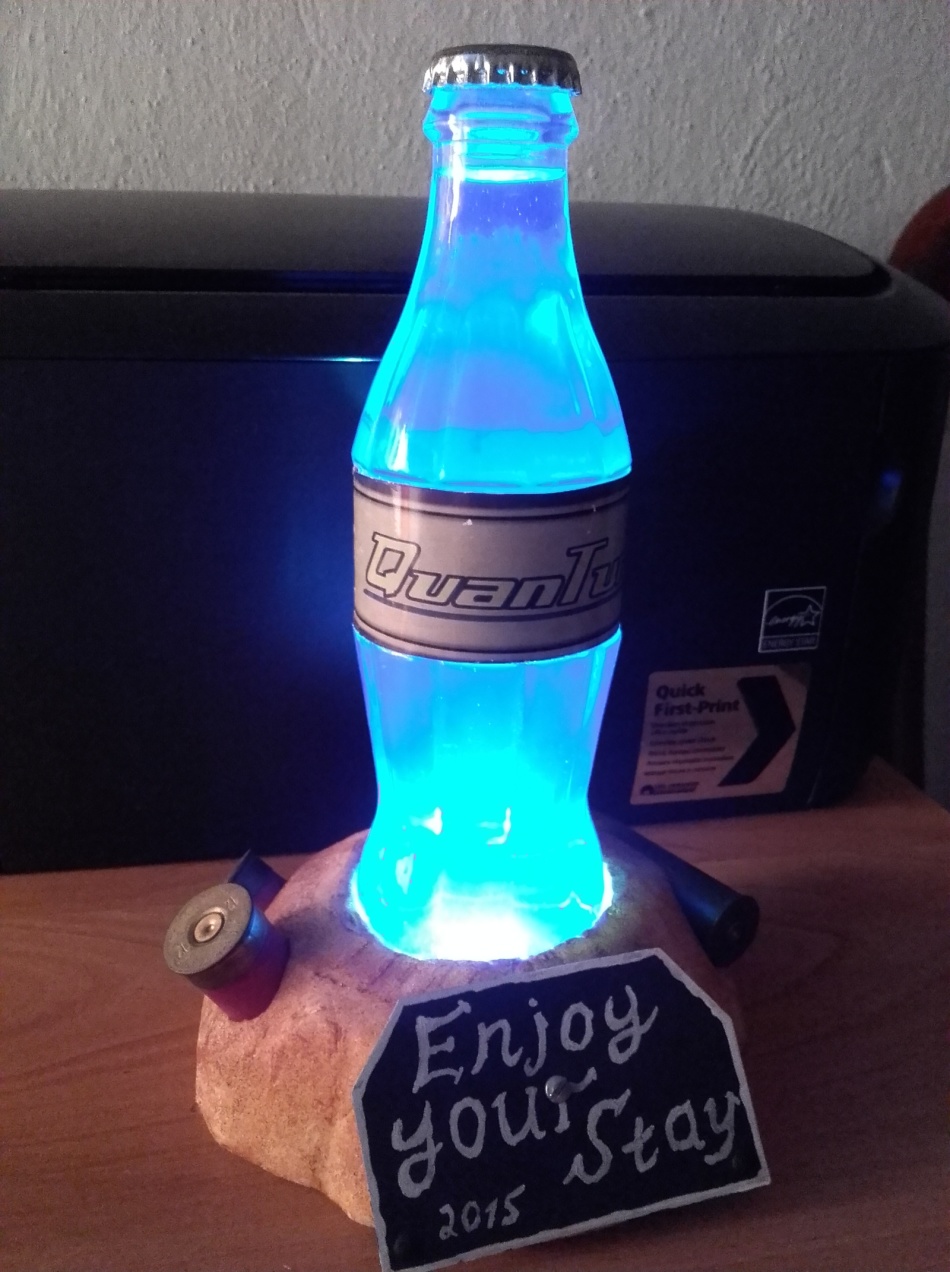

As readers could make sure, it is completely optional to be a specialist in order to collect their own nightlight. A little patience and attentive following master classes-and now the cozy interior detail is ready!