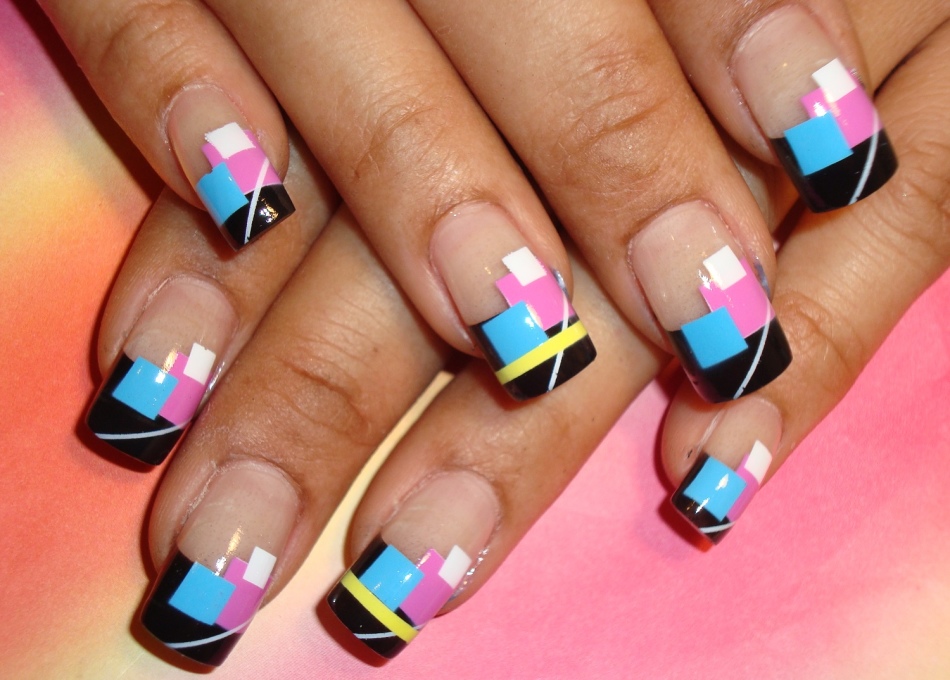
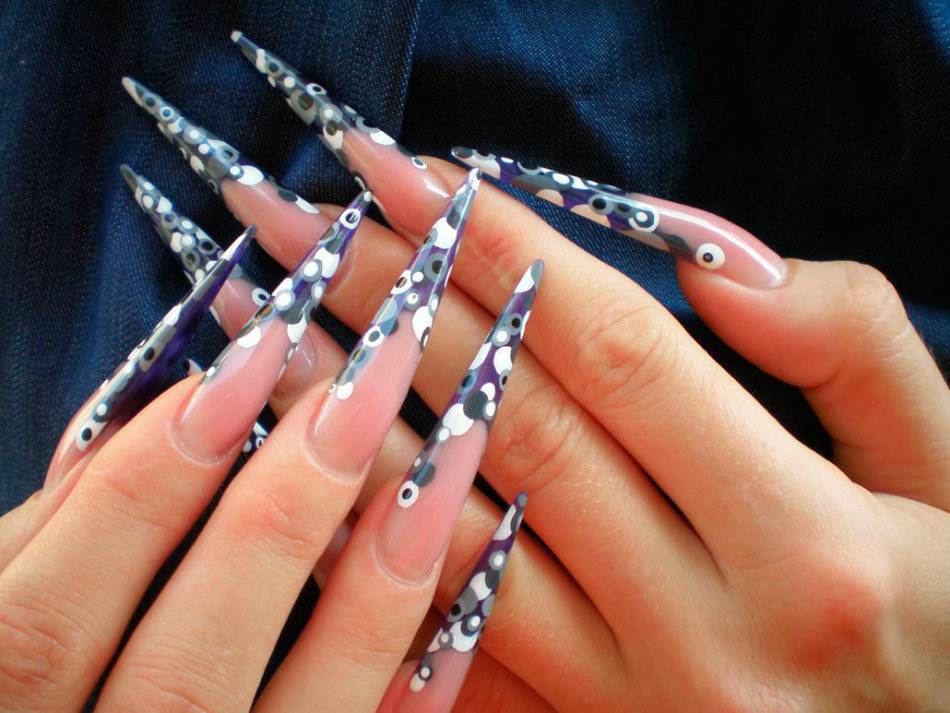
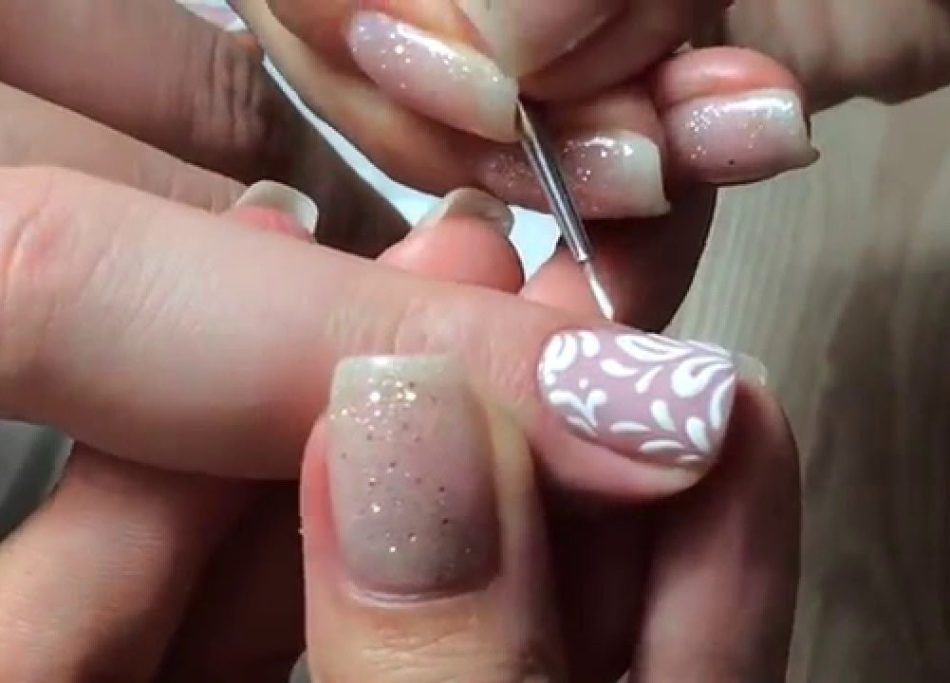
It happens that you need to visit some kind of party, and there is not enough means of going to the beauty salon. In this case, you can arrange a beauty salon at home at home.
In particular, you can easily make yourself a chic manicure that is suitable for your outfit. Next, let's talk about how to draw patterns on nails with various tools yourself.
Content
- Patterns on the nails for beginners step by step
- How to draw a pattern on the nails with a brush?
- How to draw a pattern on the nails with a toothpick, a needle?
- Patterns on the nails DOTS
- Patterns of patterns on nails
- Geometric patterns on nails
- Original patterns on nails
- Point patterns on the nails
- Black patterns on nails
- Patterns on the nails with acrylic paints
- Patterns on the nails gel varnish
- Lacca
- Foil nail patterns
- Patterns with rhinestones on the nails
- Stones from stones on nails
- Sand patterns on nails
- What pattern to draw on the nails?
- Video: beautiful patterns with needle
Patterns on the nails for beginners step by step
A neatly executed drawing in the form of a pattern always causes the delight of others. Moreover, various experiments are welcome. If you master the overall technique of performing these drawings, then it will not be difficult to perform a complex design.

This technique (drawings on the nails) - called nail art. Beginners for drawing are recommended for use by the following devices:
- Special brushes for creating patterns on nail plates
- Dots, needles of different thicknesses
- Toothpicks
- Washing napkins

In what sequence is a pattern on the nails created?
- First, cover the nails of nails with colorless, protective varnish. This will prevent damage to them, protect against all kinds of scratches when creating drawings with sharp objects
- Apply the base - the varnish that you chose as a basis under the pattern, rest for ten minutes until it dries
- Start creating patterns
- Let the drawings dry
- Then fix the result by the fixer

How to draw a pattern on the nails with a brush?
To create a masterpiece on the nails with a brush, you will need at least some experience in drawing. After all, if you are inaccessible to drawing, then you will be very, very difficult to make a sophisticated pattern on the nail plates.
Because the lines should not be smooth not to burst, in addition, the pressure of the brush is also required to withstand the desired thickness. Otherwise, a manicure can turn into sloppy blots on the nails.

The procedure for creating a pattern:
- Prepare your nails, make even ends, get rid of the cuticle, polish the surface
- Apply the coating
- How a transparent layer dries, paint your nails with a varnish
- Now take the brush, start to remove the patterns from the tip of the nail
- When the pattern dries, apply a lacquer

IMPORTANT: Before creating a stylish pattern on the nails with a brush, practice on paper. For such a design, you need to choose a good quality brush from natural material so that the villi does not come out and do not puff in different directions.
How to draw a pattern on the nails with a toothpick, a needle?
So that the drawings on the nails of the nails do not merge, choose contrasting shades of varnishes. If the tones are not much different from each other, then you get a fuzzy pattern, the pictures will merge. Even newcomers will be able to create a pattern with a toothpick, even newcomers. It is enough to study the technique and procedure.

Tools and materials for the pattern with a needle, toothpick:
- Figure varnishes, base, latch
- Scissors for manicure, saw
- Needles, toothpick
- Sponge, liquid to get rid of excess strokes around the nail plate

Step-by-step instruction:
- Prepare the field of activity - put your nails in order
- Apply the coating so that you will not subsequently scratch the records of the nails
- After drying, paint the nails with the base
- Put the points in the right places or draw lines
- Take a toothpick and stretch carefully on the surface of the nail from points or lines patterns
- When everything dries, fix the drawings and the basis so that the manicure does not deteriorate after the first wash of the dishes

Patterns on the nails DOTS
DOTS has found widespread use in nail design due to ease of use. Using this tool, you can draw various shapes with rounded lines of different thicknesses. Moreover, the thickness of the lines depends on the size of the ball of Dots.

In addition, dots can put points on the nail plates, draw different lines and take the petals of flowers. Next, see examples of interesting drawings on the nails with such a tool.


IMPORTANT: If there is no such tool at hand, then it will be replaced by an ordinary ampoule. The ampoule patterns will turn out to be no worse than Dots.
Patterns of patterns on nails
With the help of schemes, you can draw unusual patterns on the nails. Thanks to such auxiliary materials, a beautiful design is obtained, and you do not need to invent anything, it is enough to create drawings on the arrows with lines of points, directions.

Geometric patterns on nails
If you decide to draw various geometric shapes on your nails, then choose contrasting colors. If straight lines are not your horse, then use auxiliary materials for drawing - ribbons from the patch. Below, see examples of work.


Original patterns on nails
See examples of original drawings on nail plates.


Point patterns on the nails
Point patterns look stylish and at the same time fun if they are carefully completed and the color scheme is selected correctly.


Black patterns on nails
Thanks to the clear boundaries of the drawings and contrast, black patterns on the nail plates look strictly and at the same time beautiful.


Patterns on the nails with acrylic paints
The advantage of such a material is as follows:
- Large color scheme. More, if you mix paints, you can get many different shades
- Paints simply apply to the plates of nails and it will not be difficult to make acrylic beautiful patterns
- You can draw acrylic on any varnish, including gel
- No need to use drying lamps, acrylic will dry in a few minutes just in the air

IMPORTANT: After designing nails with acrylic paints, the surface must be covered with a transparent fixer. Otherwise, the colors will not stay for a long time.

Patterns on the nails gel varnish
In order for gel polish to freeze on the nails, special UV lamps are used. Make patterns in the following sequence:
- Process nails with a buff and degrease a primer
- Apply the base, dried in UV lamp
- Then they draw patterns (brush, dots, toothpicks or a needle)
- Then dried in a lamp
- Cover with a top
- Drying, remove the upper, sticky layer

Lacca
See below patterns made by various varnish tools.


Foil nail patterns
In order to get a stylish nail design suitable for the evening outfit, you can use foil. It is sold in cosmetics stores and sometimes translation, not translated.
Translation - This is a ready -made small drawing that is easily tolerated to the nails. BUT not translated You will also need to cut it yourself and glue gel polish, acrylic, a transparent latch.

Patterns with rhinestones on the nails
Again, now there are no problems with the purchase of various material for manicure, including the purchase of rhinestones. With the help of these pebbles of different sizes, you can make stylish patterns on the nails.


Stones from stones on nails
To make a manicure look gorgeous, make nails with stones. It is difficult to tear your eyes away from multi -colored stones, especially if the design is made with taste. In this matter, the main thing is not to overdo it.


Sand patterns on nails
Velvet sand on the nail plates creates the impression of a voluminous pattern. So that he holds well, first apply gel polish to the nails, and then sprinkle the patterns with sand. Remove excess.


What pattern to draw on the nails?
After viewing the article and pictures with the original nail design patterns, you can choose a manicure you like that is suitable for your clothes.


